Studio quality light for your zoom conference call on a budget!
How to get studio quality lighting on your Zoom conference calls
One of the biggest problems I have noticed with the transition to working from home is lighting on conference calls. This is a quick guide to getting close to studio quality lighting using stuff you probably have around the house. If you do not have these items, I was able to find them at any big box store for under $25.
I have noticed that one of the biggest problems people have is there is simply not enough light or the source of light is in the wrong position. This is especially true if you are working in a basement. Ideally, you should position yourself facing a window so that the light is coming from behind your webcam but in case you cannot, here is the next best thing…
BEFORE

AFTER

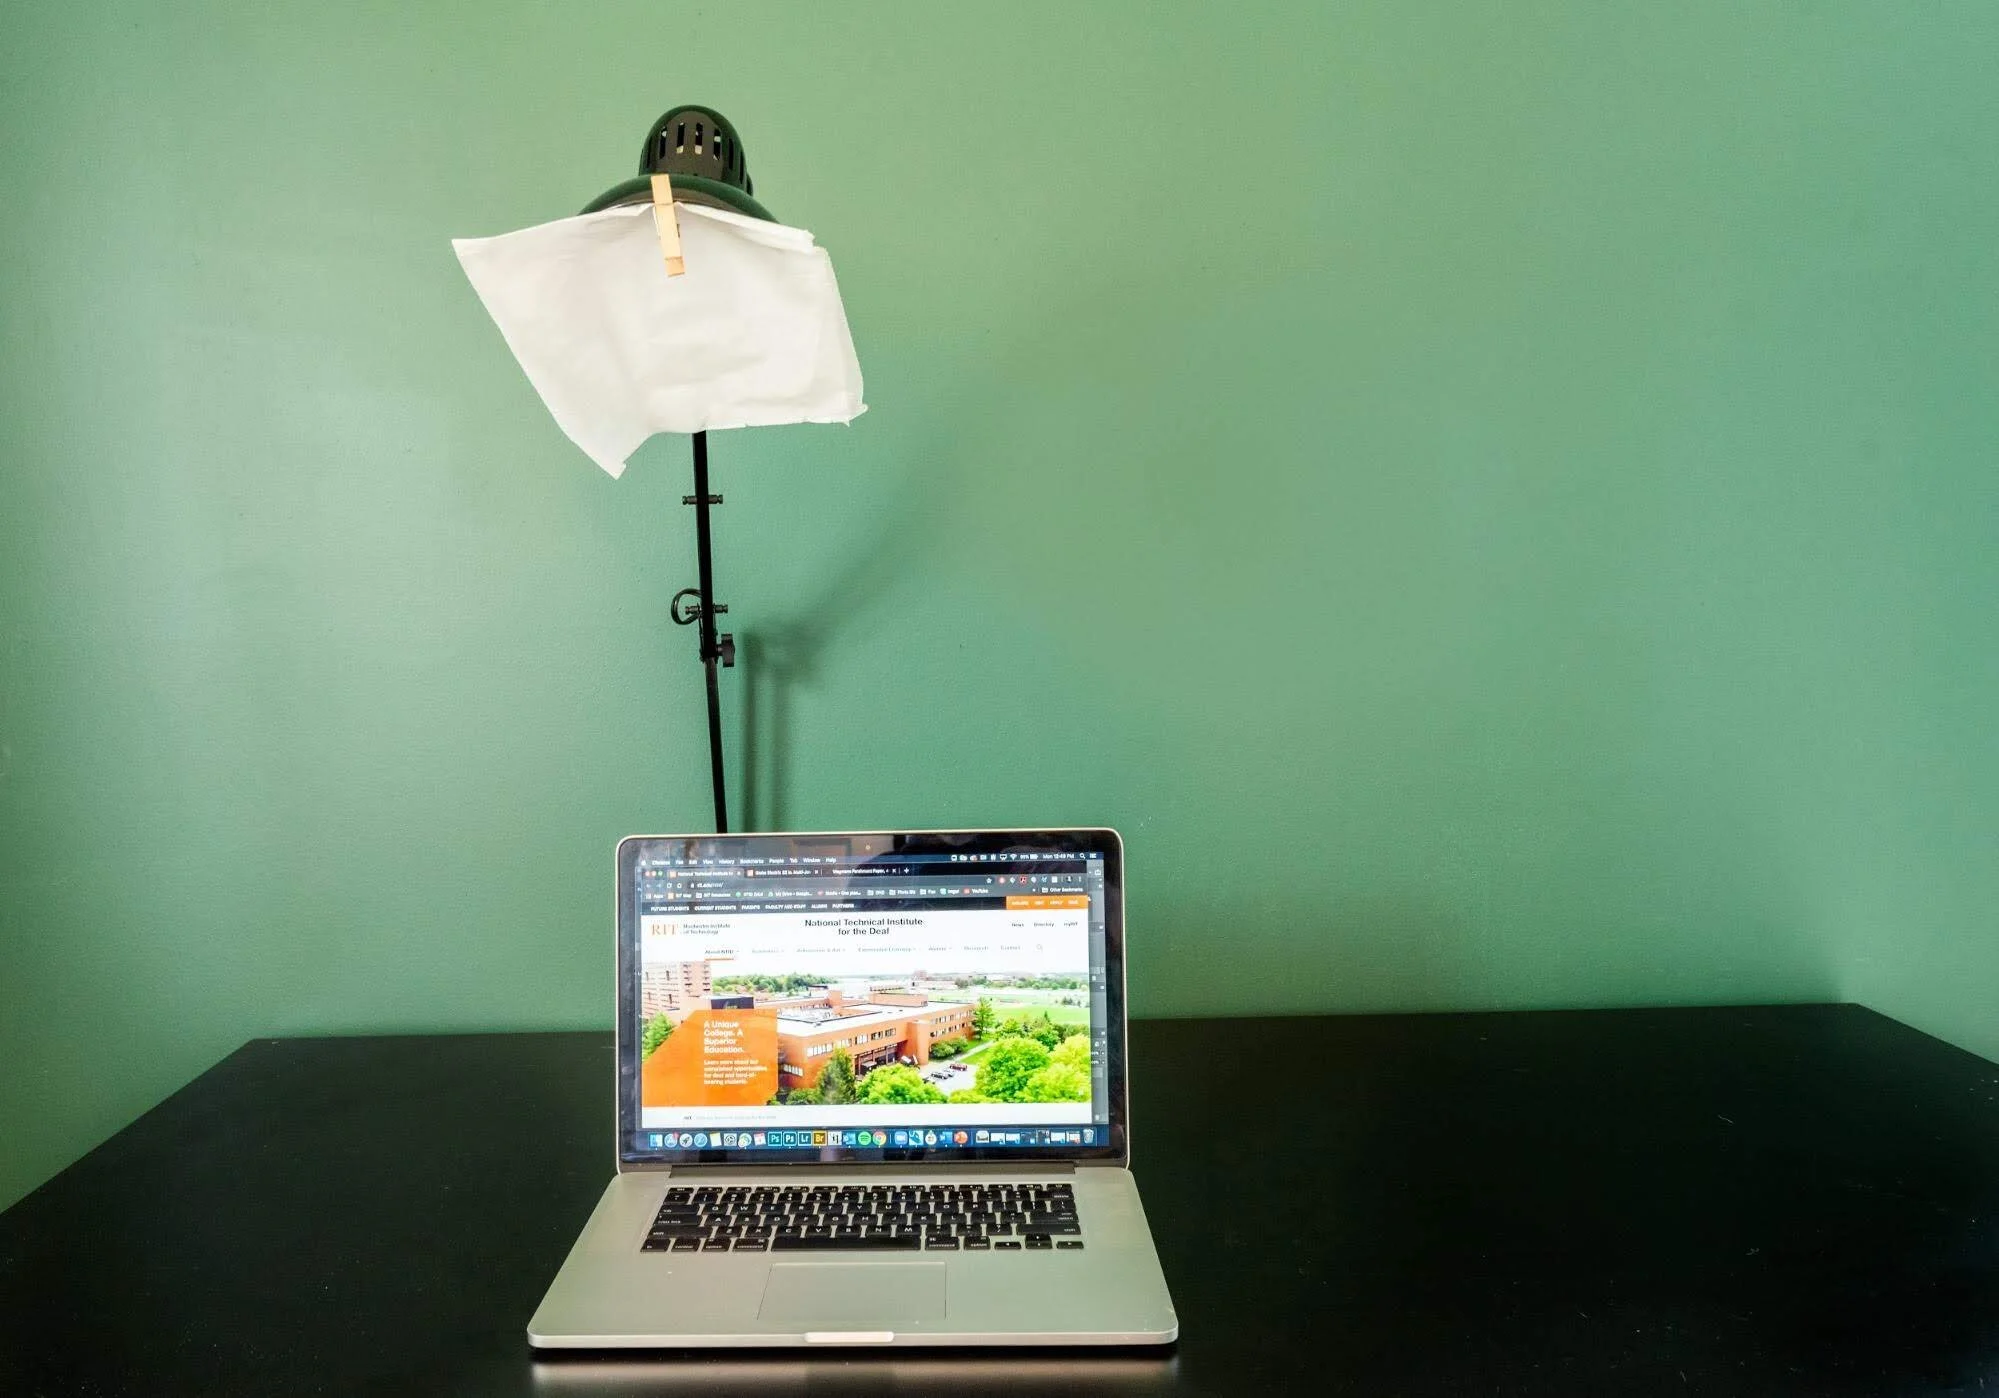
What you will Need:
Desk Lamp= $20
Oven safe parchment paper = $3
Paperclip/clothing pin/binders clip <$1
Step 1:
Pull out about 8-10 inches of parchment paper, whatever will fully cover your lamp source after folding it in half.


Step 2:
Attach the folded parchment paper to the light source using your clothes pin or binders clip.
Step 3:
Position the light source so that it is in front of you and slightly to one side. The light should be higher than your head and pointing down. It should be pointing down towards you at about a 45 degree angle. Position the lamp so it is out of your line of sight however If you have shadows around your eyes that look like a raccoon, the lamp is too high.
Turning one Portrait into two.
Had a fun time shooting some portraits to break the ice with some of my models for an assignment. All in all a sucessful shoot and a great time.
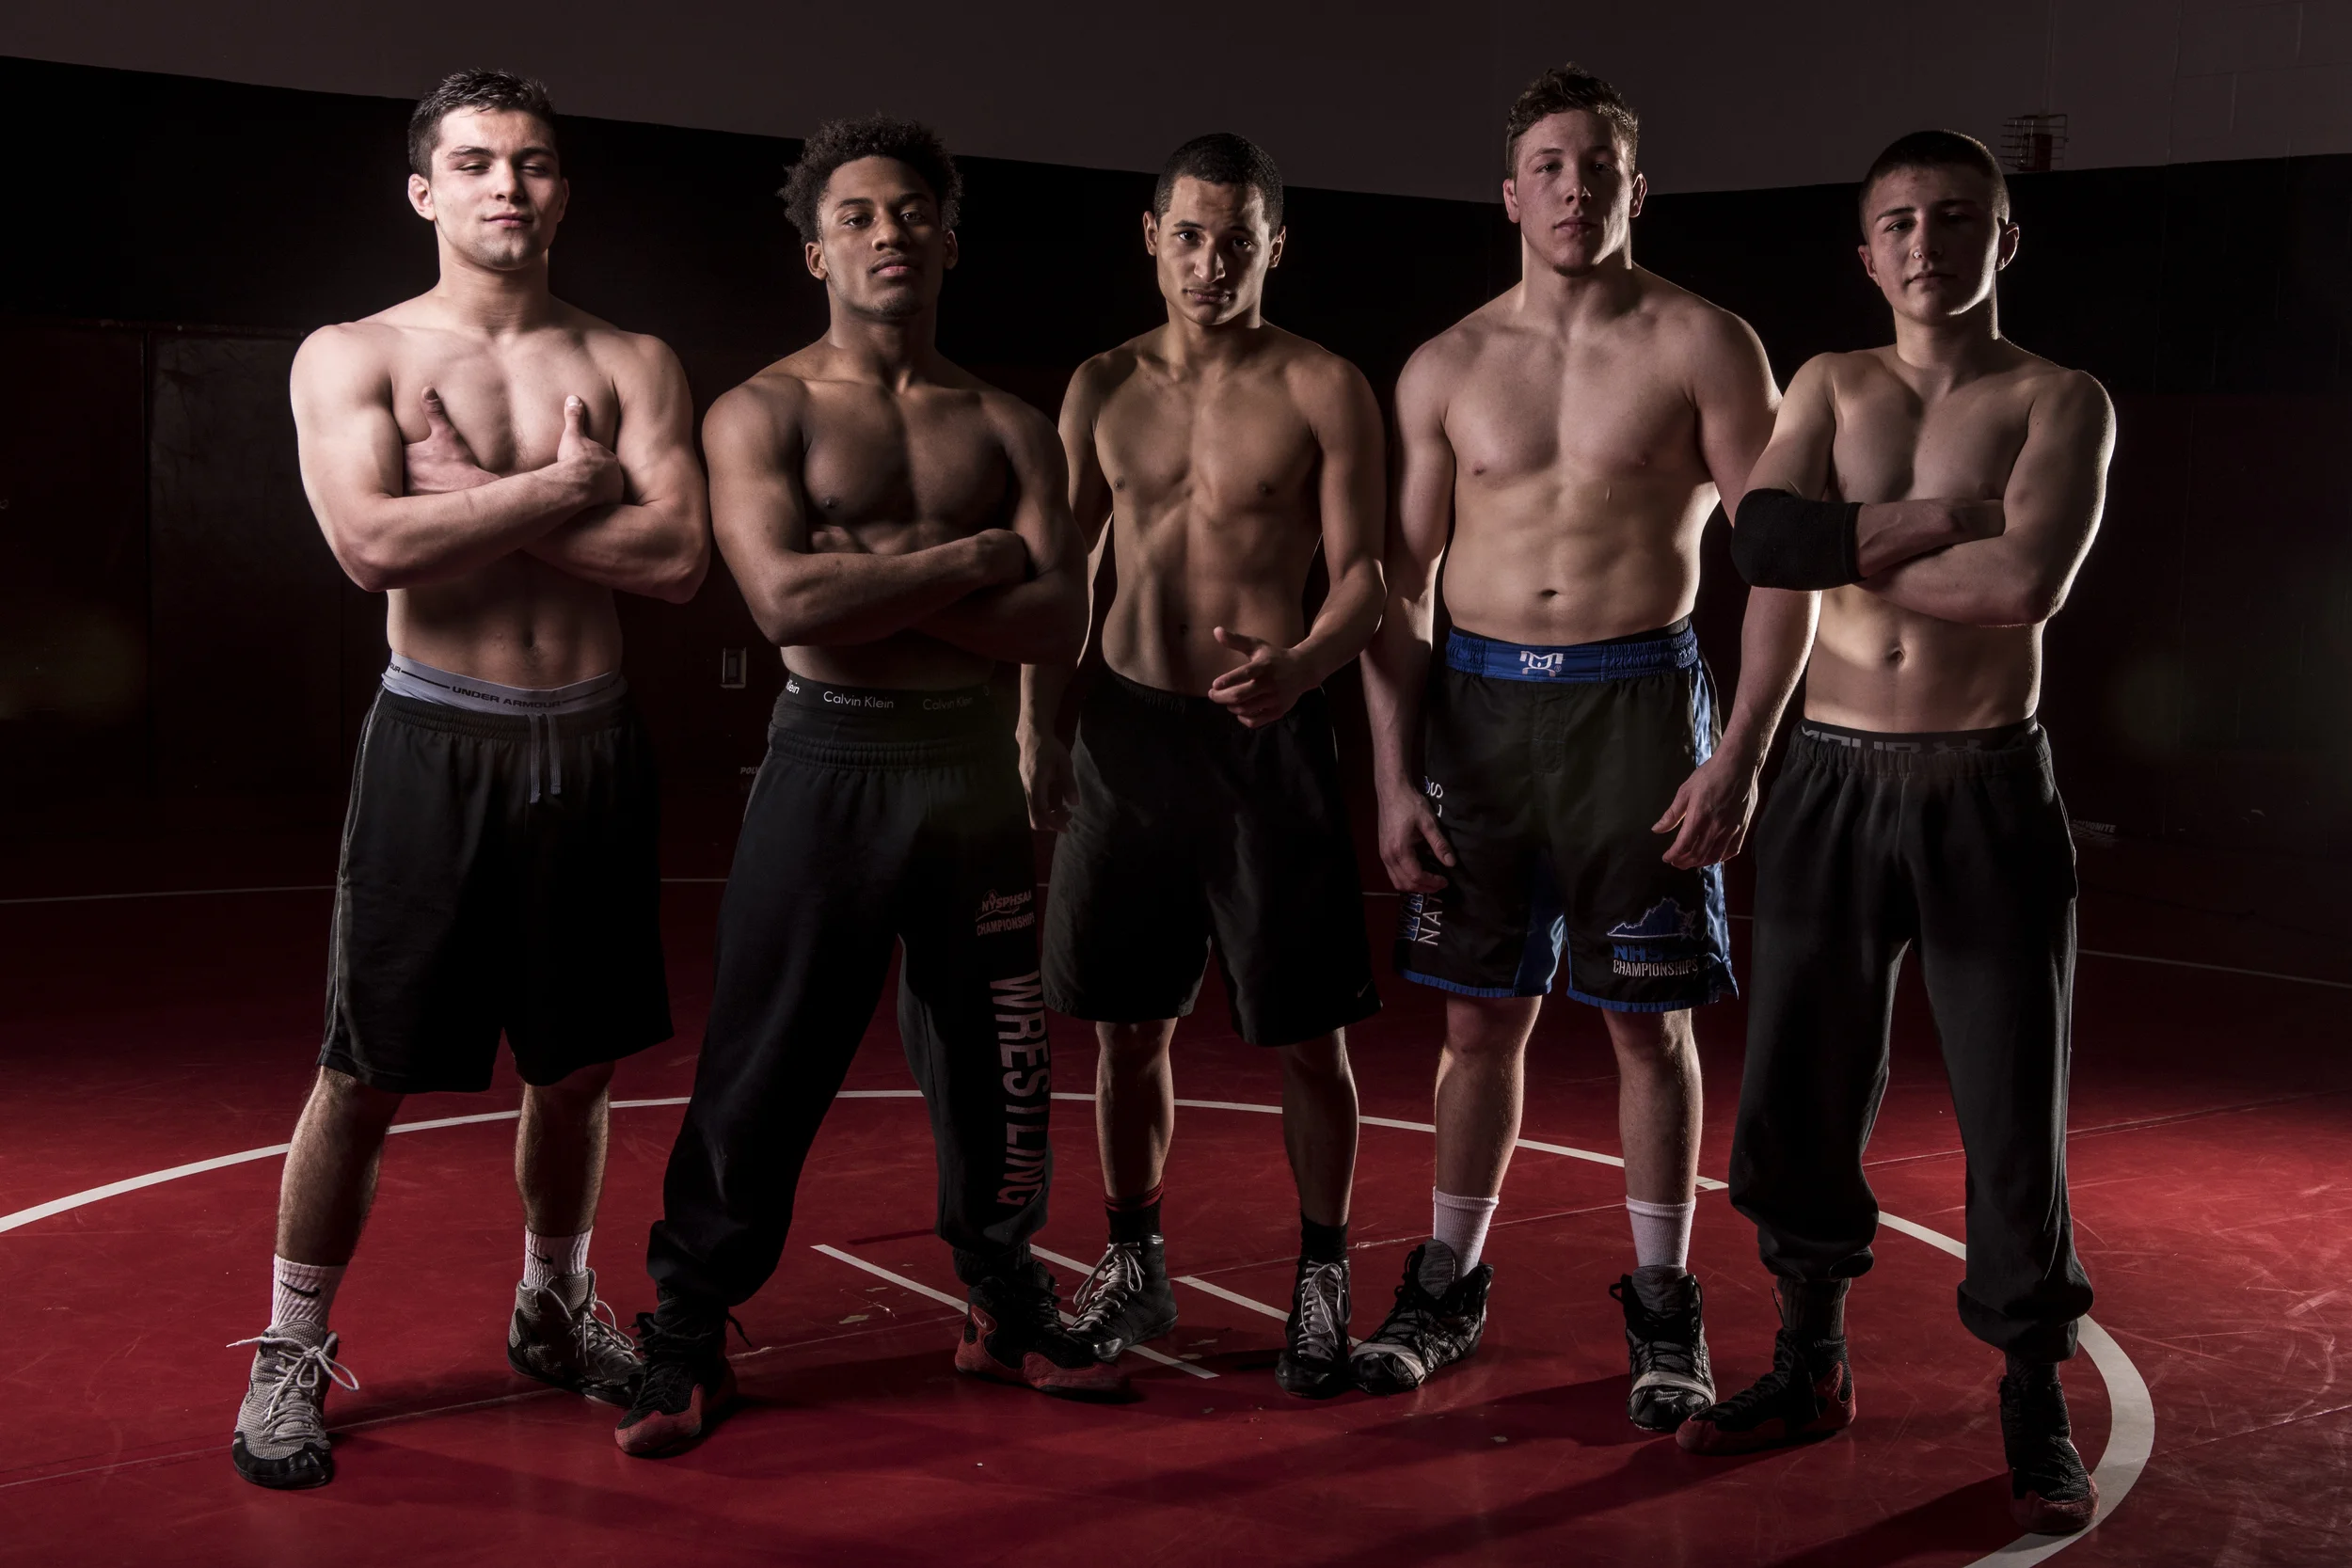
So a couple weeks ago I was in contact with the college's wrestling coach about a photo project I am working on. The project called for one photo of some wrestlers on the mat. After the coach sent out an email to all of the wrestlers on the team I only got two replies.
So it came down to earlier today, after class I spent about 20 minutes running around the building searching for the open matts. I finally found it hidden down a random set of stairs in the back of the building. I walked in to find 6 or so guys all staring out of the corner of their eyes and pretending not to be interested. A couple made a joke quietly to the guy next to them as I set the lights up.
They started to gather just as I was finished turning everything on and I grabbed one of the guys (not one of my volunteer models) and put them under the light.
"I need to test the lights, I am going to make you look bad ass as hell" I told him, loud enough so the others could here. I snapped a quick photo
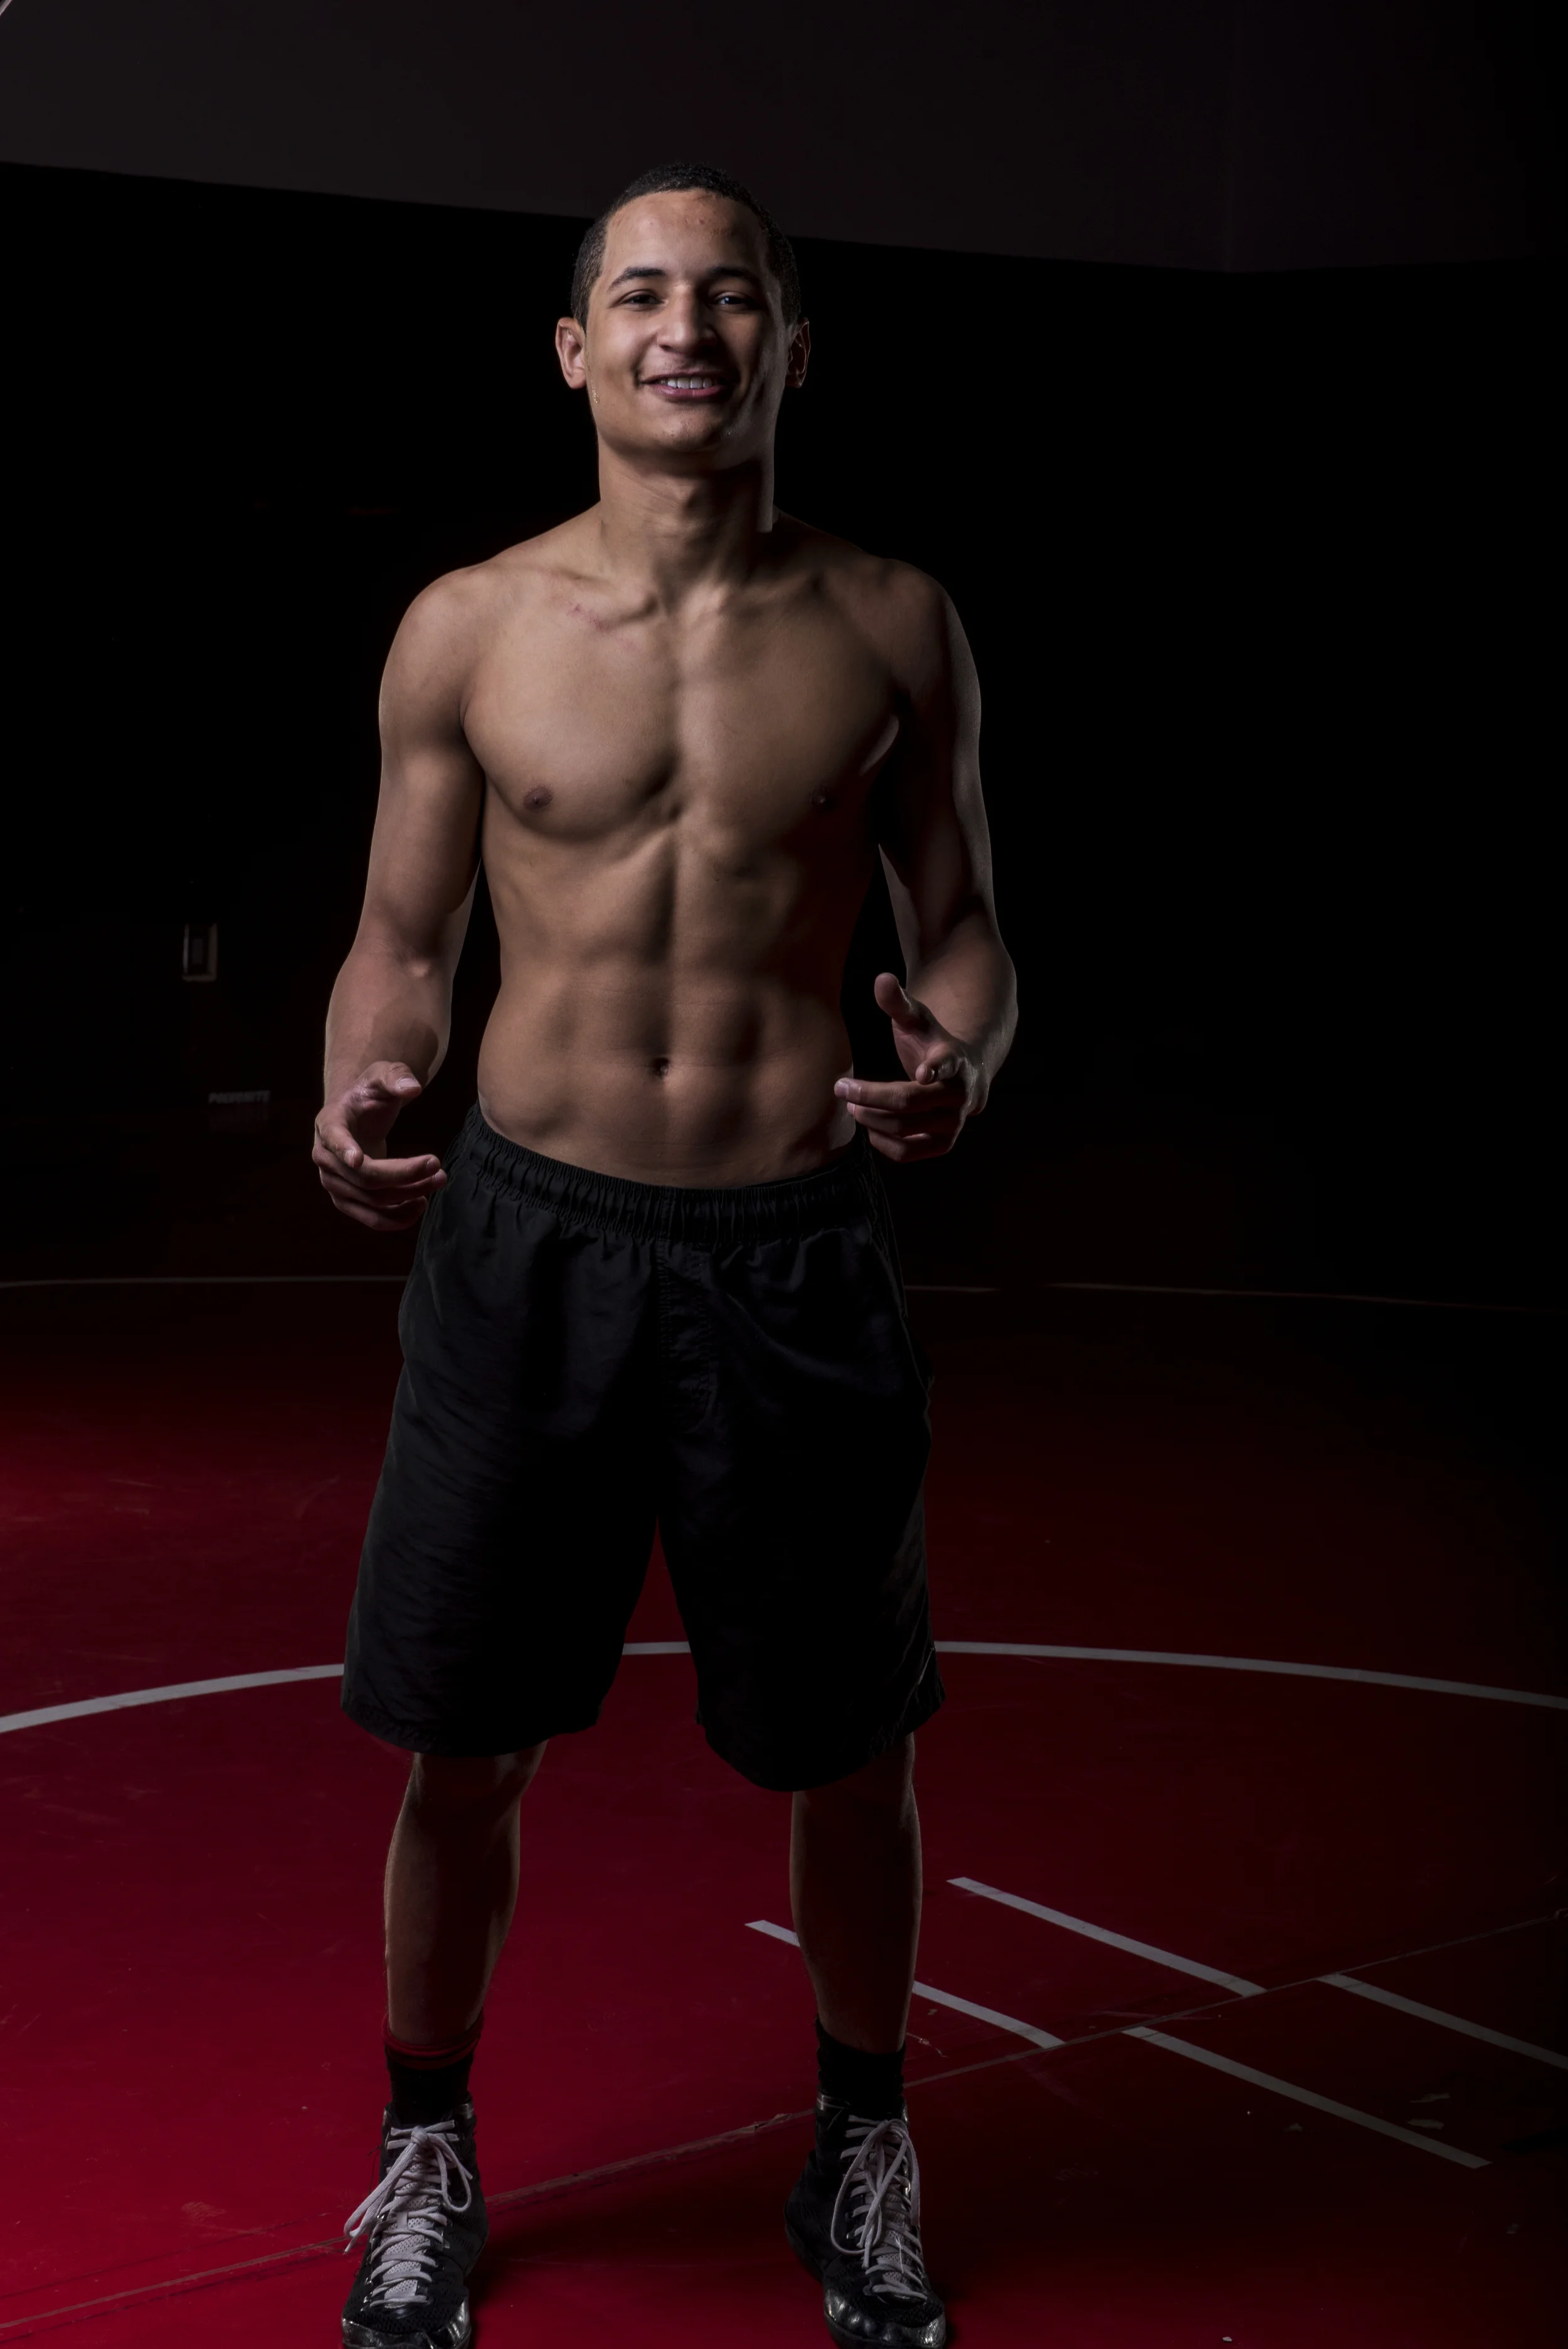
The second I showed this guy the photo his reaction was enough to have em all lining up. Before I knew it I turned one portrait shoot into a set of group photos.
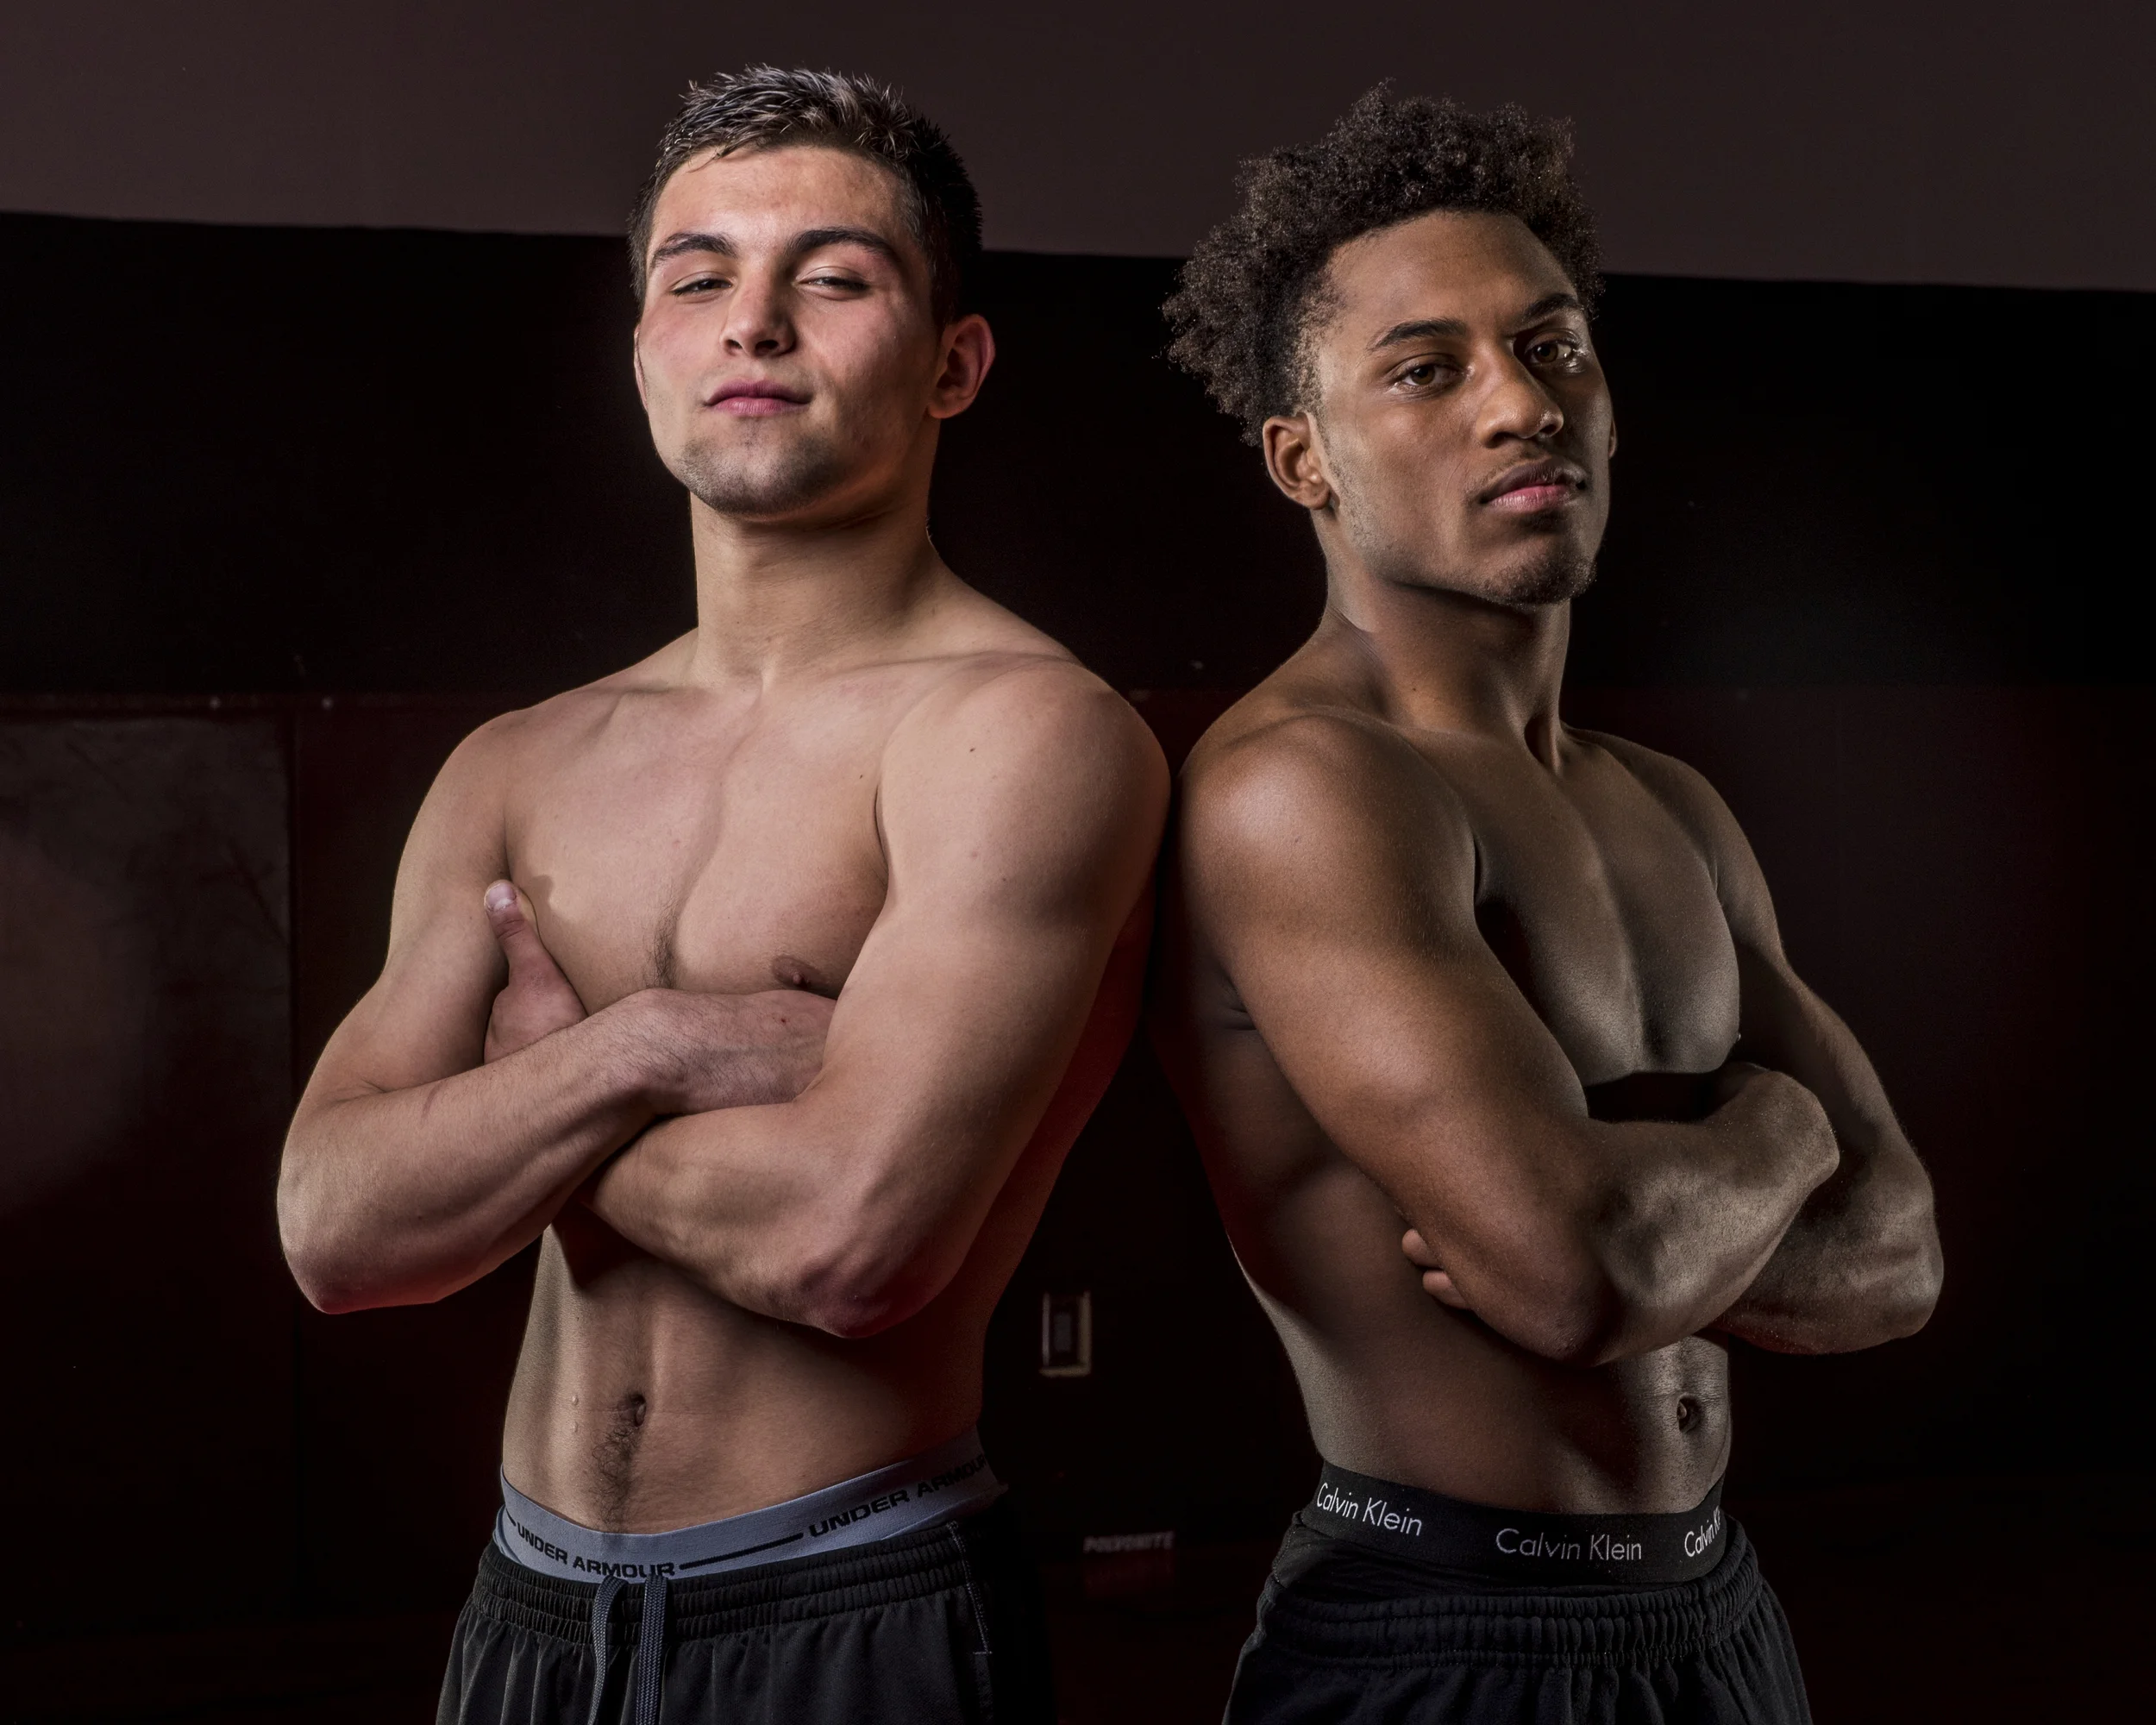
I had them all lined up and gave them a hard time for not emailing me back when the offer was first presented. So within 3 minutes I was able to add a bunch of portraits to the shot list.
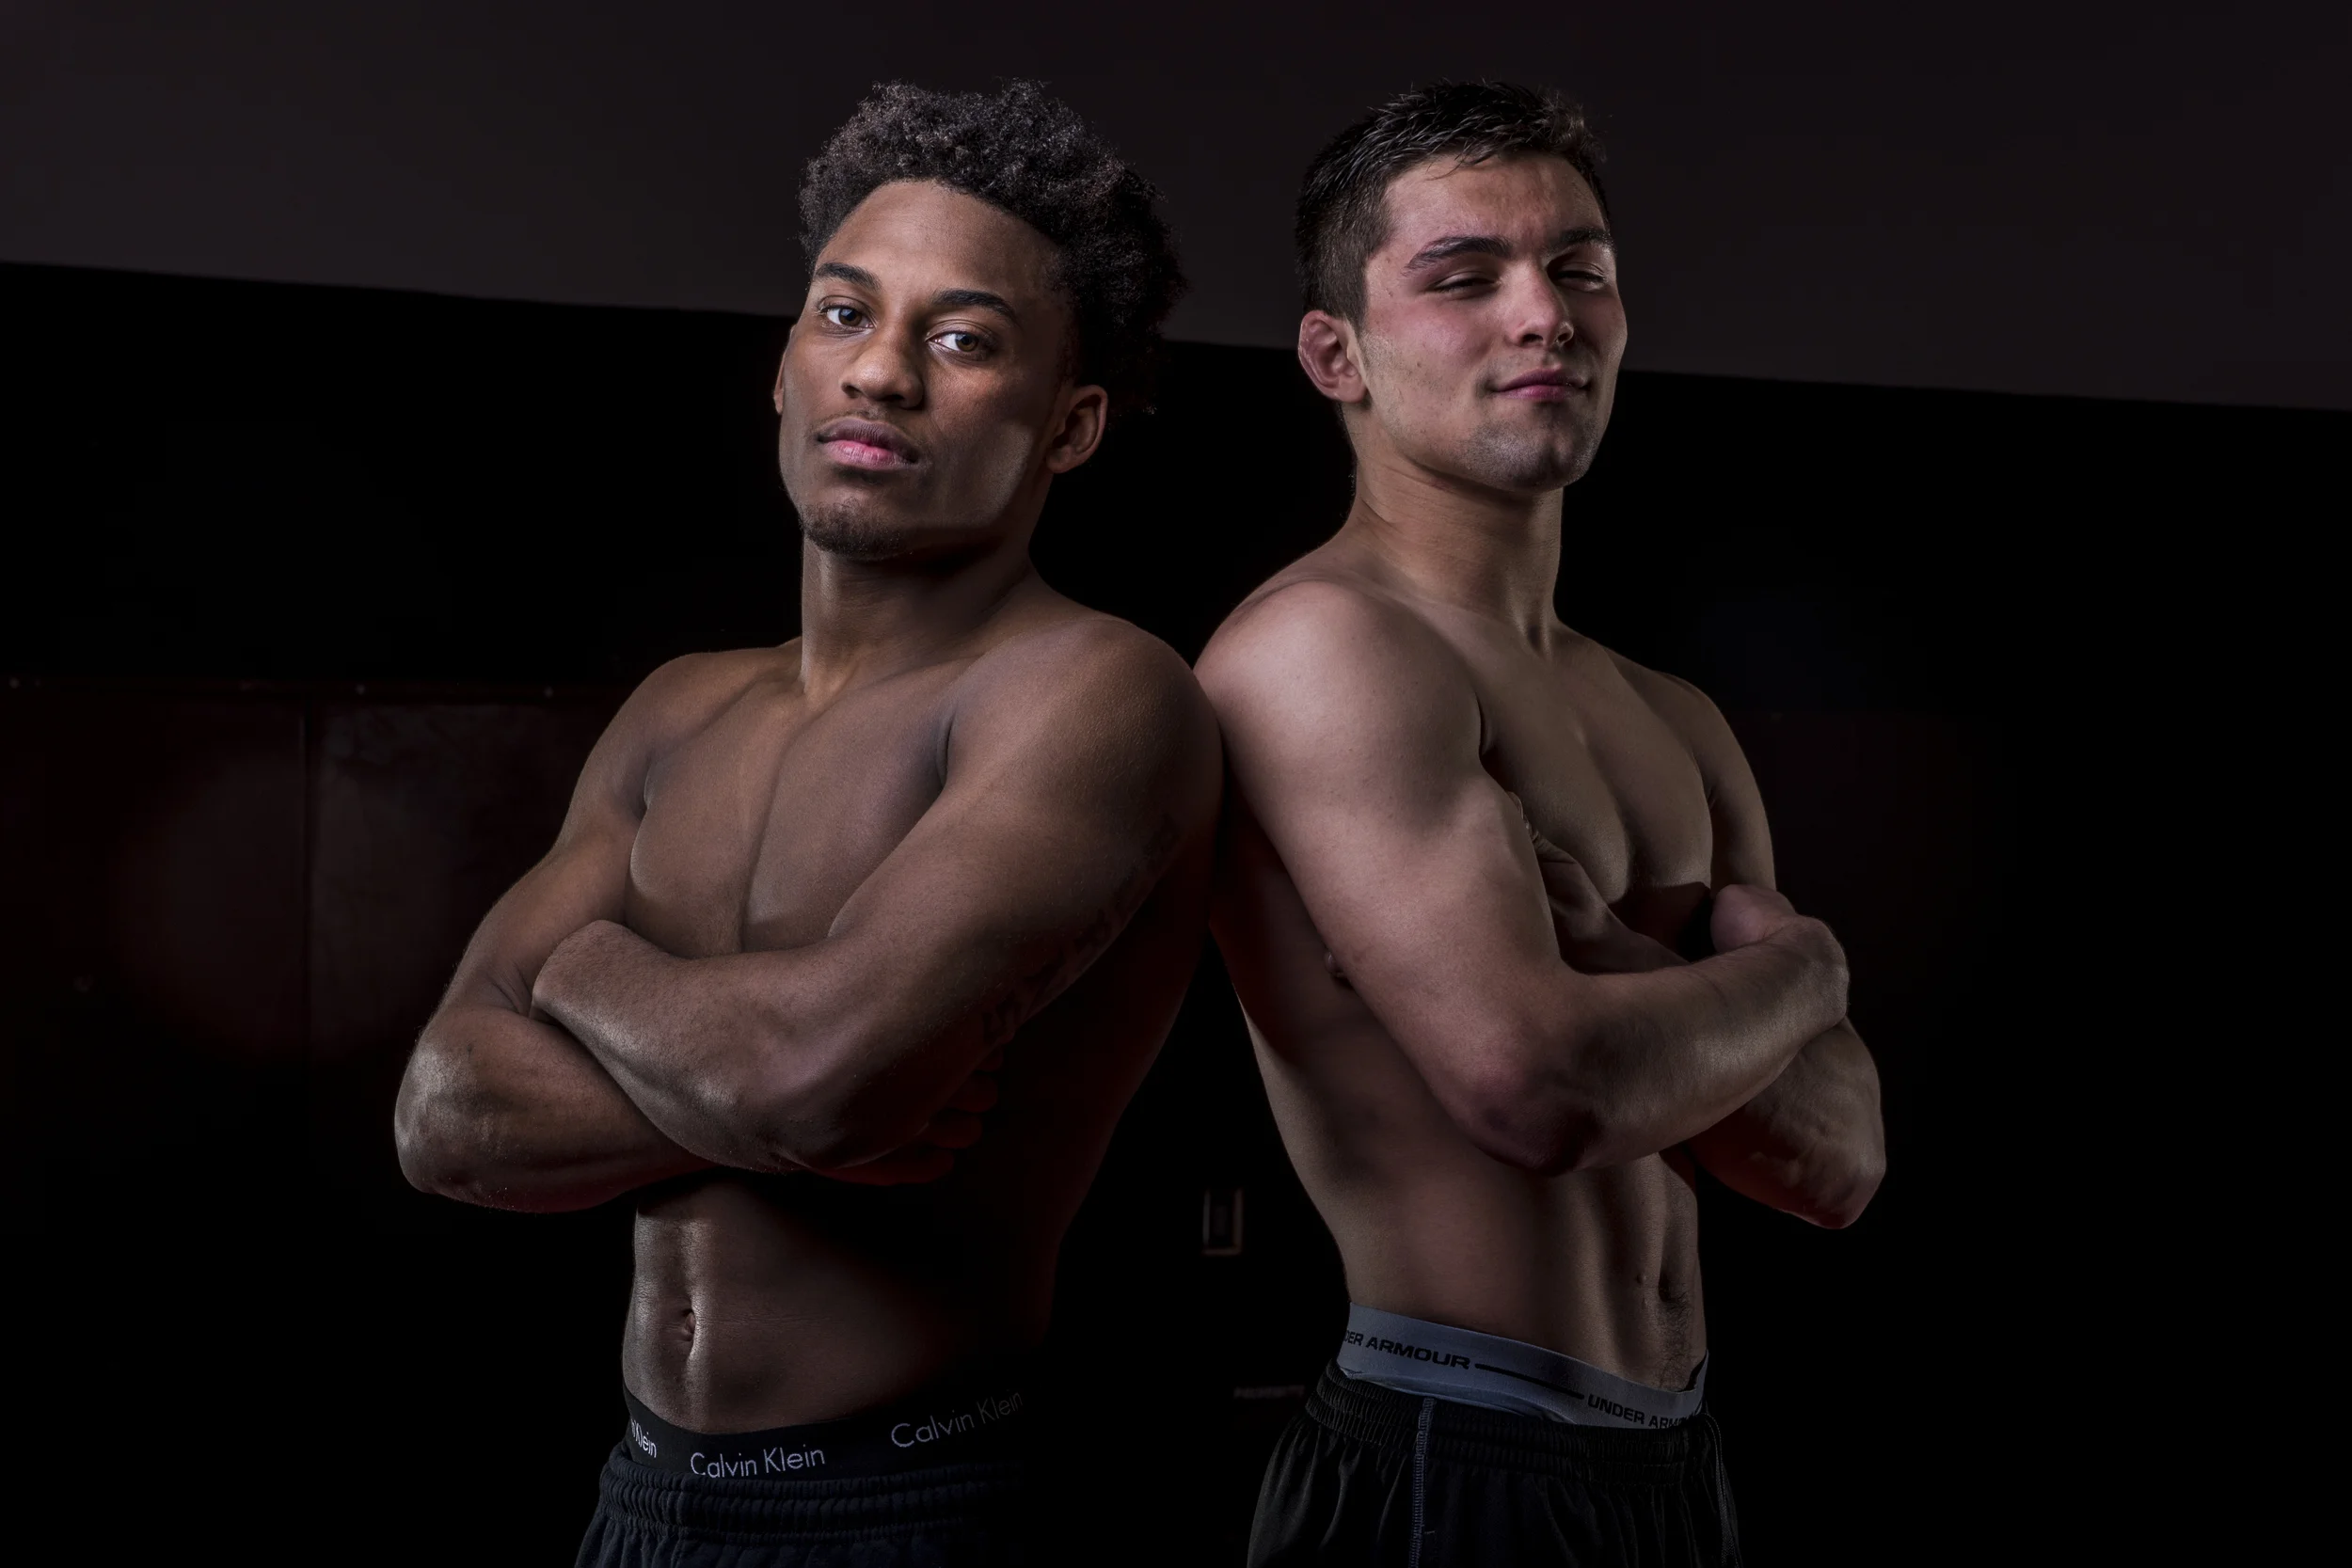

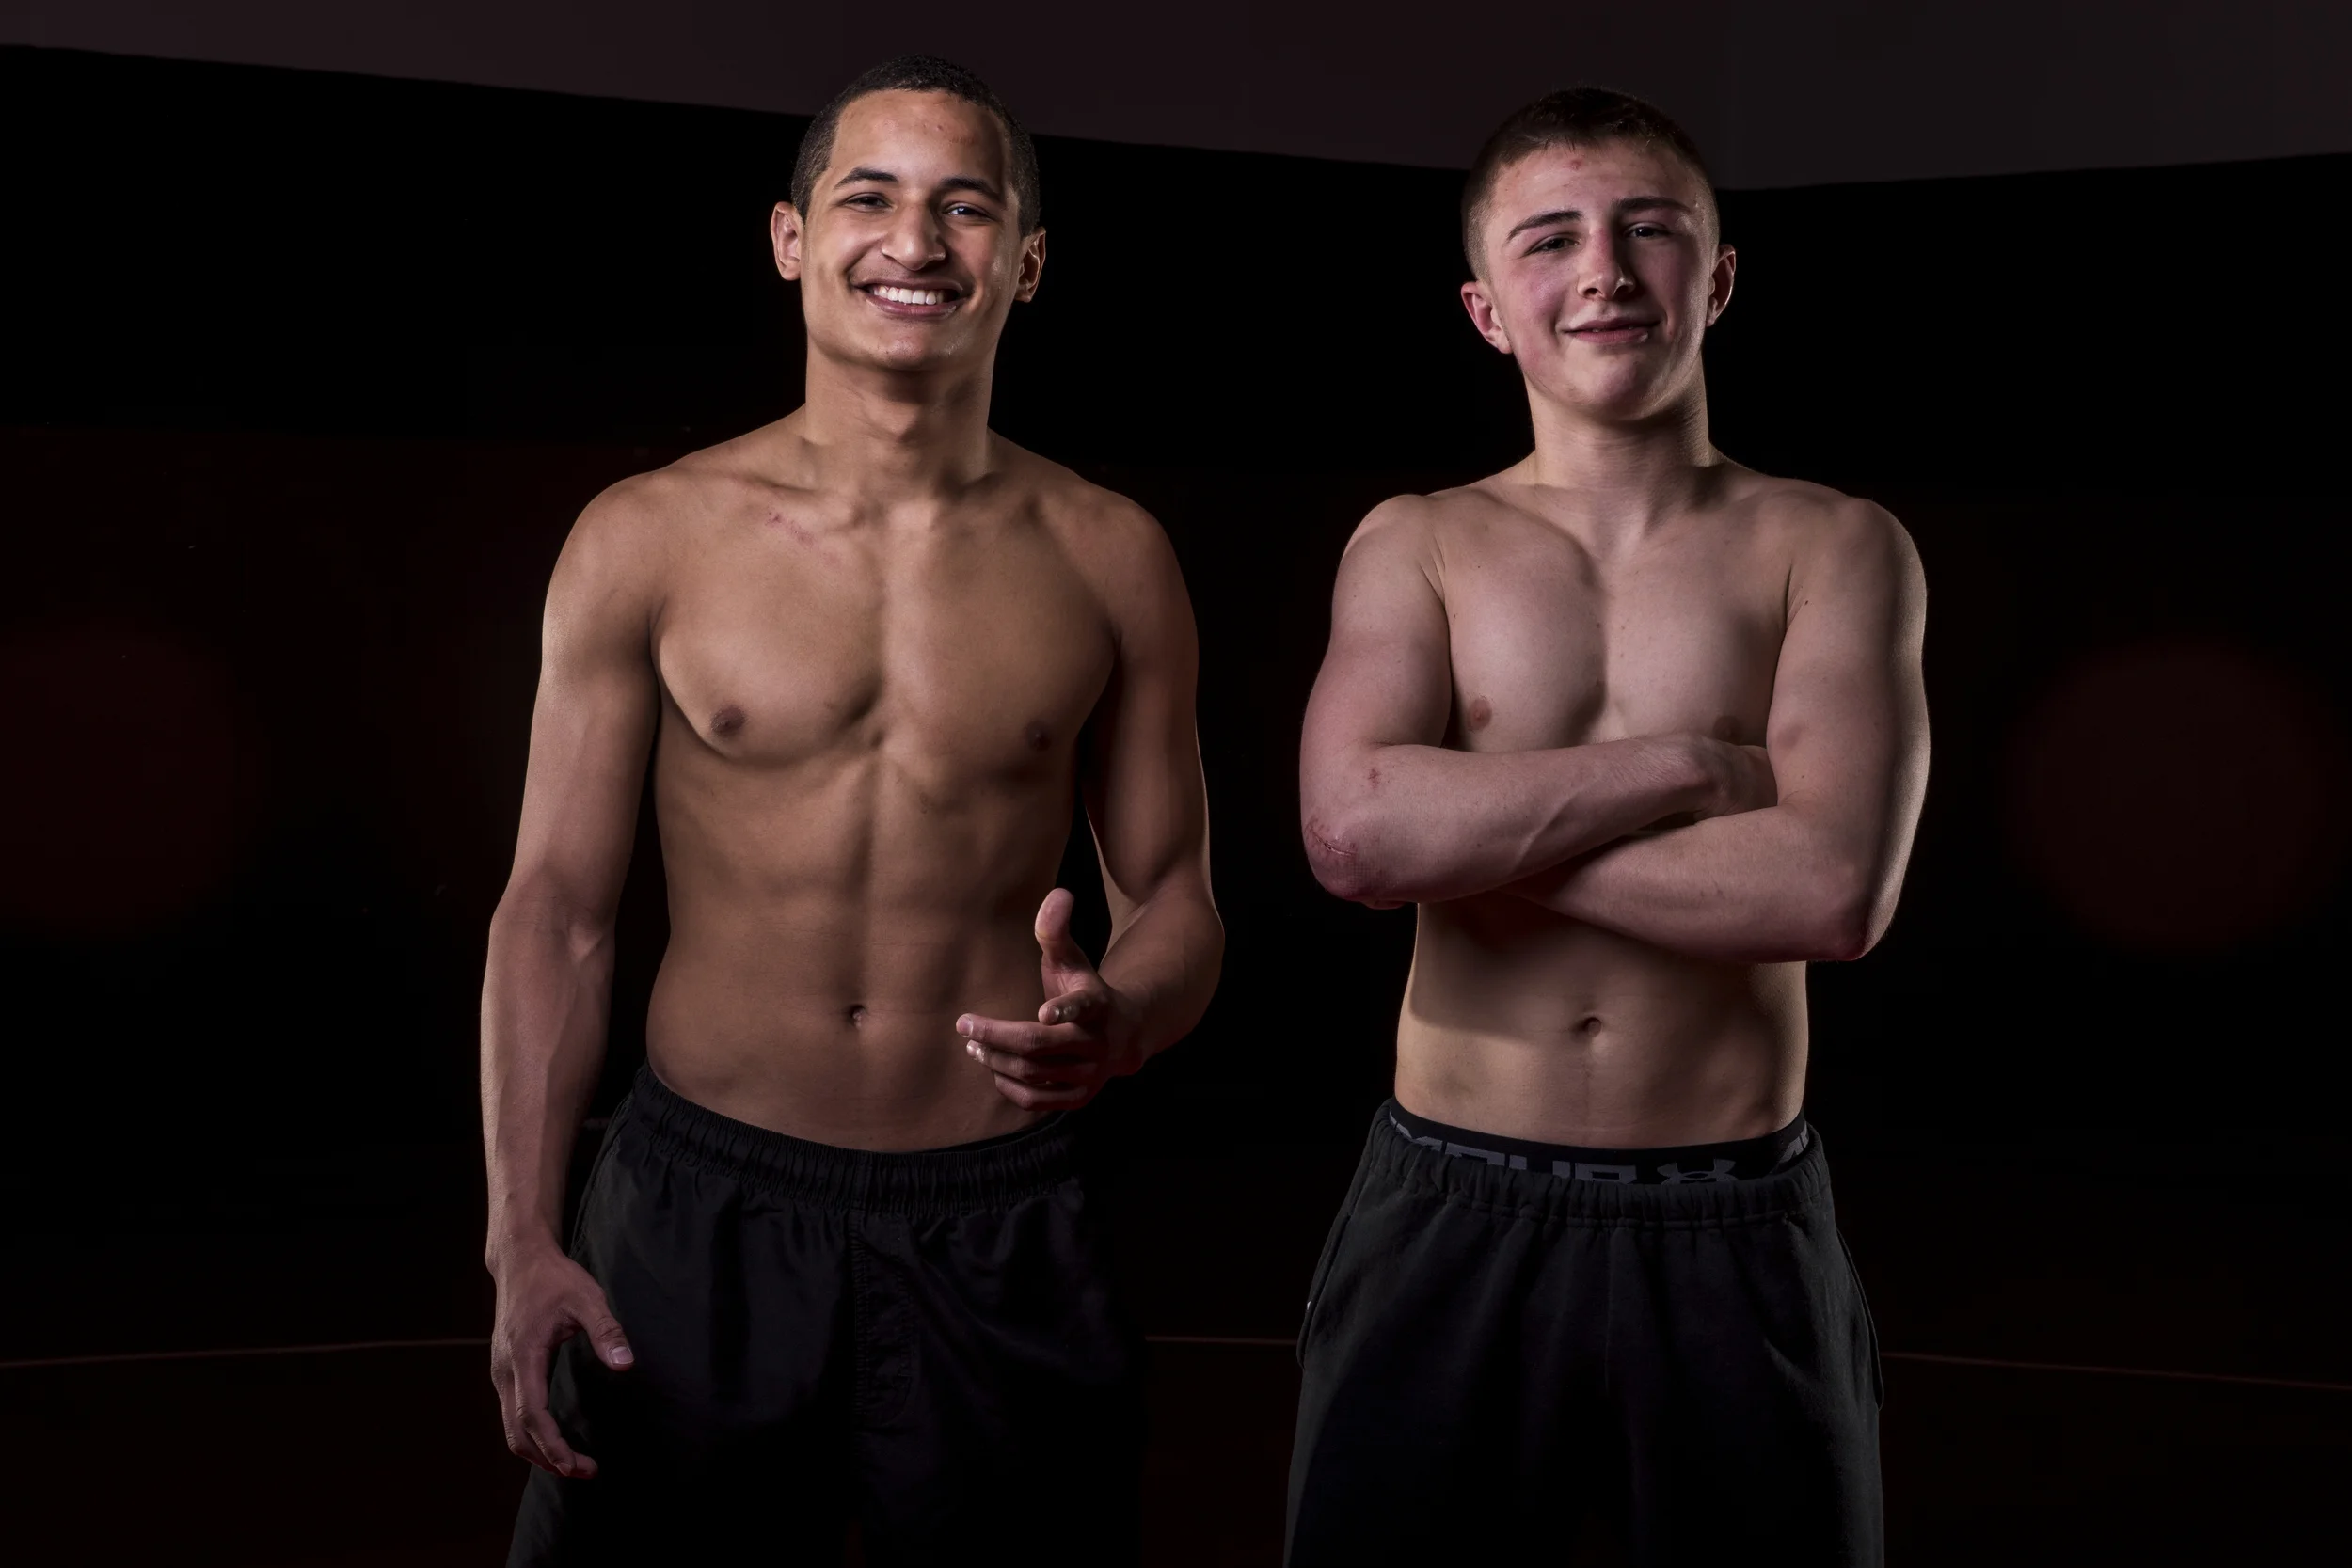
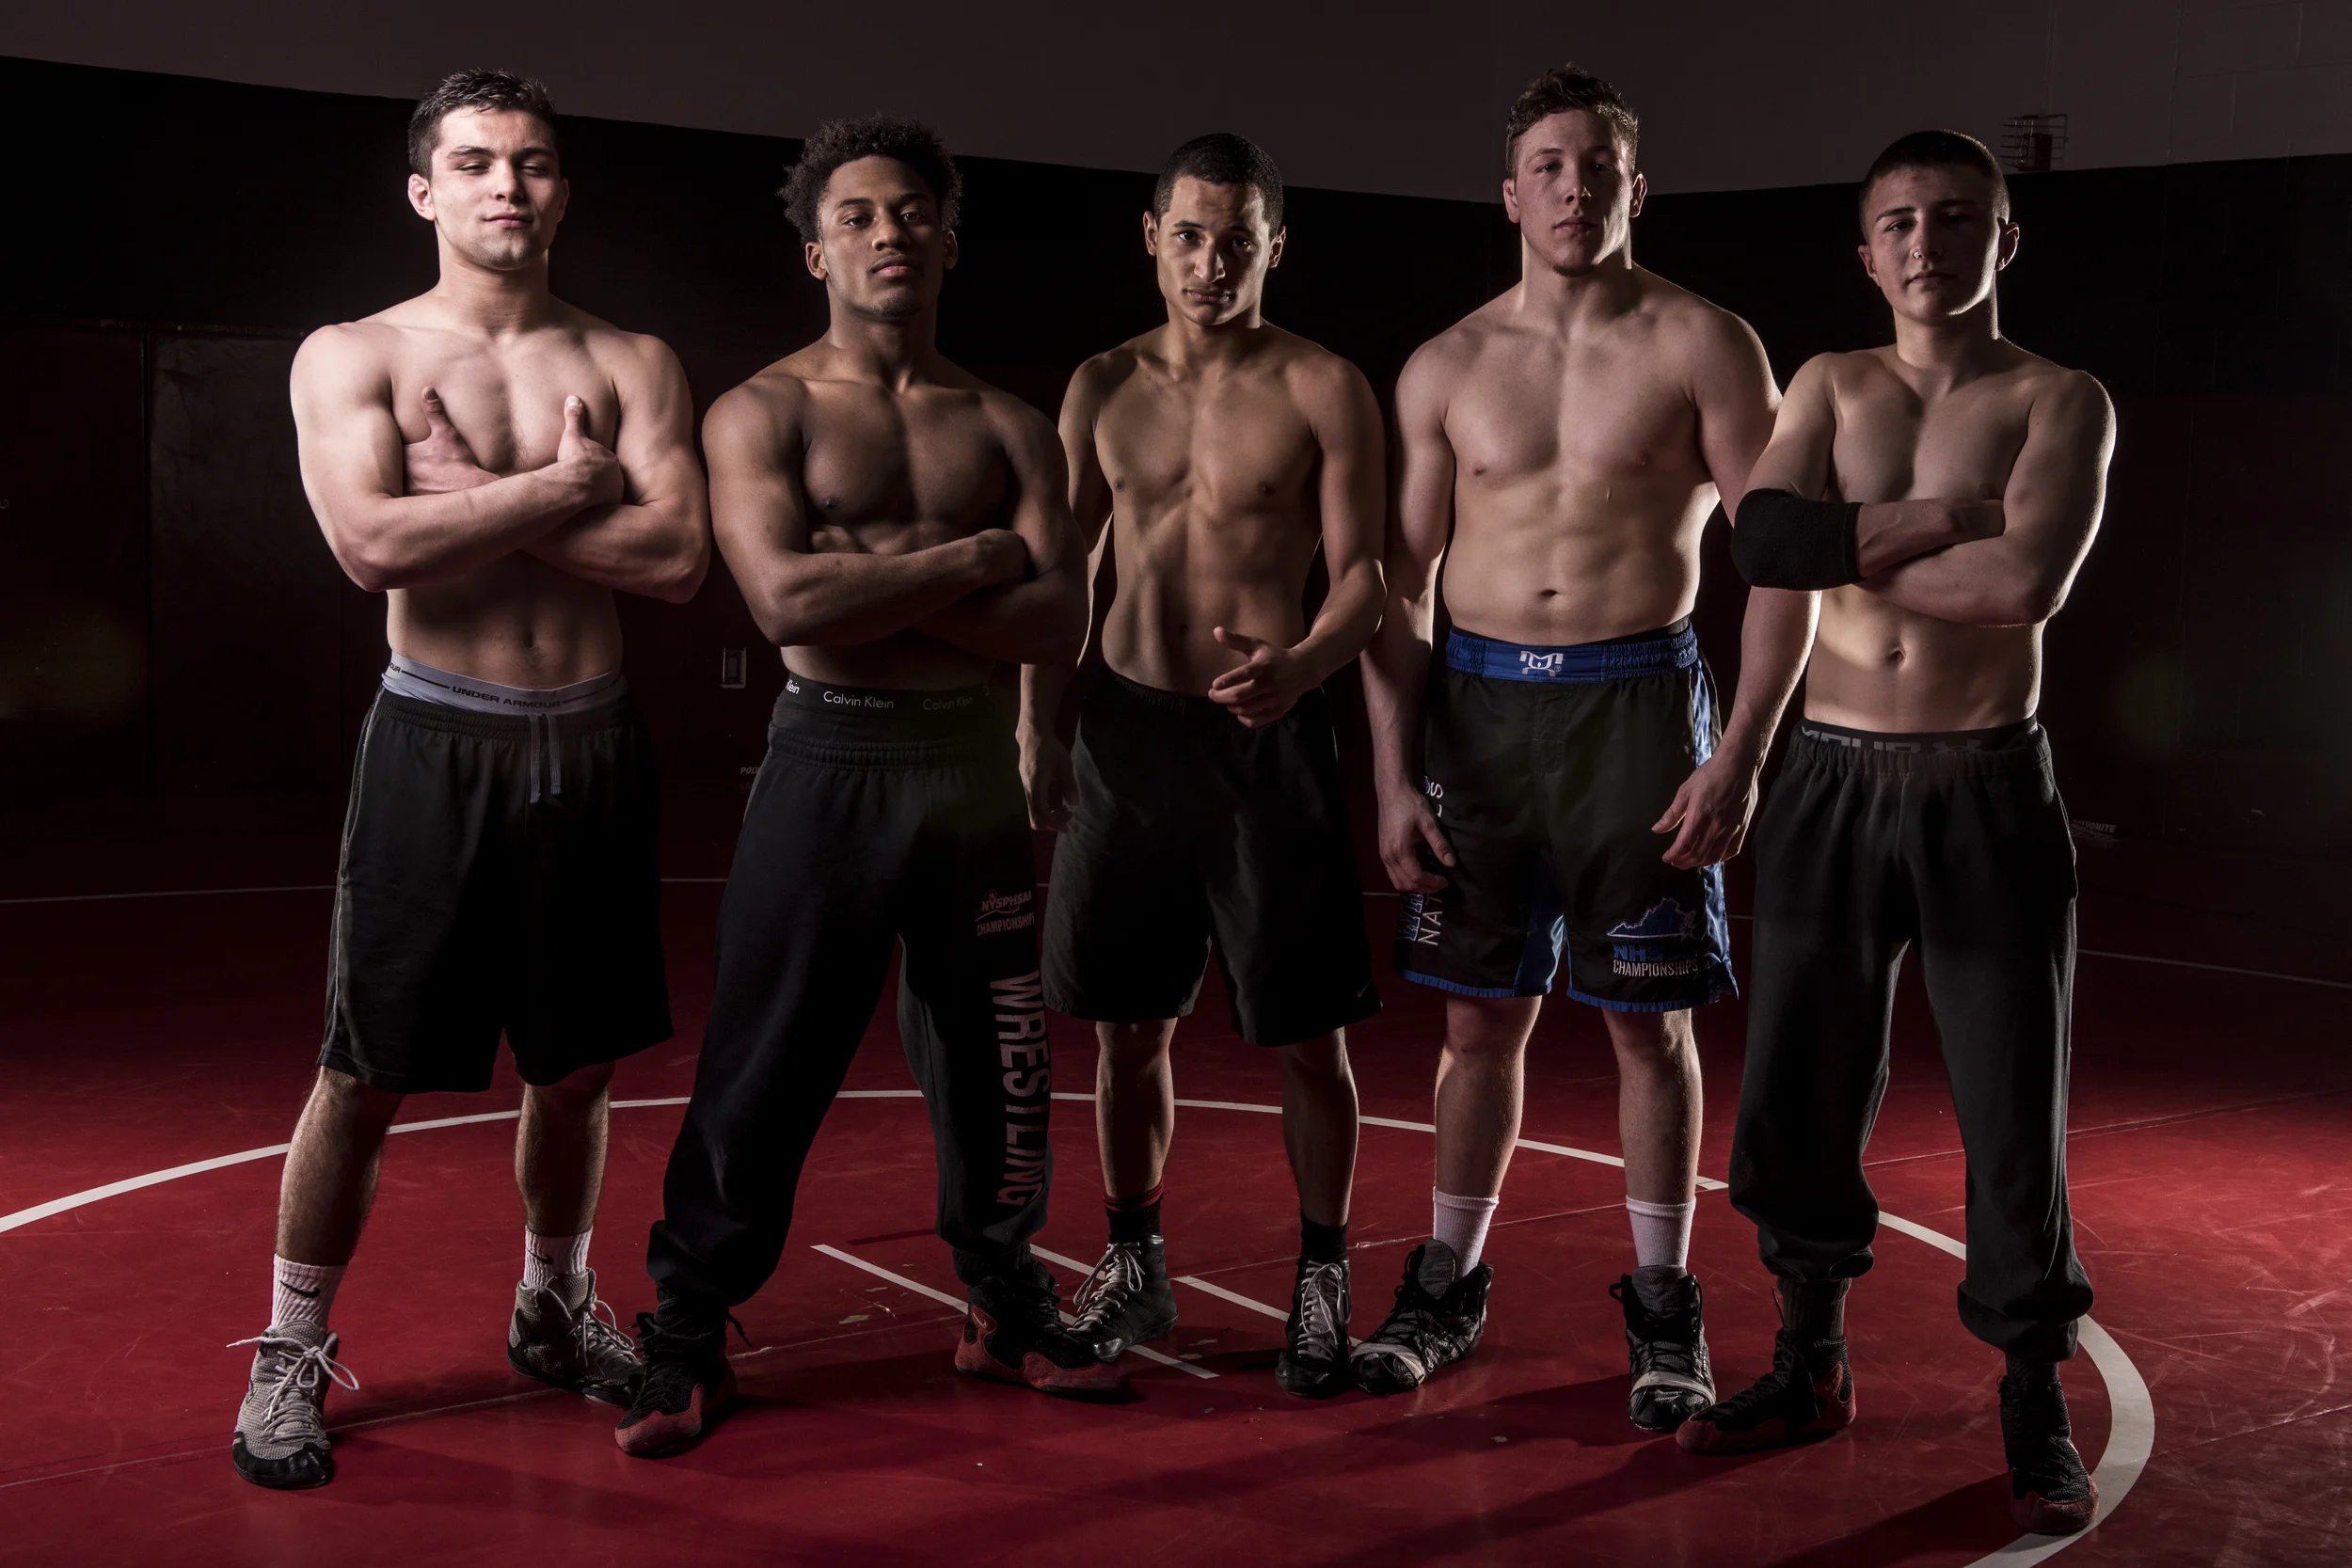
After I got the glamour shots out of their system, they all left and me and my two models had the room to ourselves. This allowed me to get them to give me some real looking emotion (I got them to scream at the top of their lungs repeatedly for the shot.) It was a very successful shoot so when we were done, I took a couple simple portraits that they could go home with.
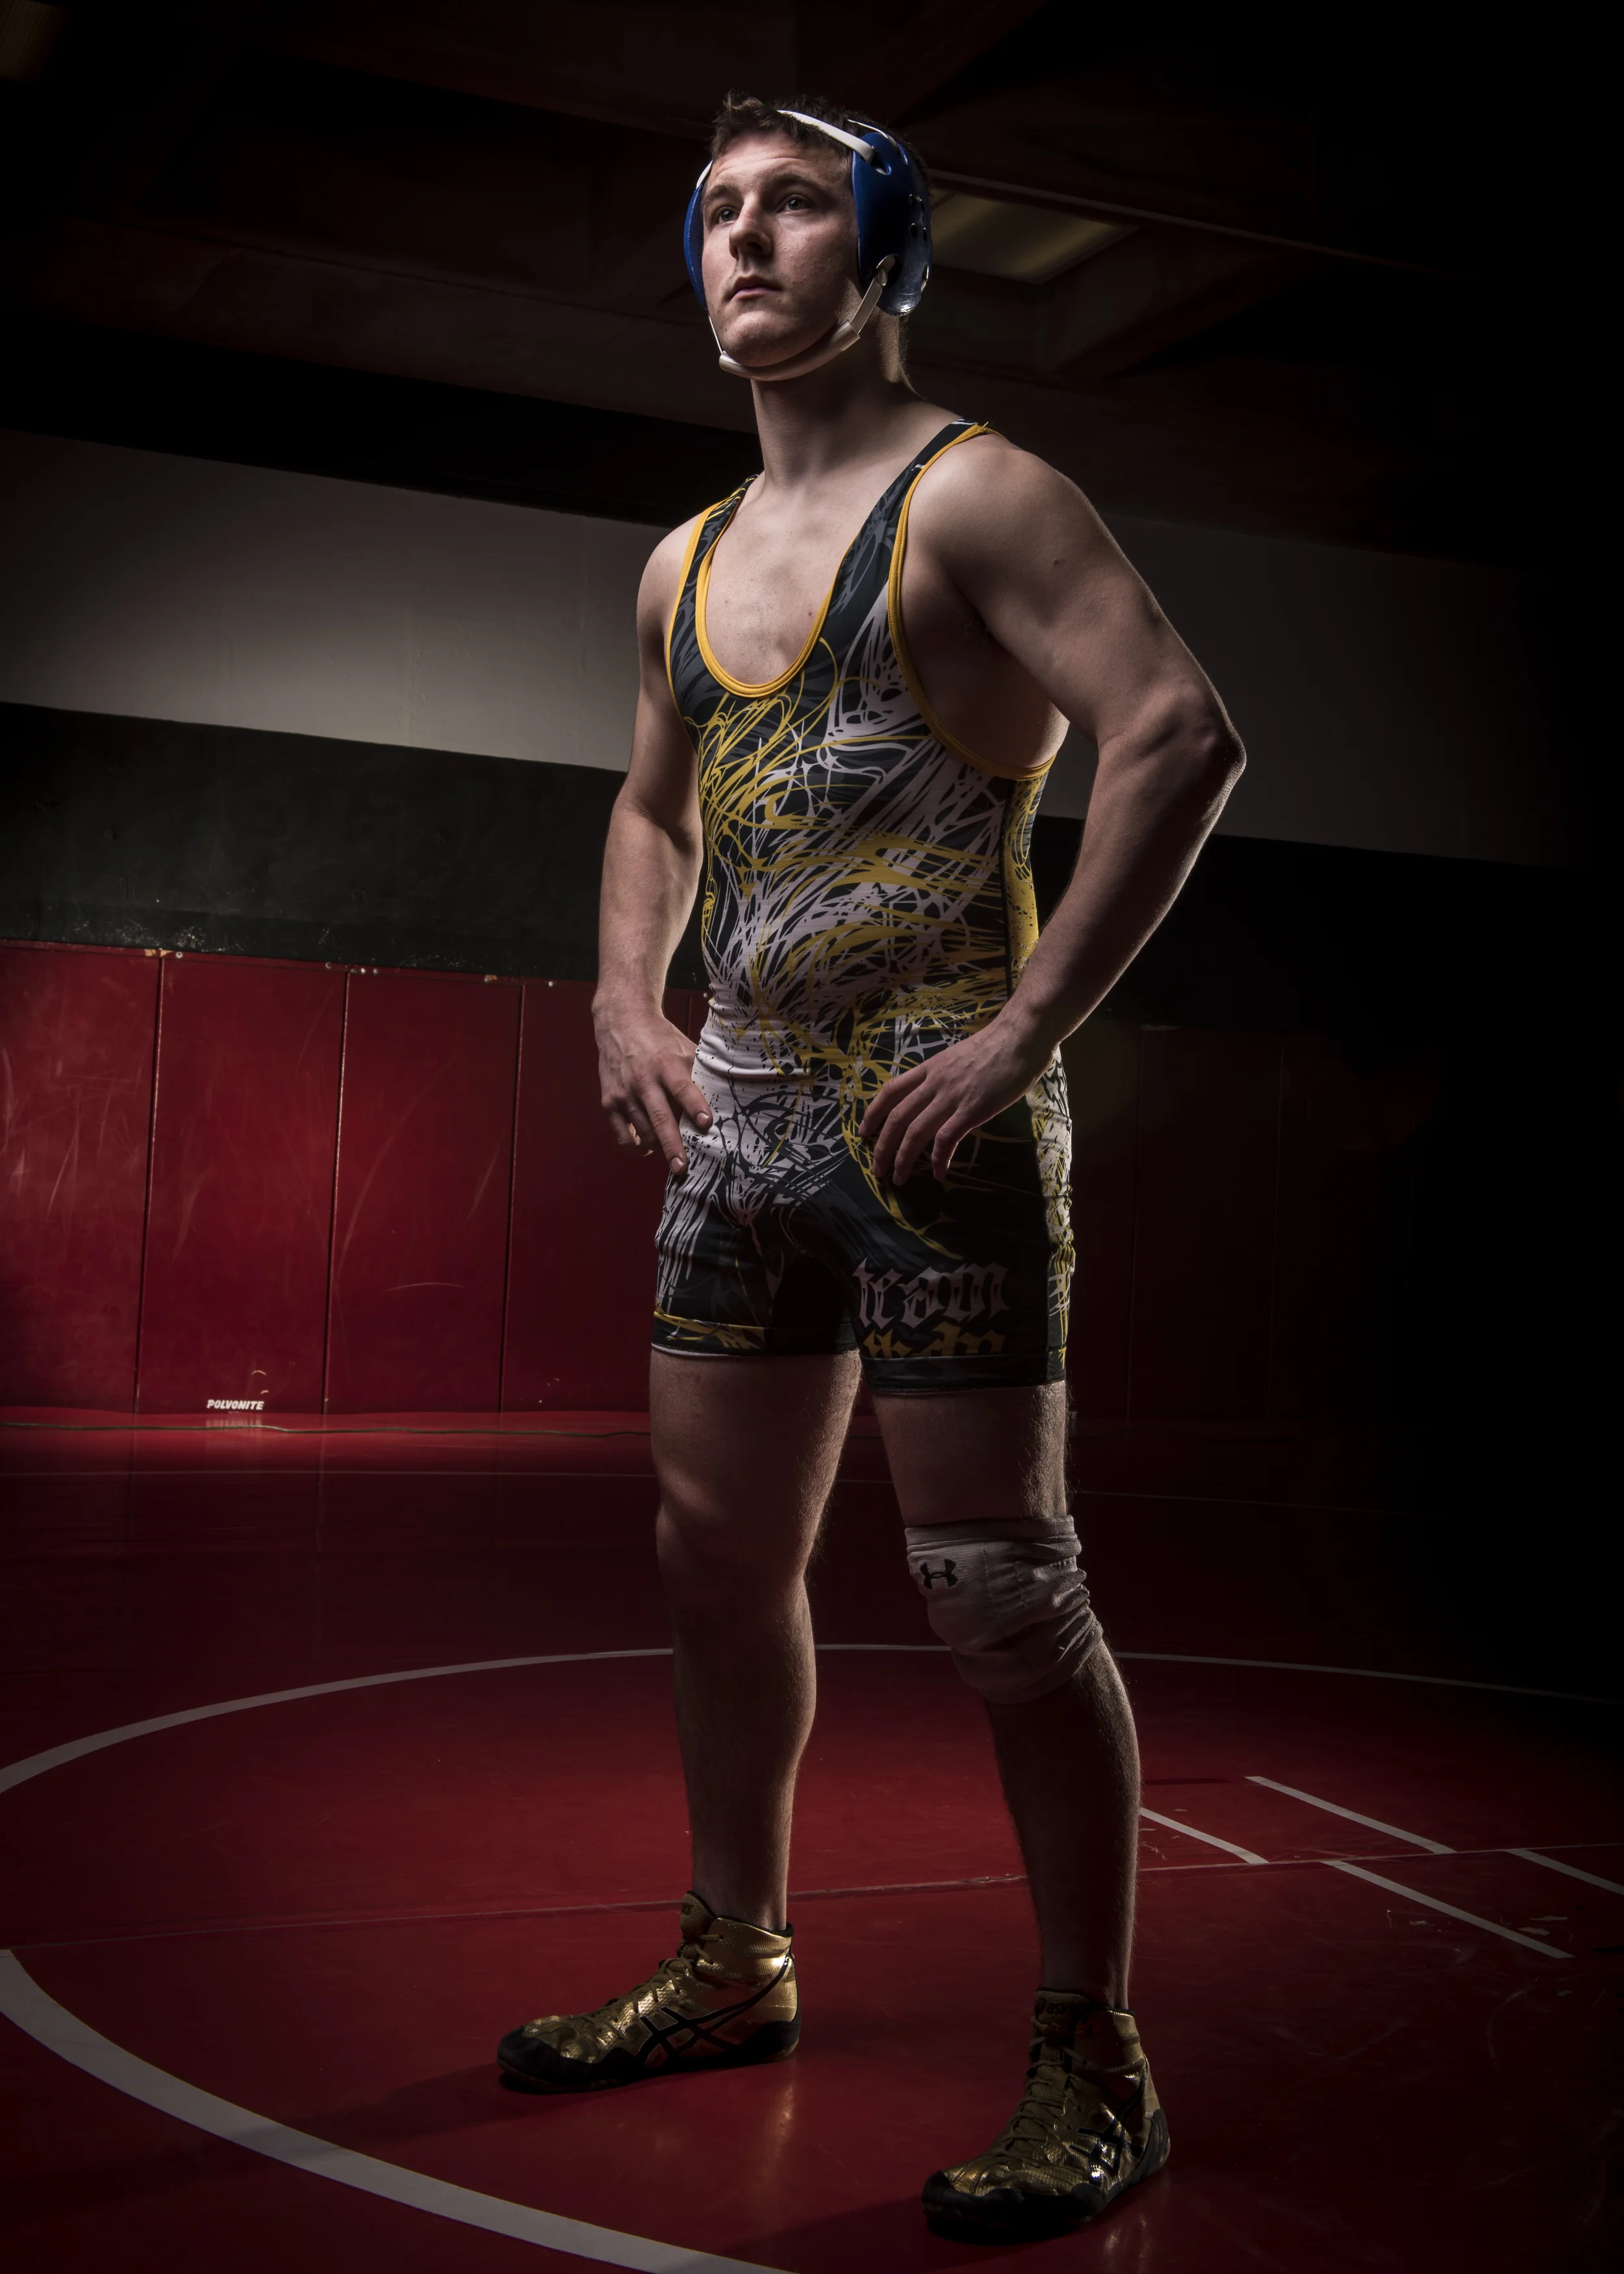
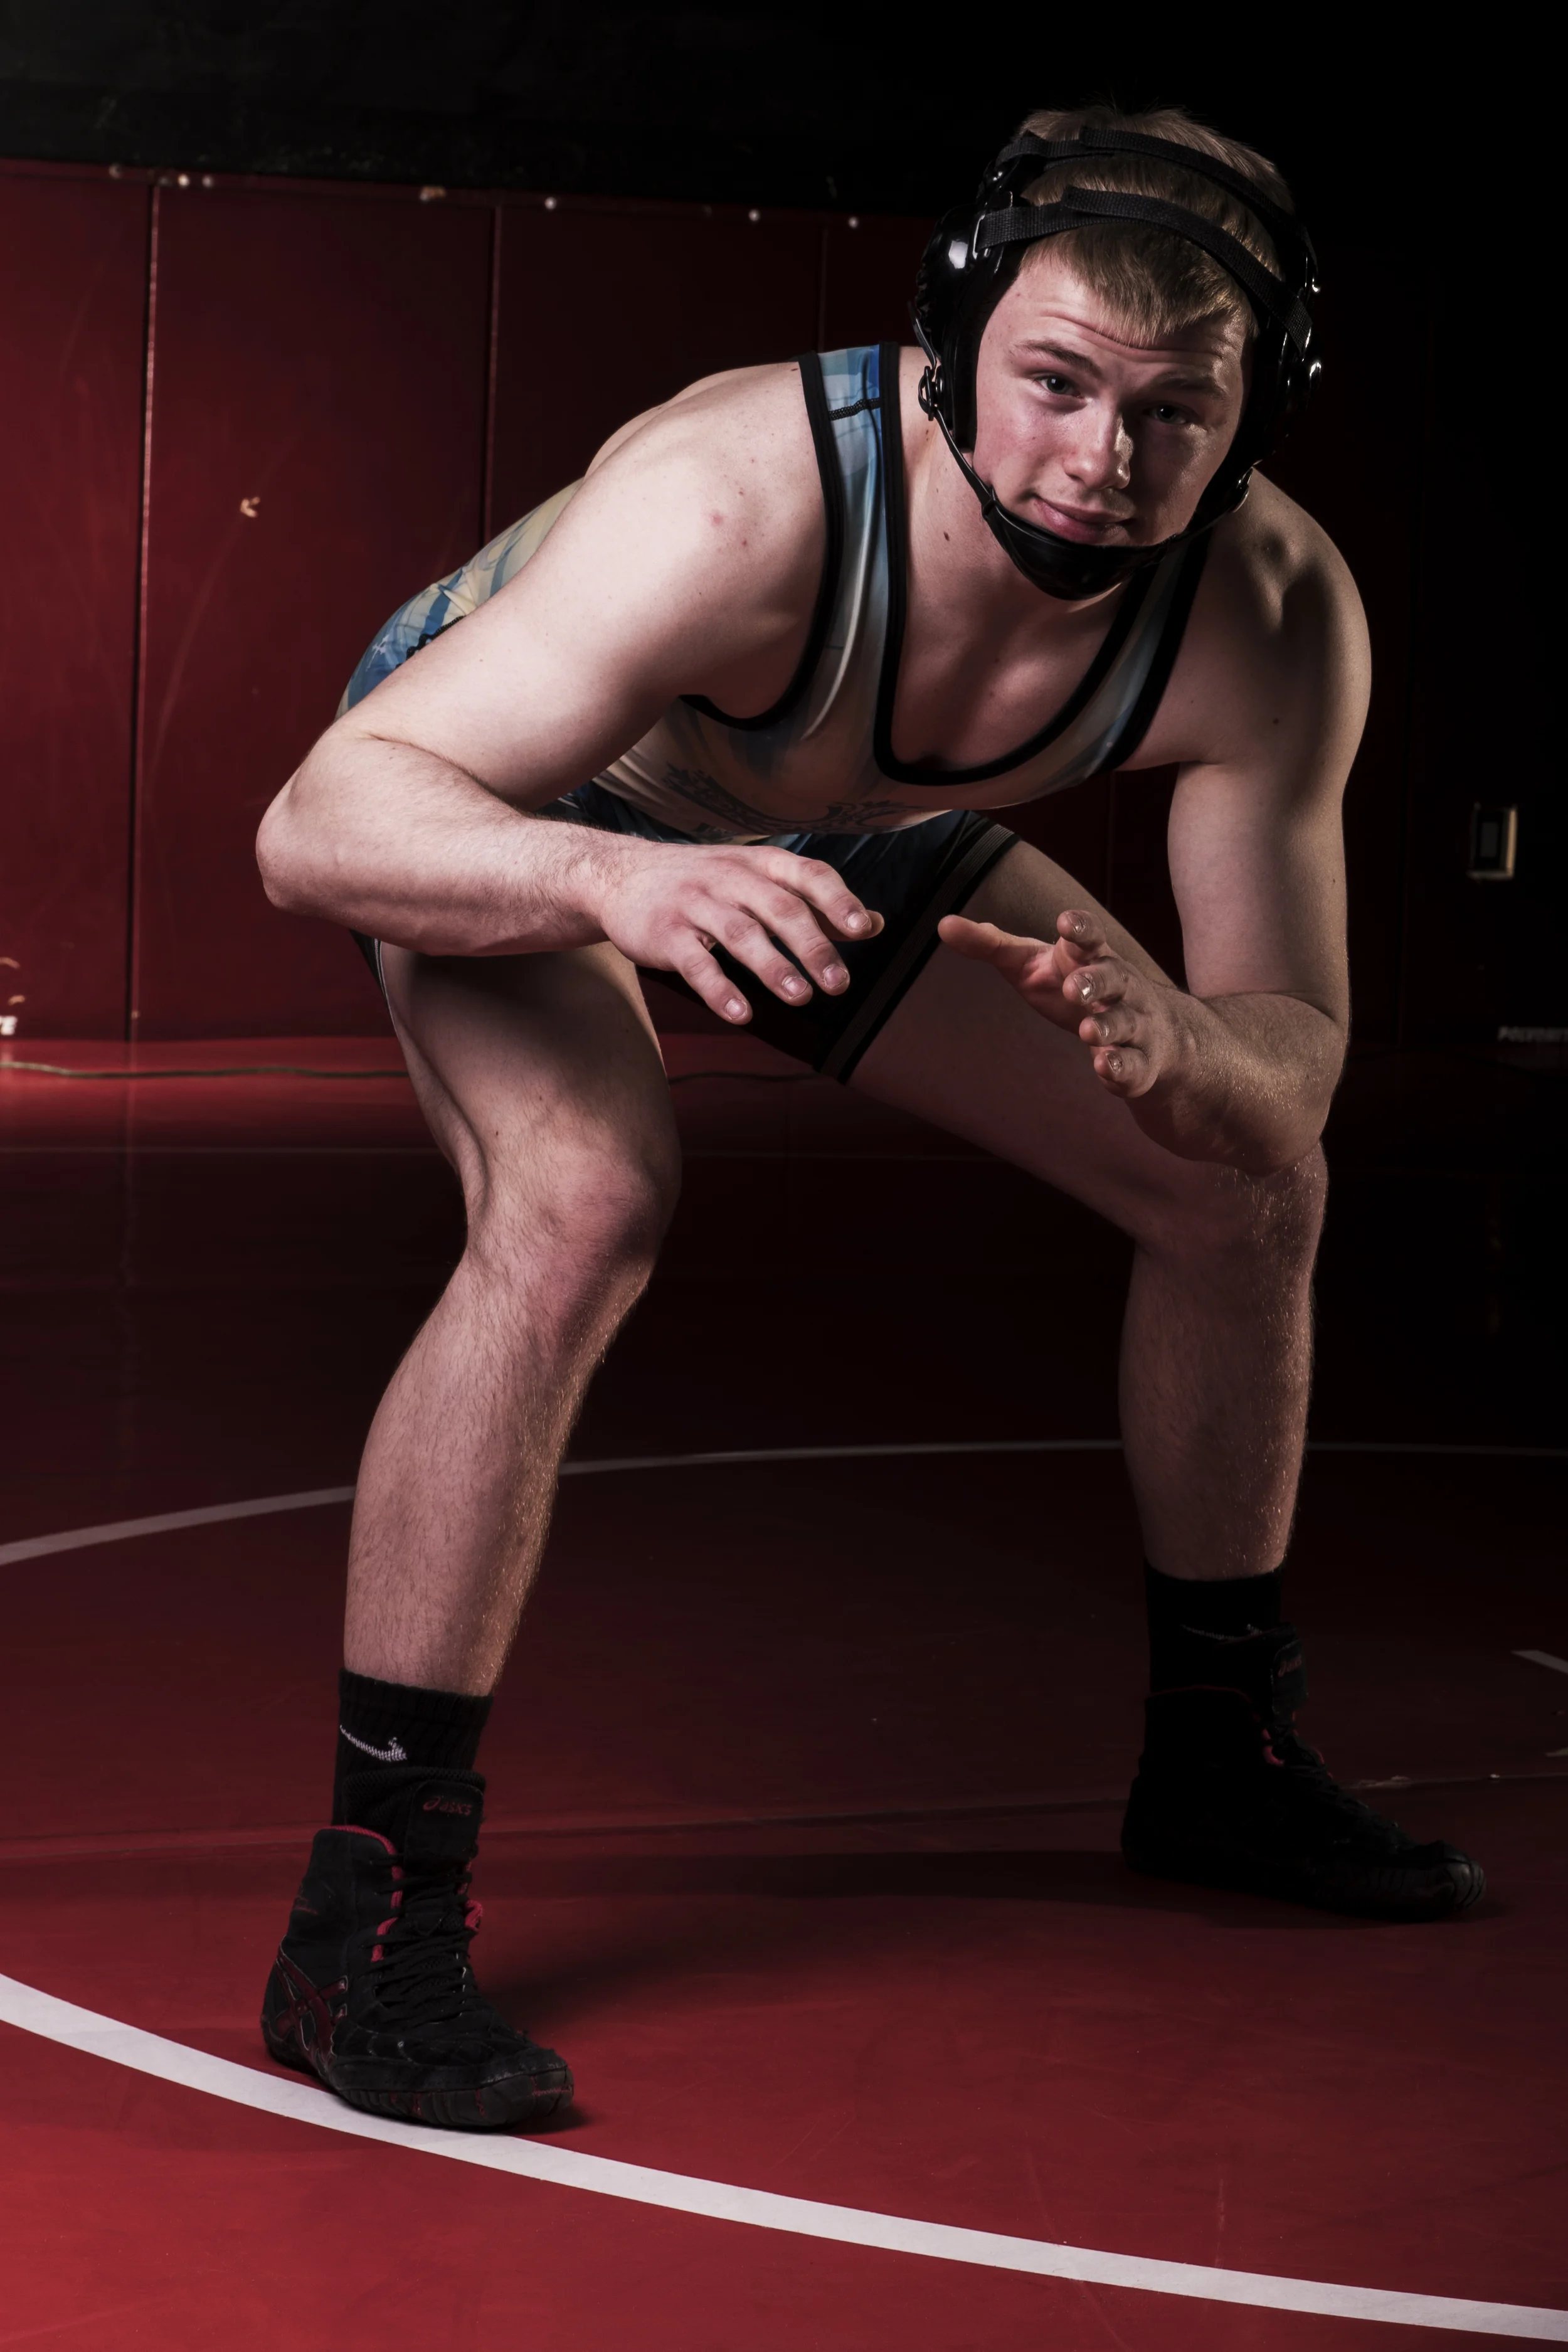
Moral of the story here is the photographer can control the atmosphere of the room as easy as they can control the lights in the room. It just takes confidence when walking into the lions den, or in this case, a room full of college wrestlers.
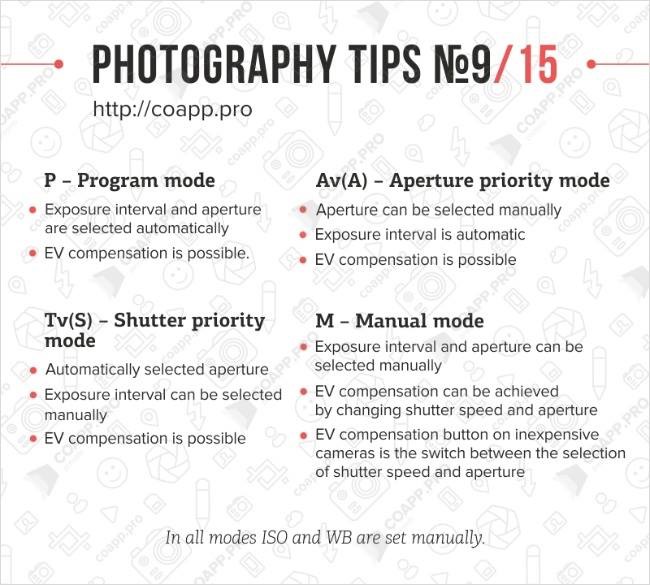
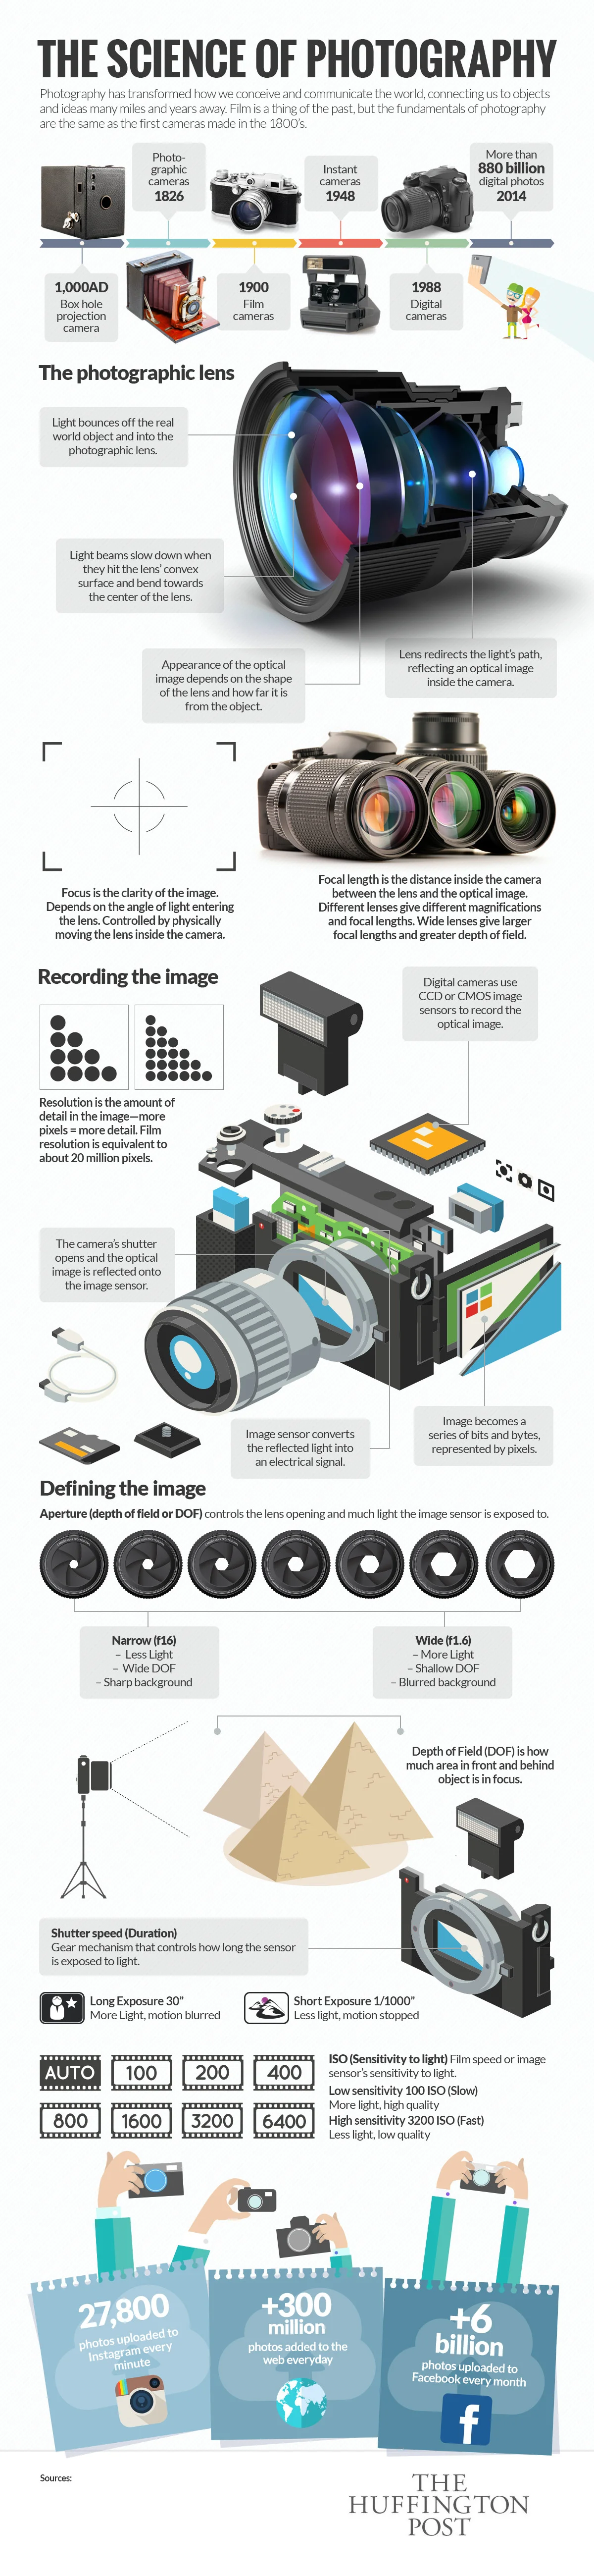
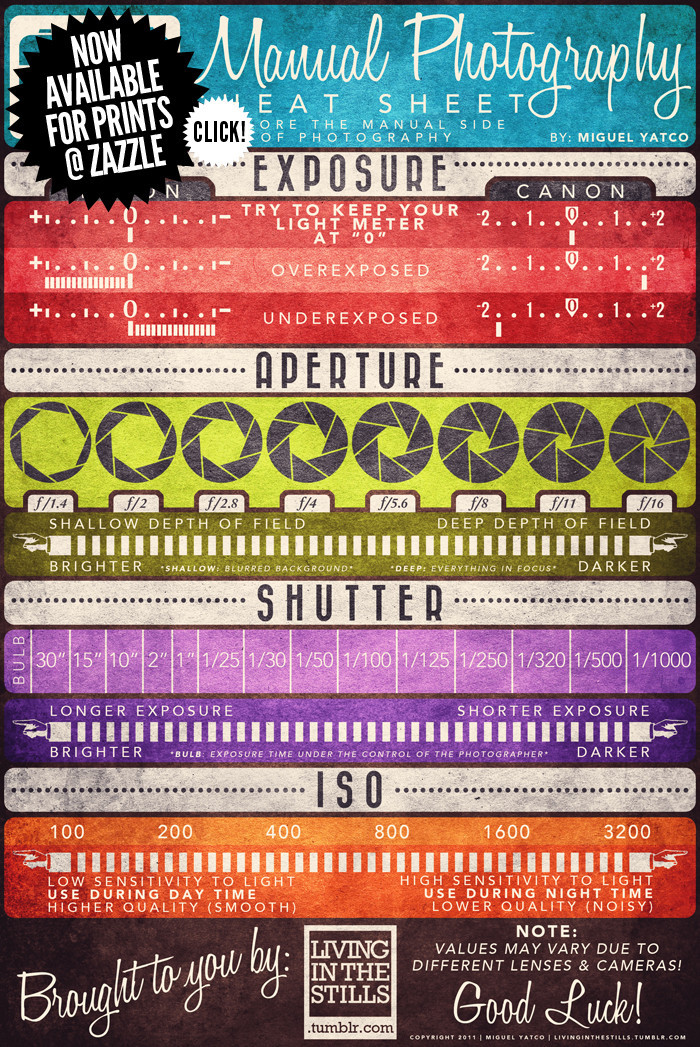
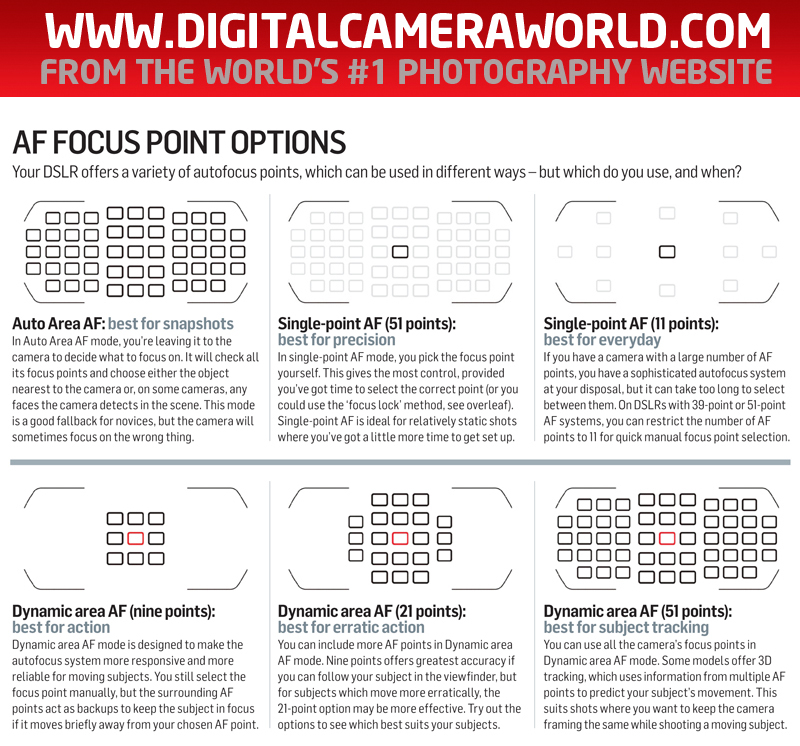
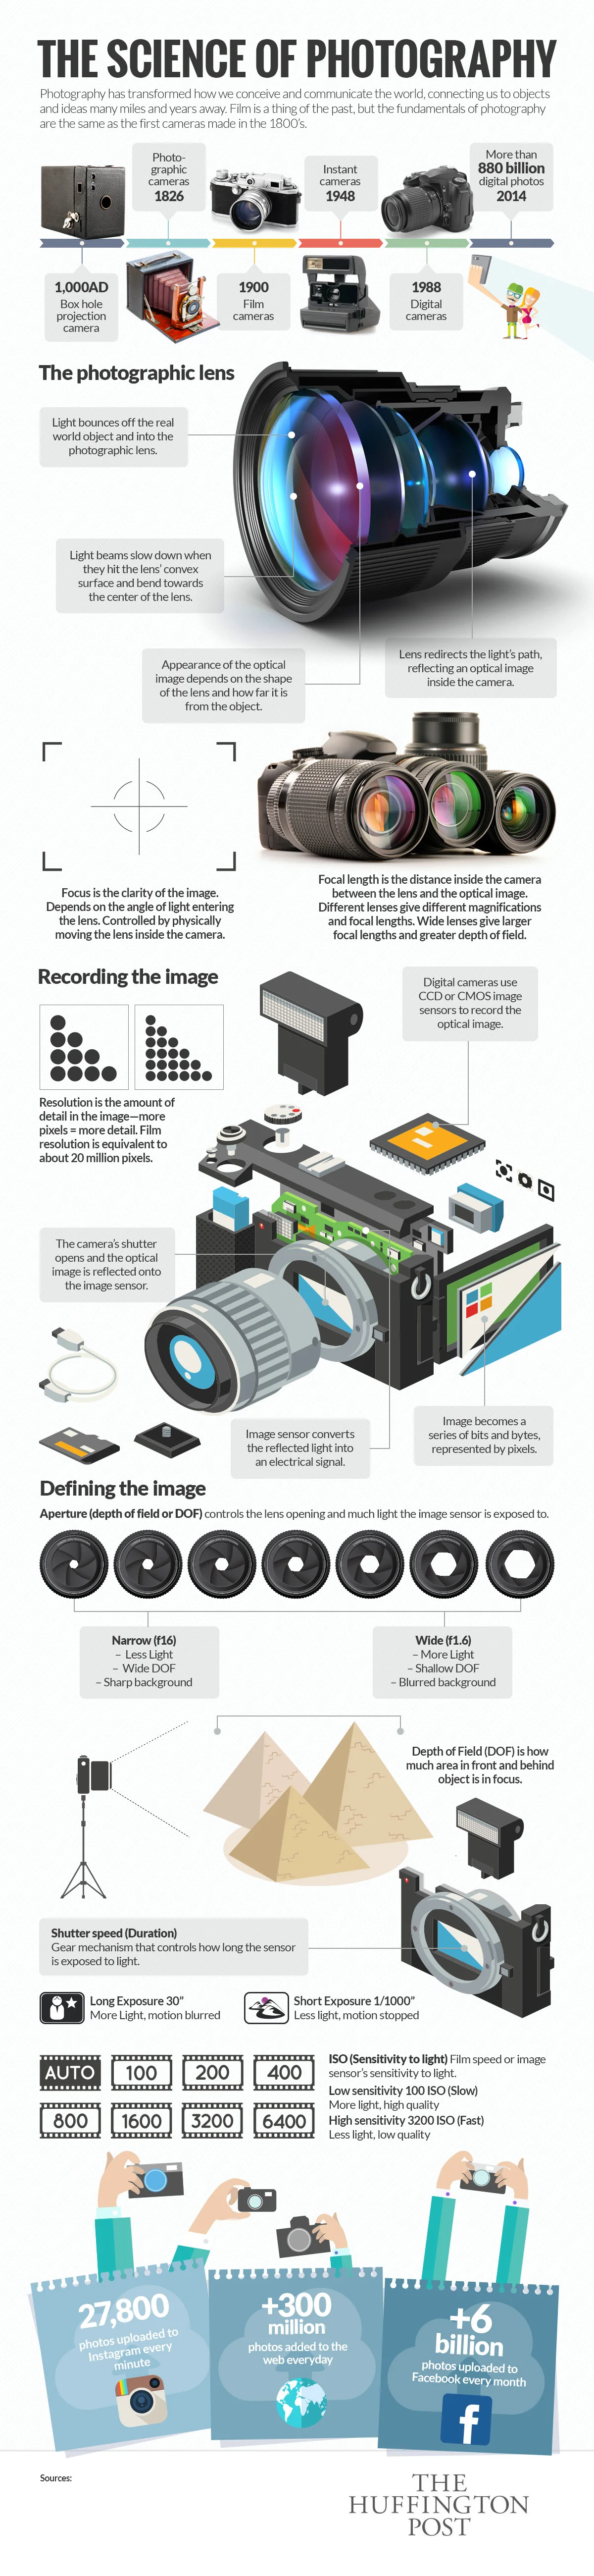
Photo Guide Infographics
Here are some well organized infographics I found that can help you understand photography! I will be sure to keep updating as I find more.