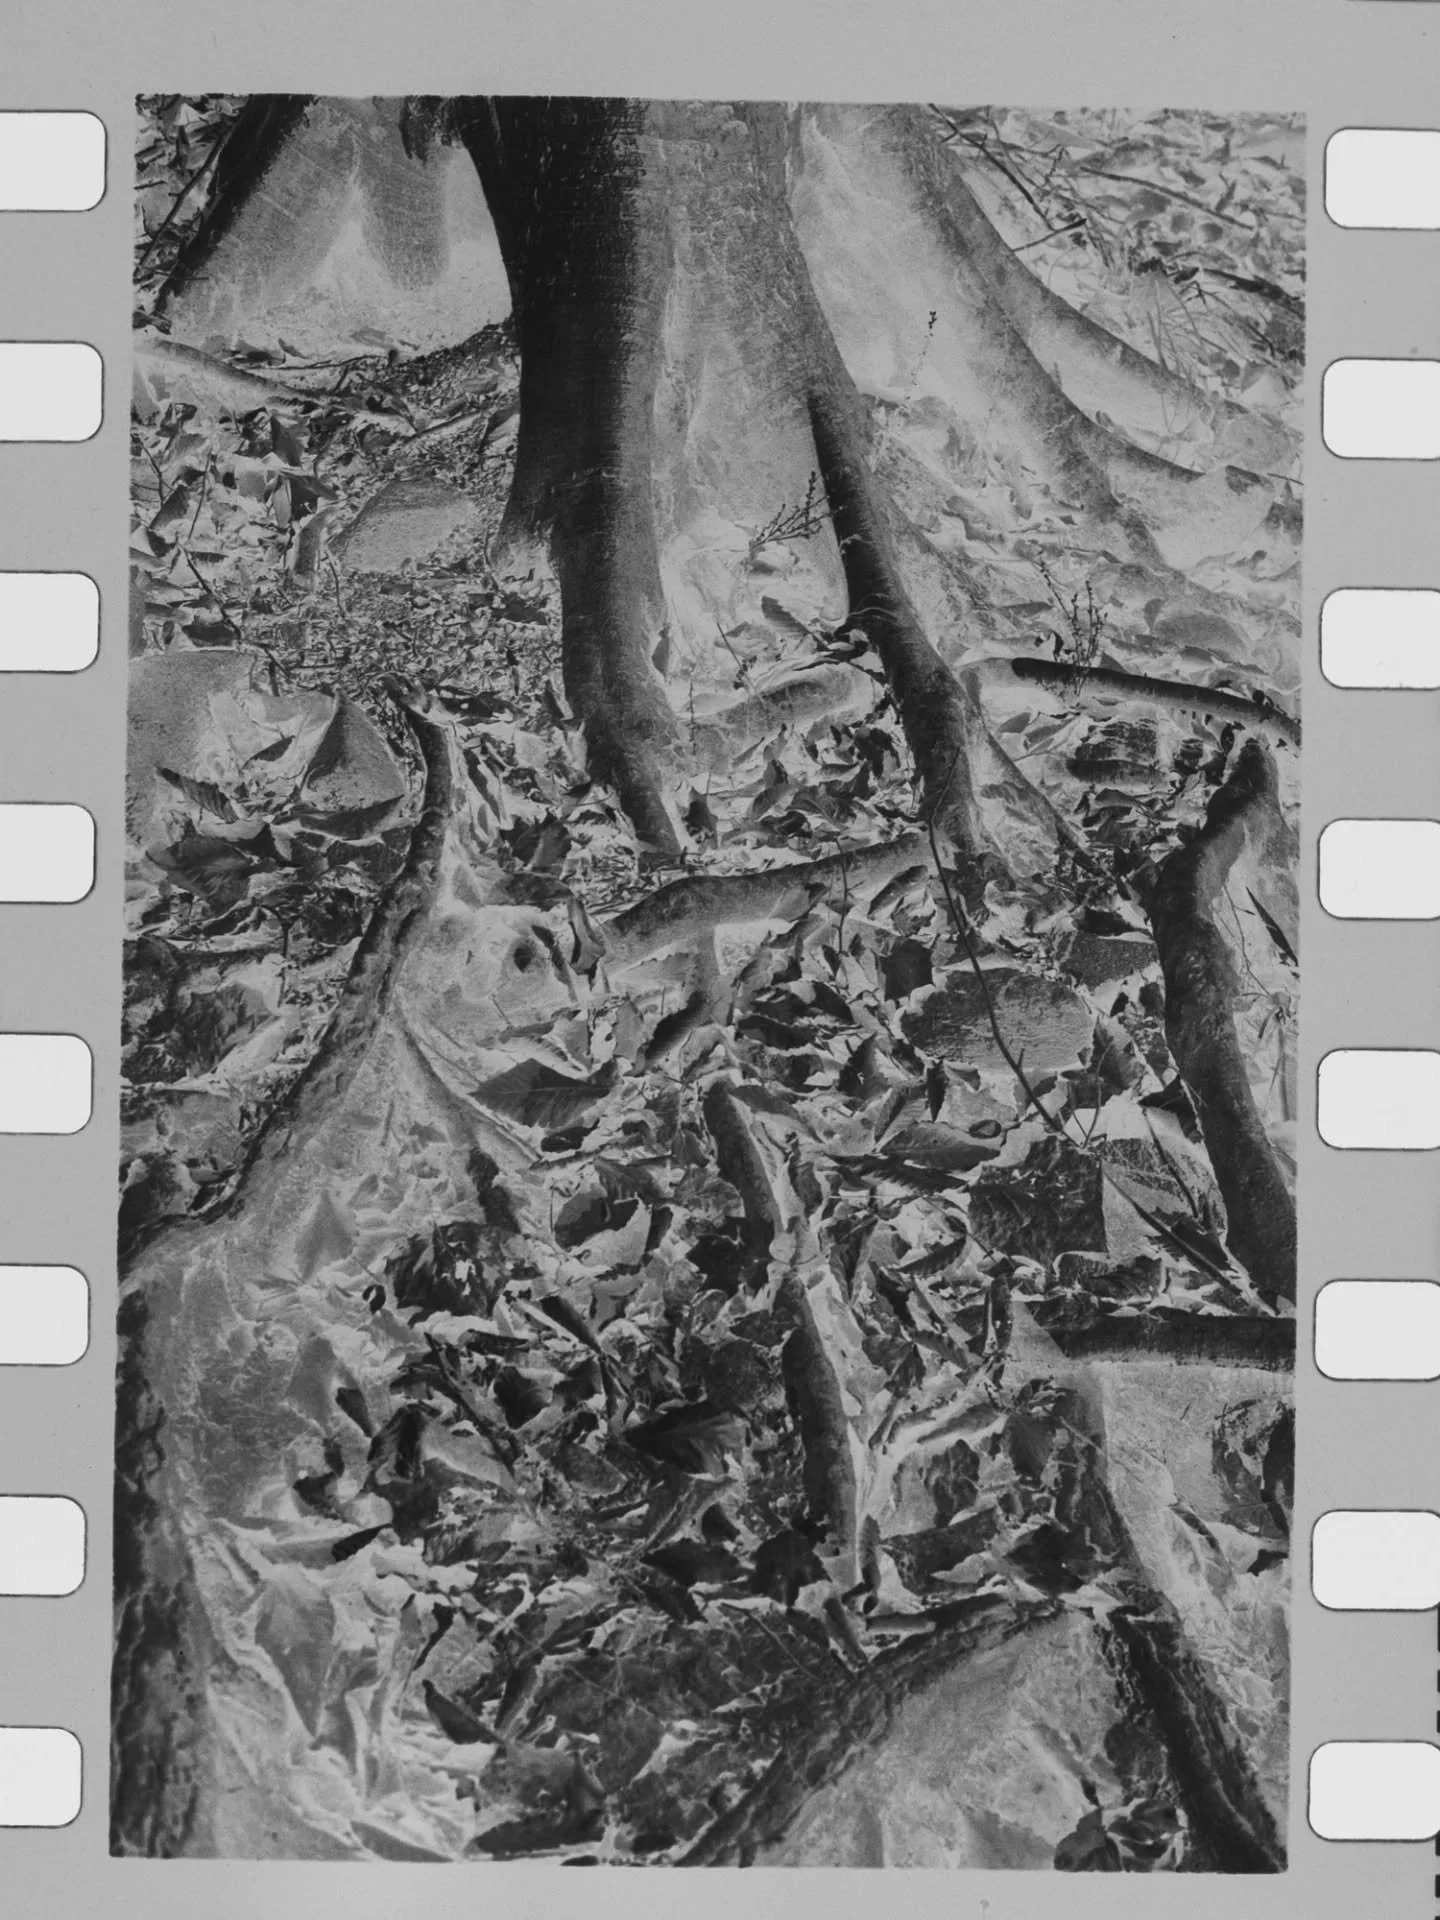
Catching up

Okay, It has been quite a while since my last blog post! I wanted to update you all on everything I haven’t written about yet!
I am coming out of the fog otherwise known as my second to last semester of grad school. I have pretty much been knee deep in my Thesis project (which I will explain a little further later on.) So to explain the .gif above, I feel like I just returned to reality now that the semester is over.
I also managed to shoot two weddings towards the end of the summer!

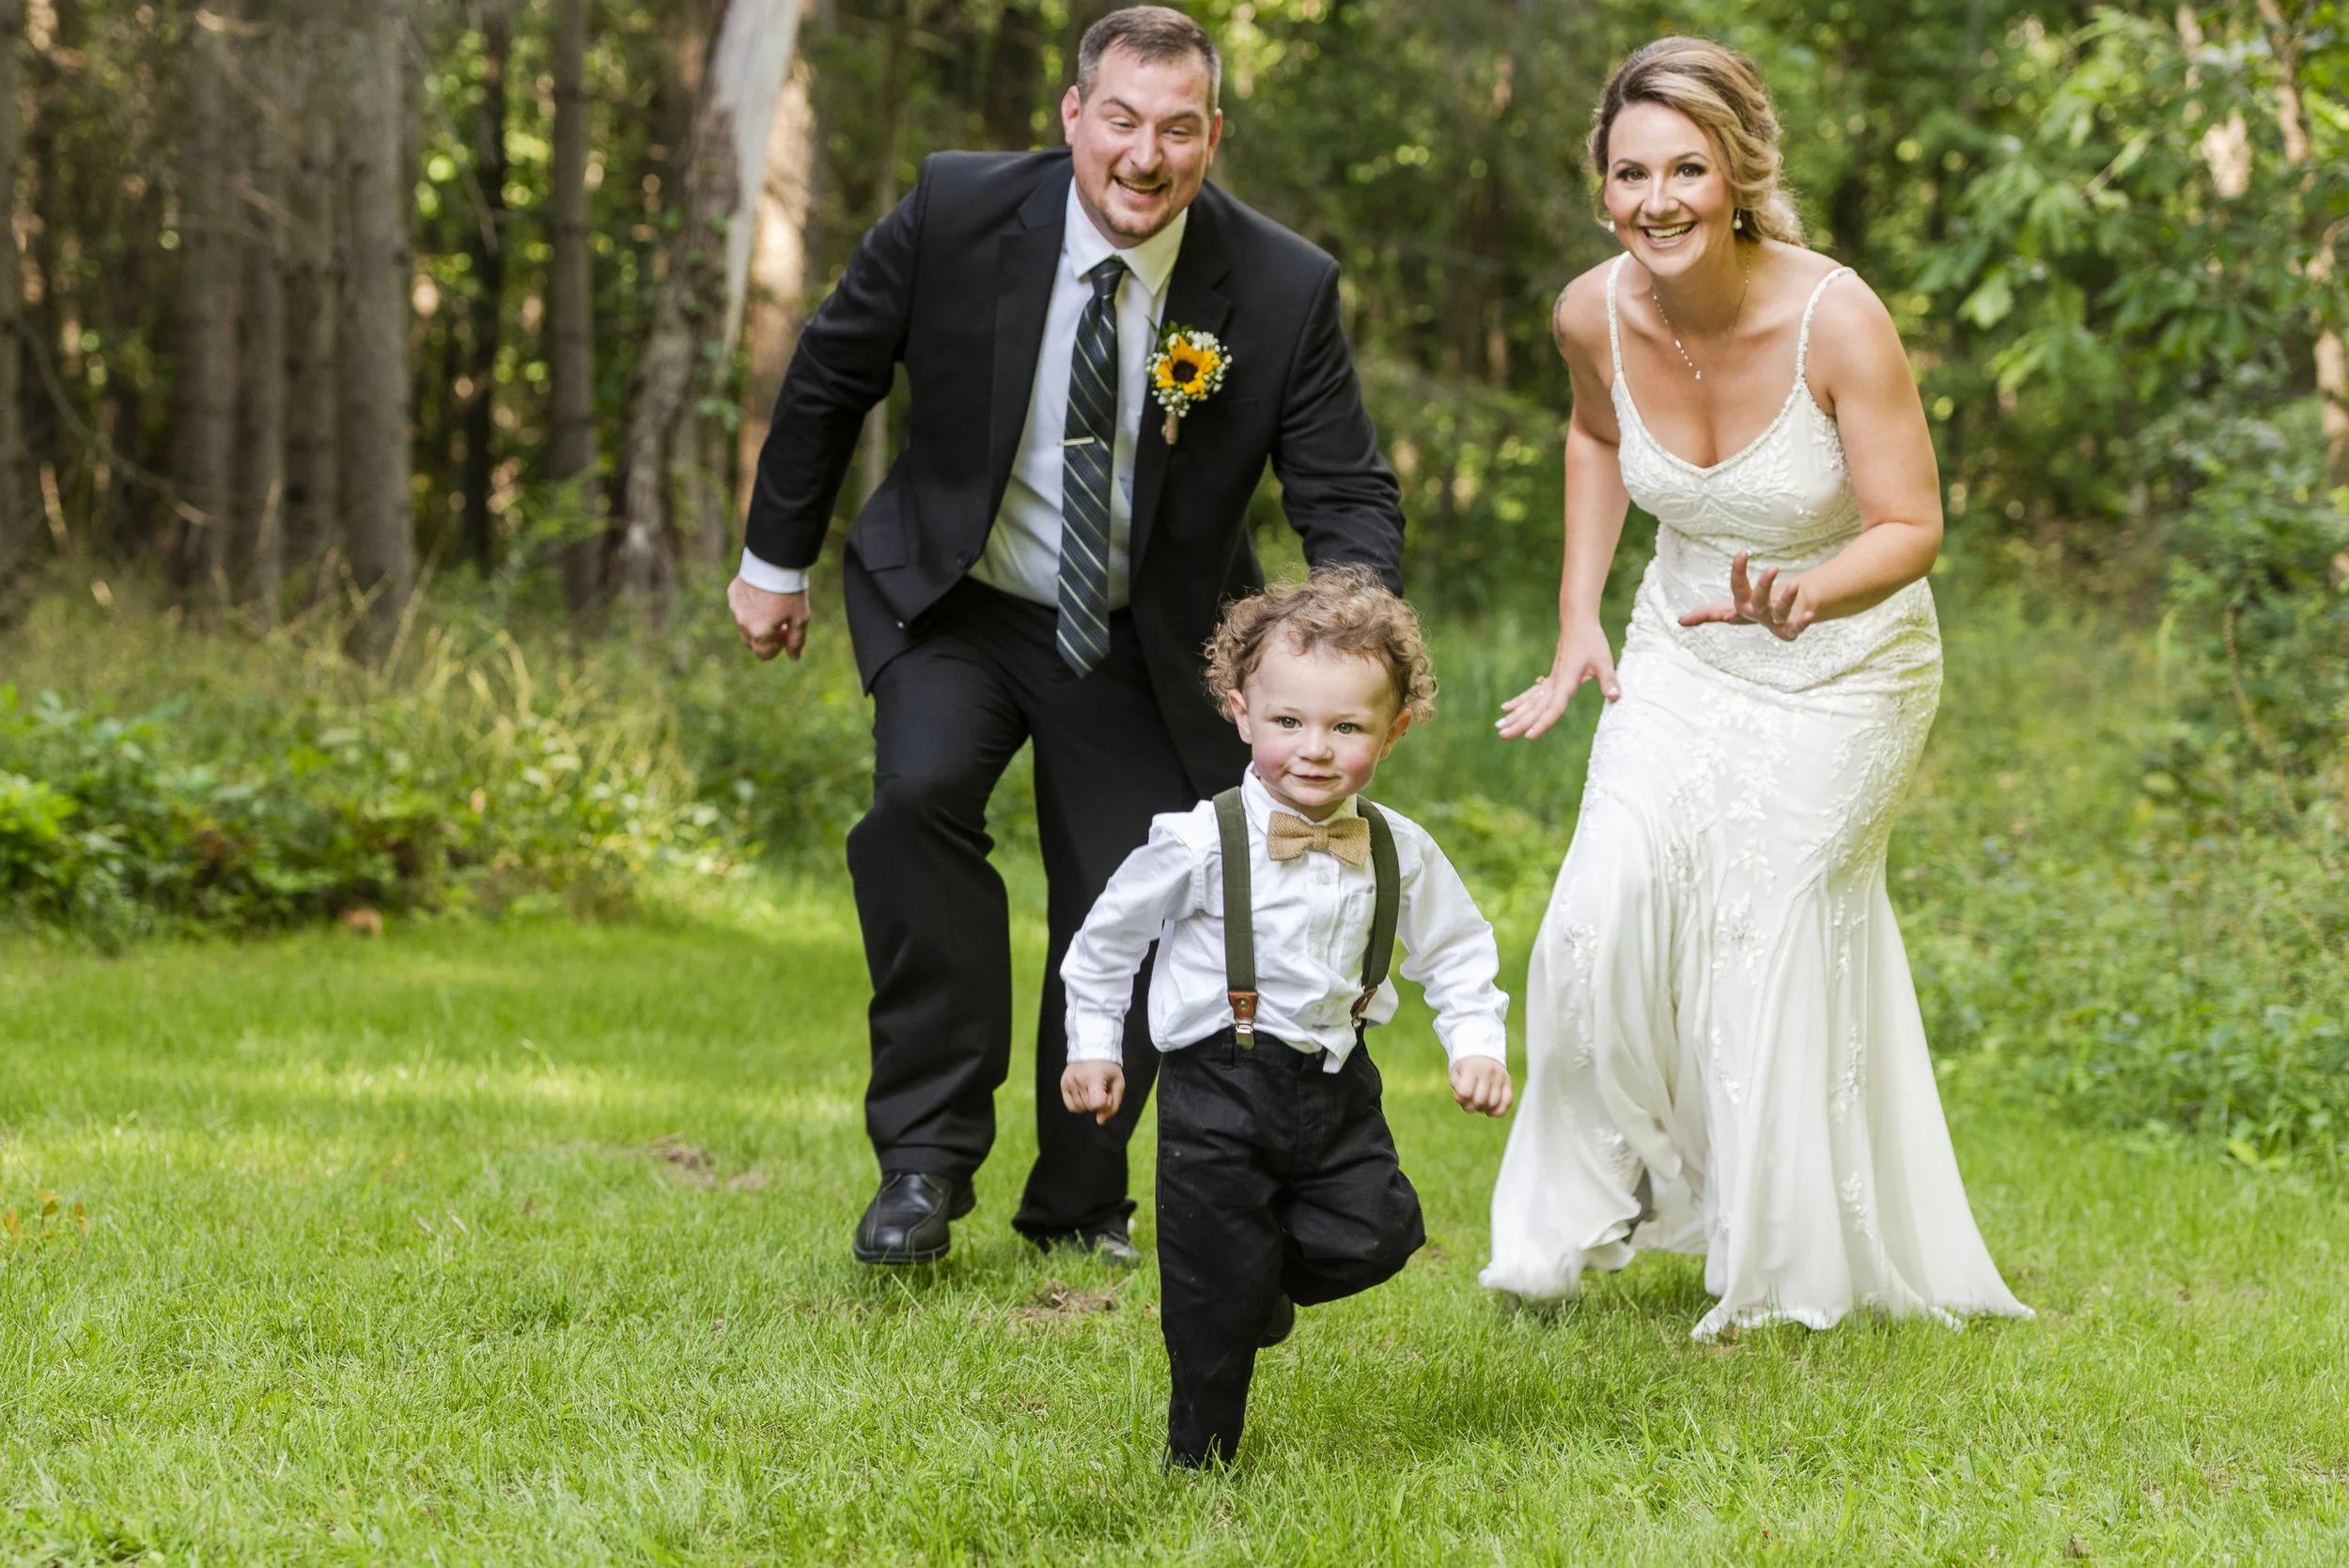
I have a couple more booked for 2019 already and I also have shot an engagement session this past fall. The images came out stunning because sunset at Canandaigua Lake is just beautiful.

If this beautiful couple and their puppers look familiar, it is because I photographed them all a year or so ago! Seamus and Shooz were so happy to be walking around the lake!
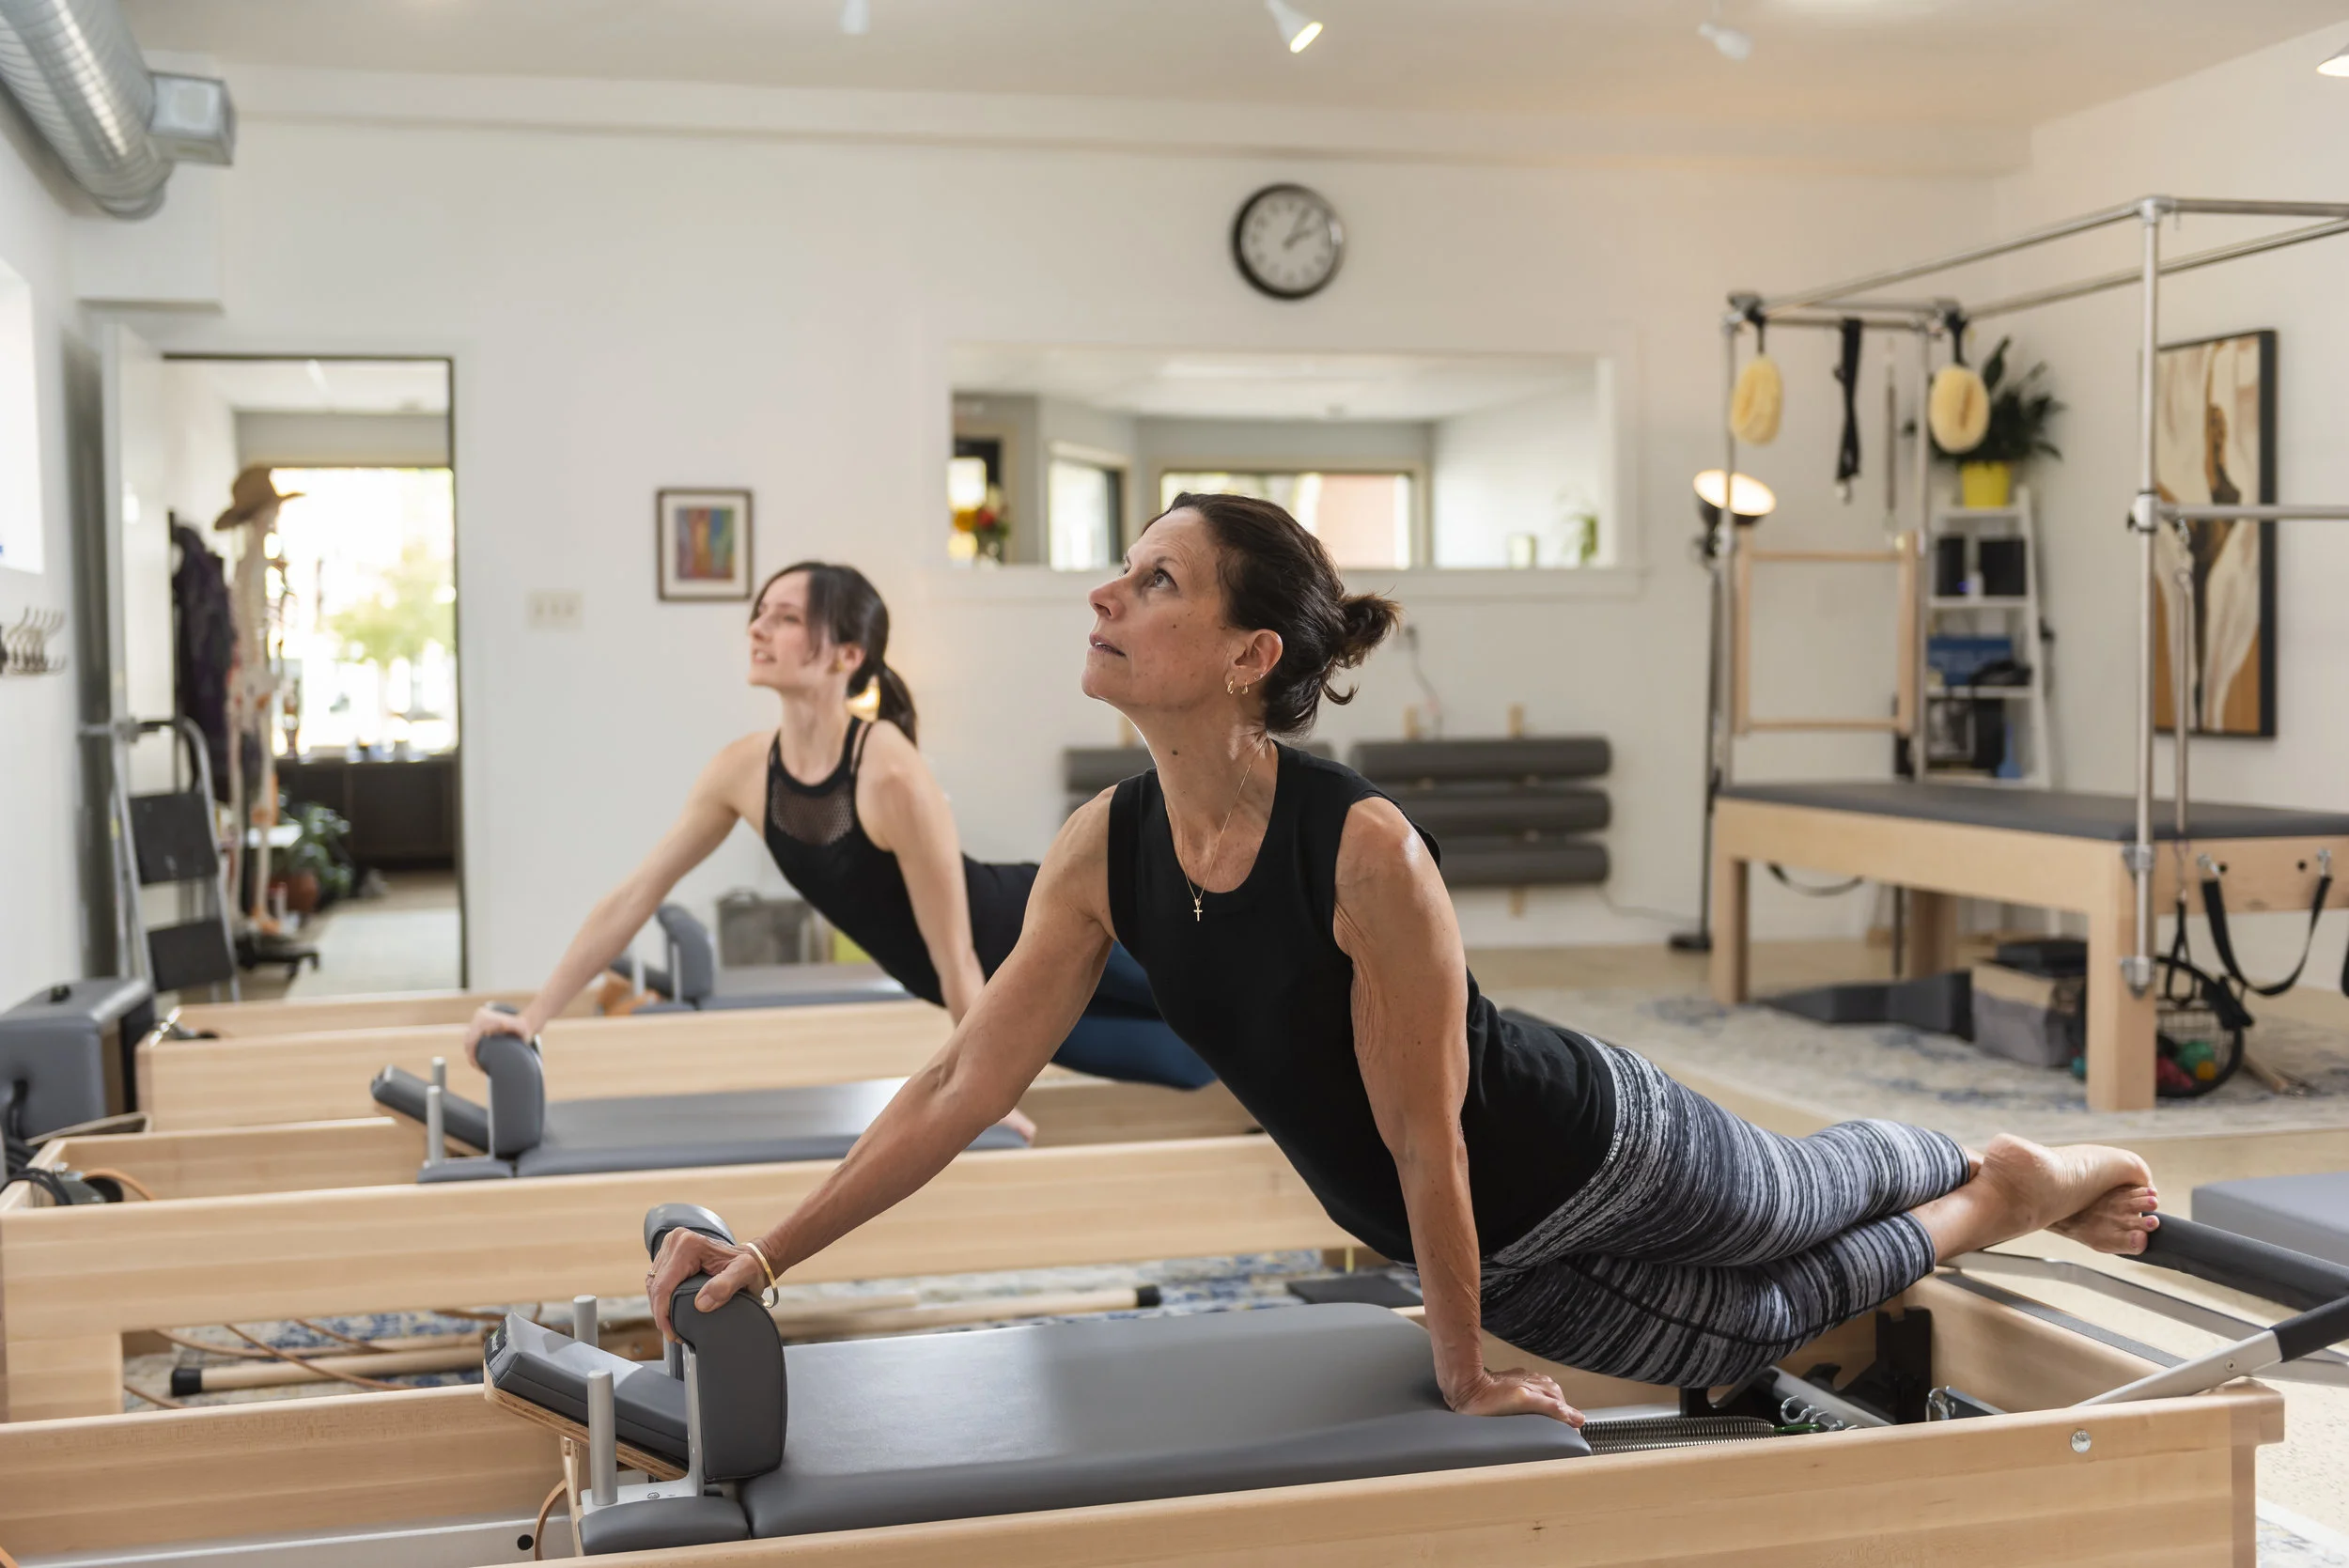
Speaking of returning clients, I had another one contact me again for more photos. Kate at Crescent Trail Pilates Opened up a new Pilates studio in Fairport, NY. The new space is beautiful and she has a new instructor helping out with their clients.
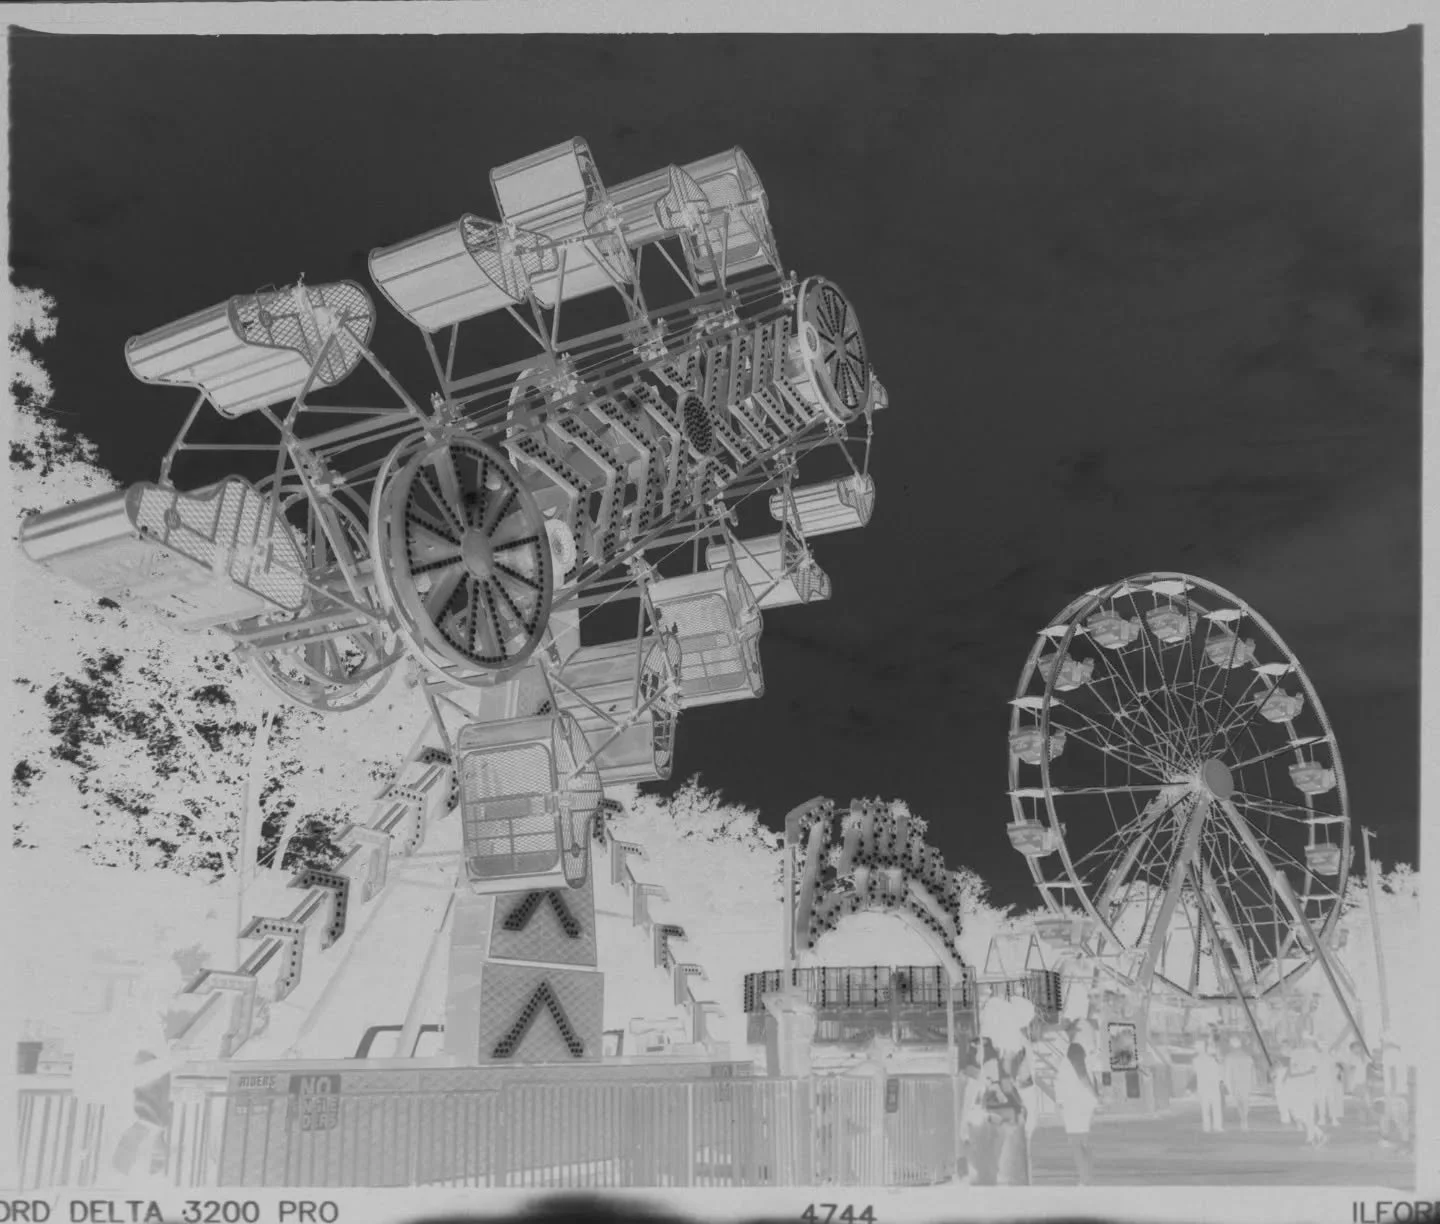
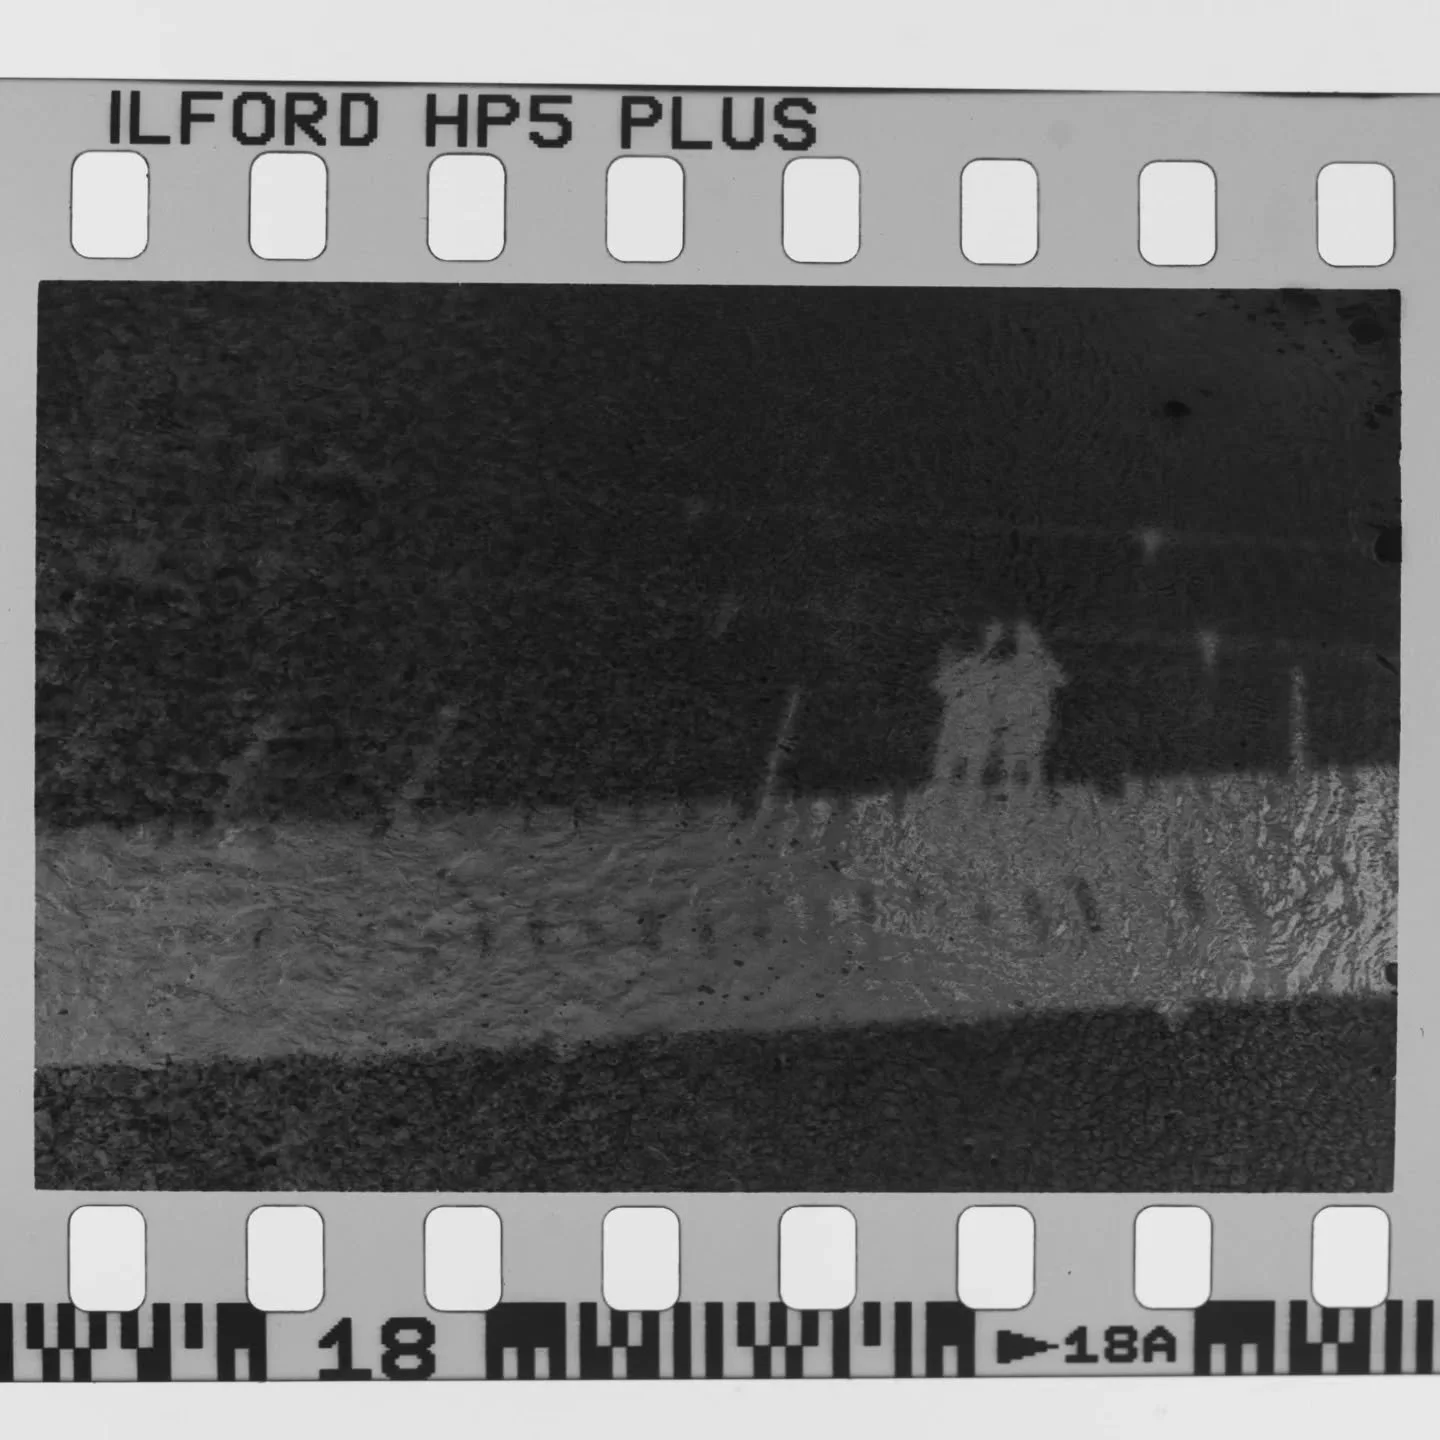
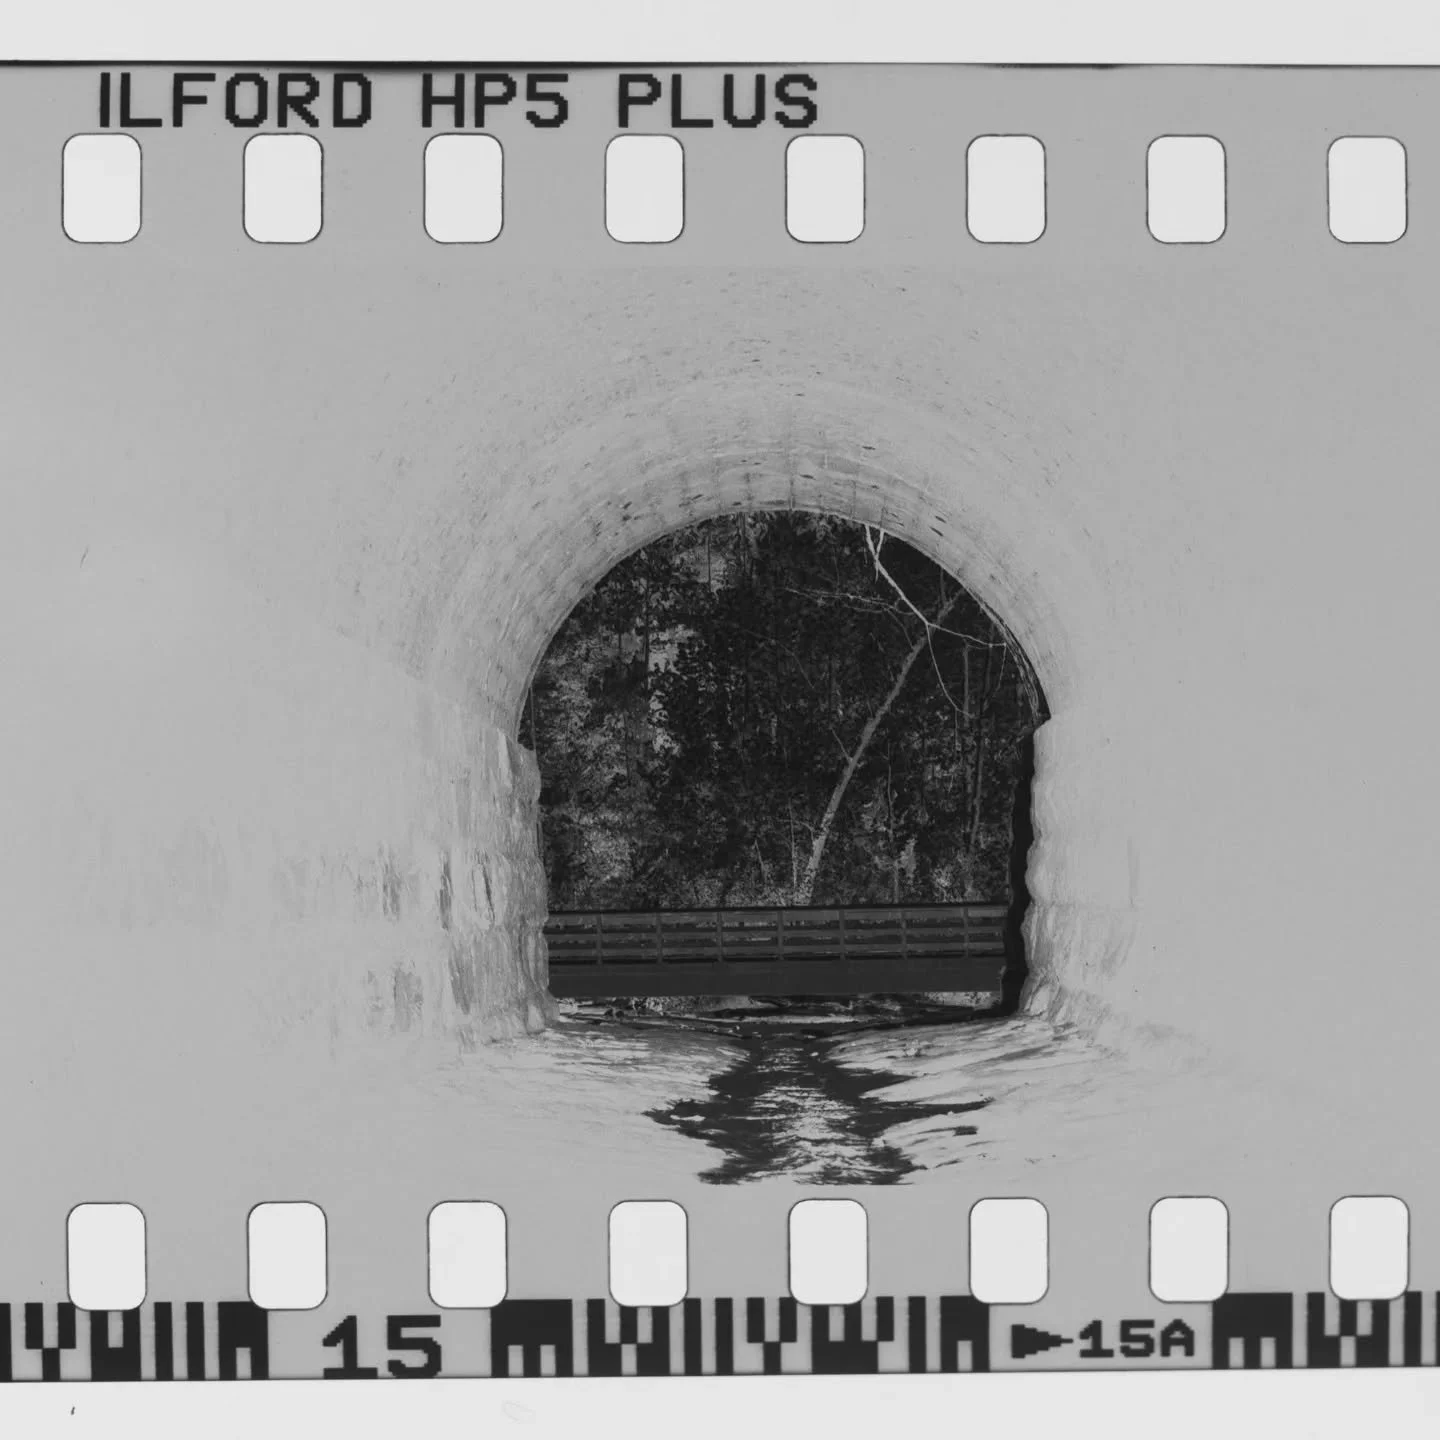
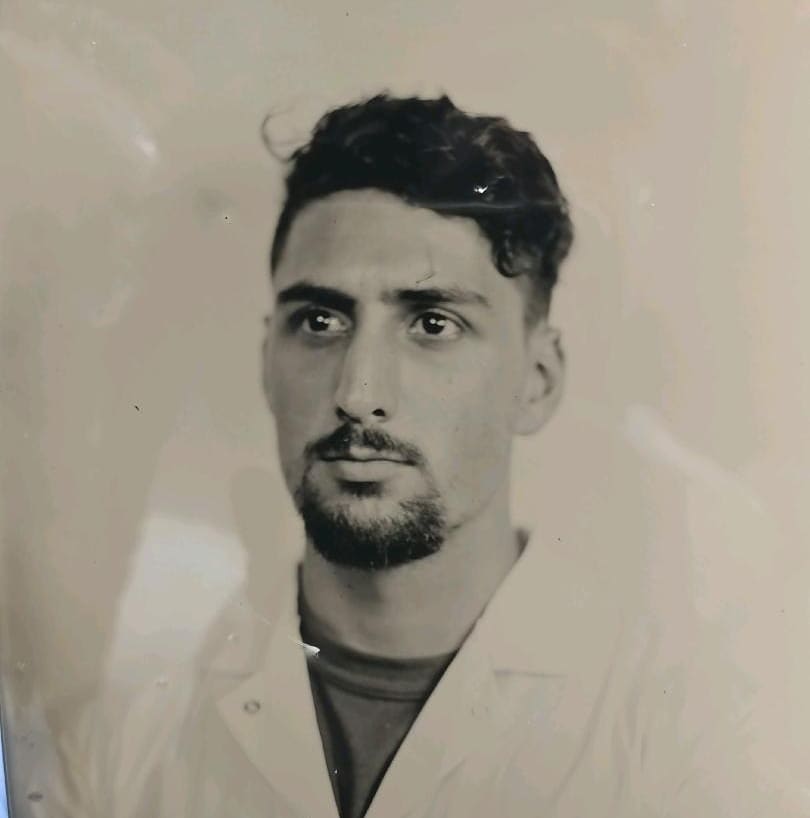
Did I mention I began taking Ambrotypes and Tintypes?!
I took a wet plate collodion class this semester and it was truly the highlight of my week.
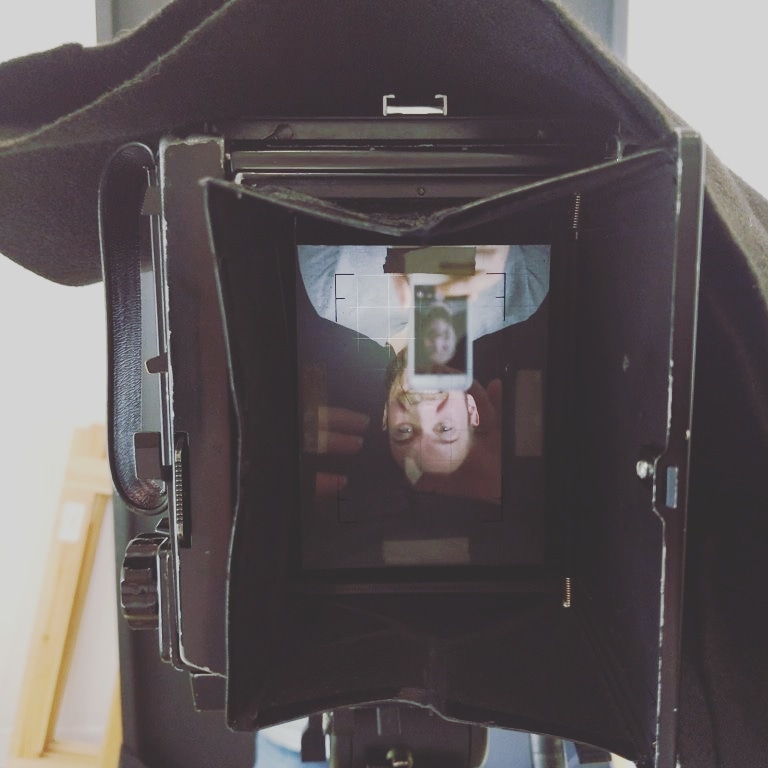
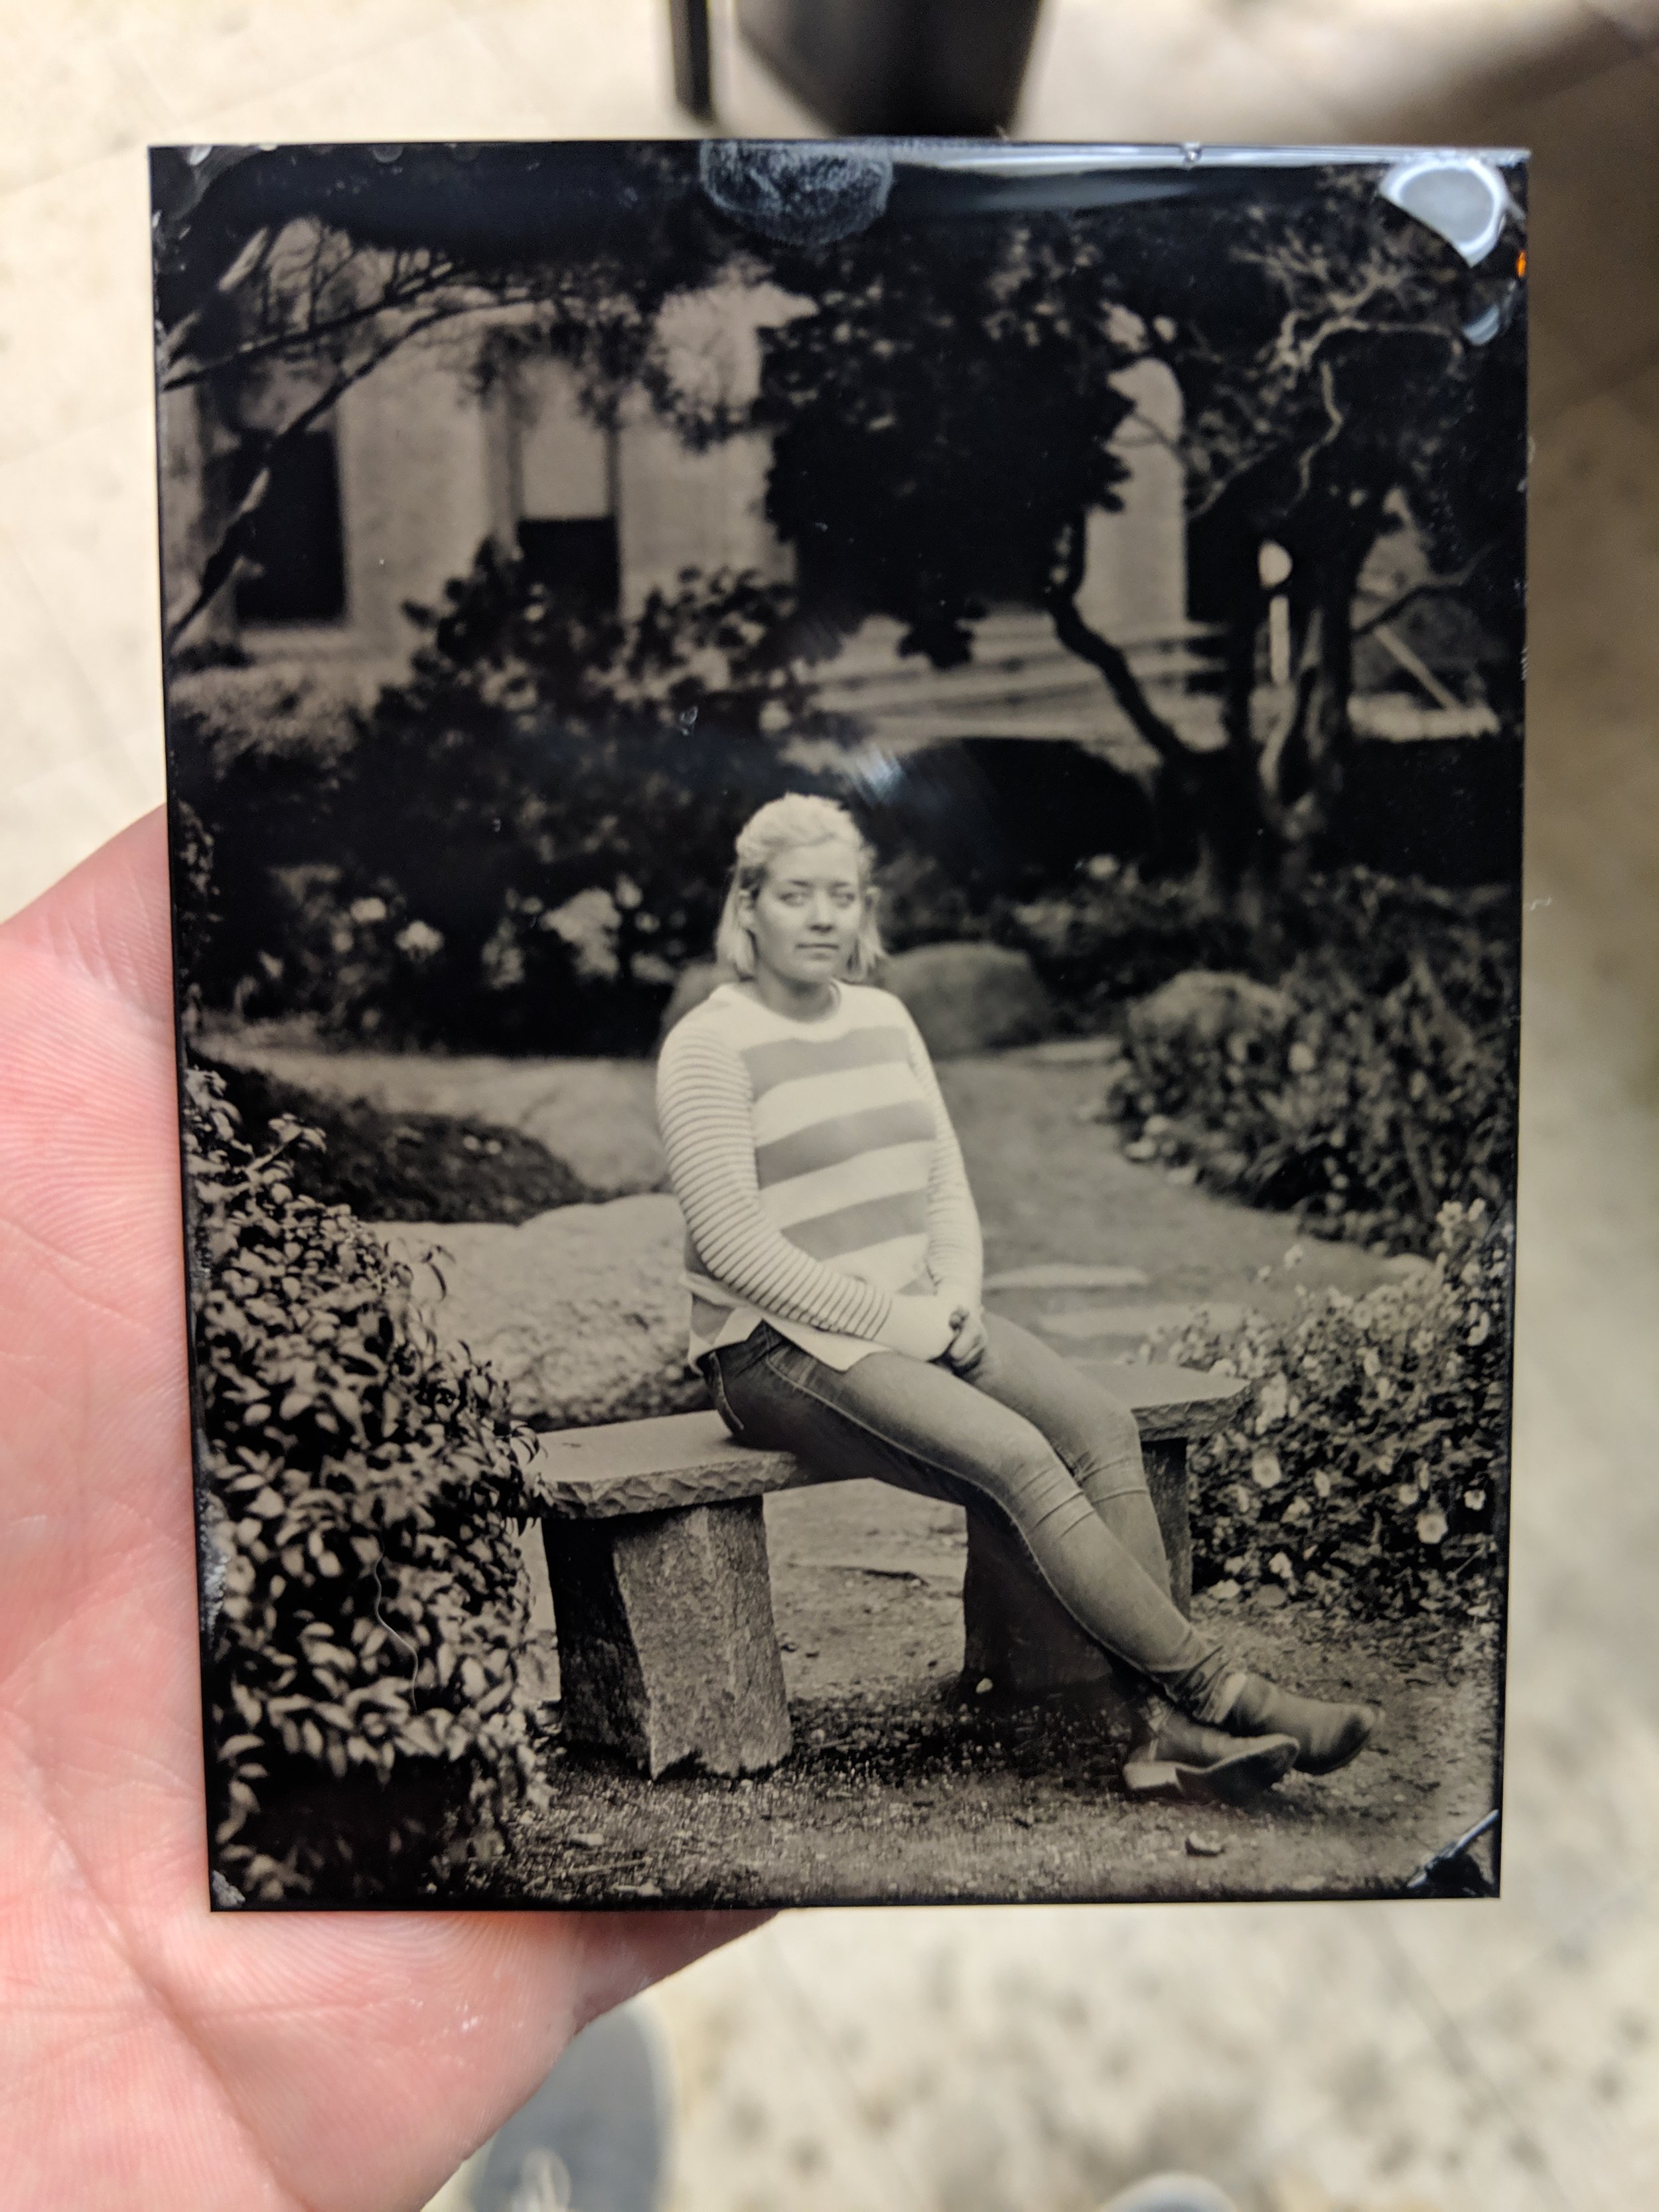
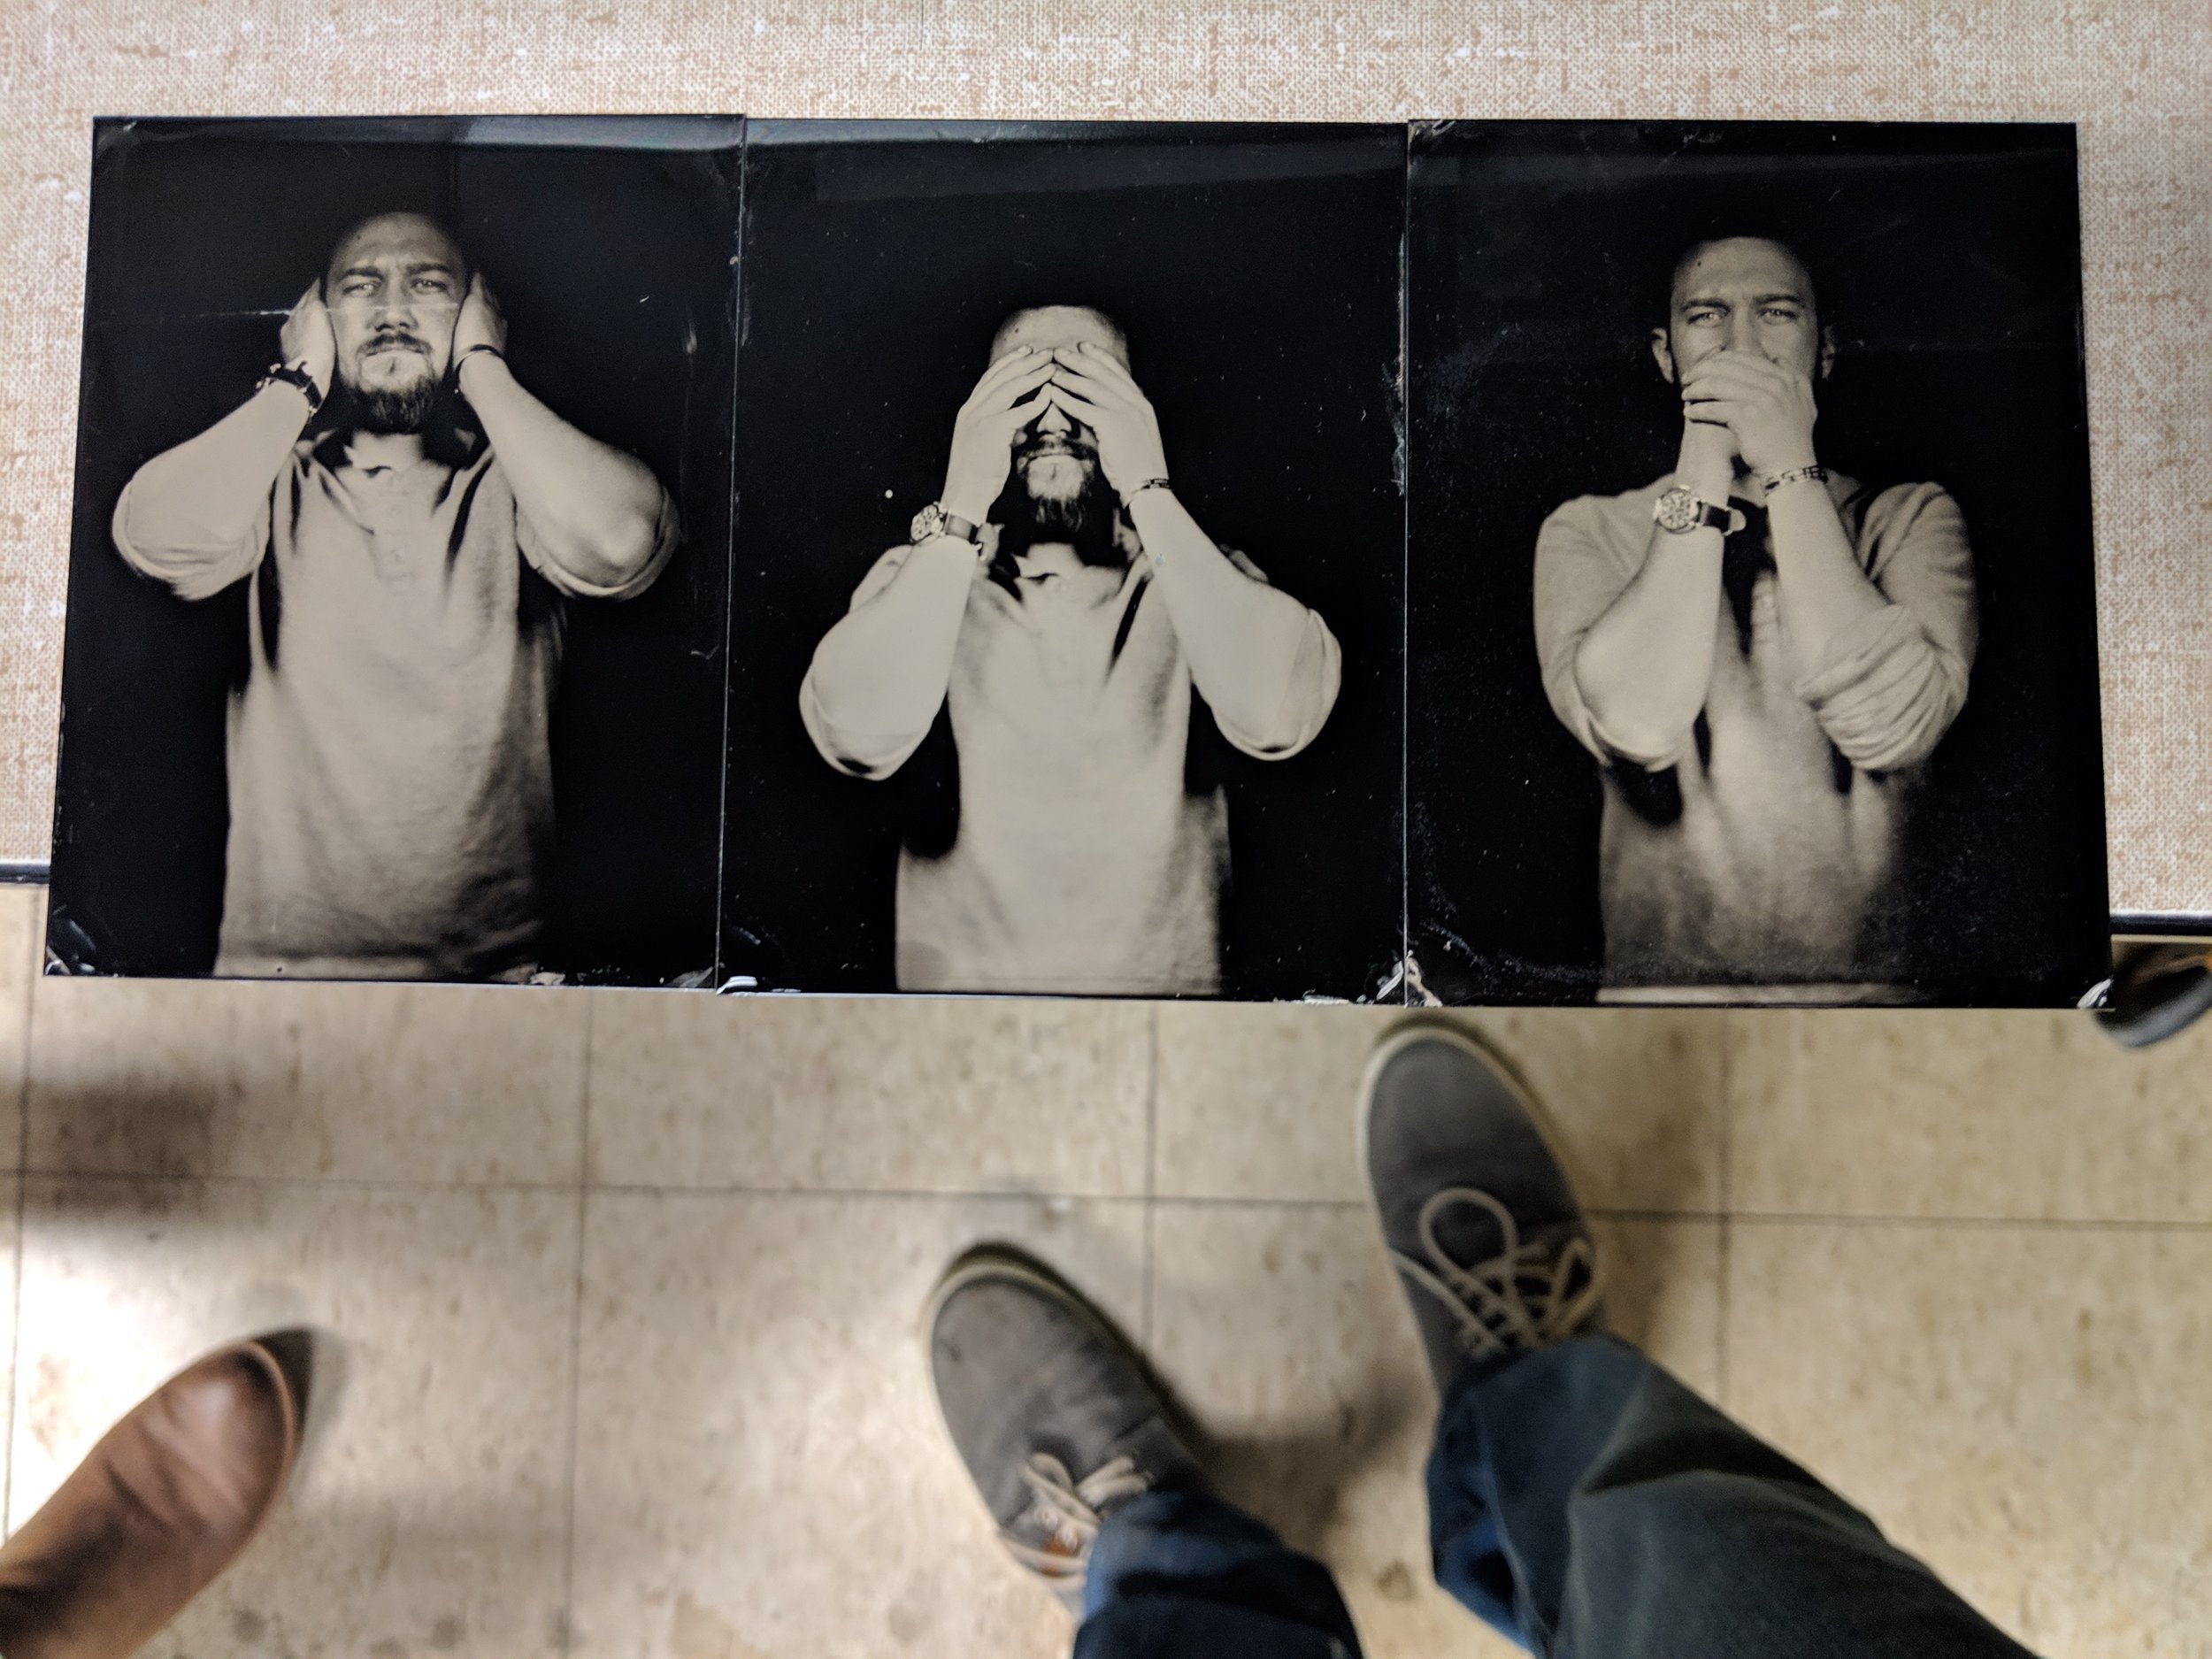
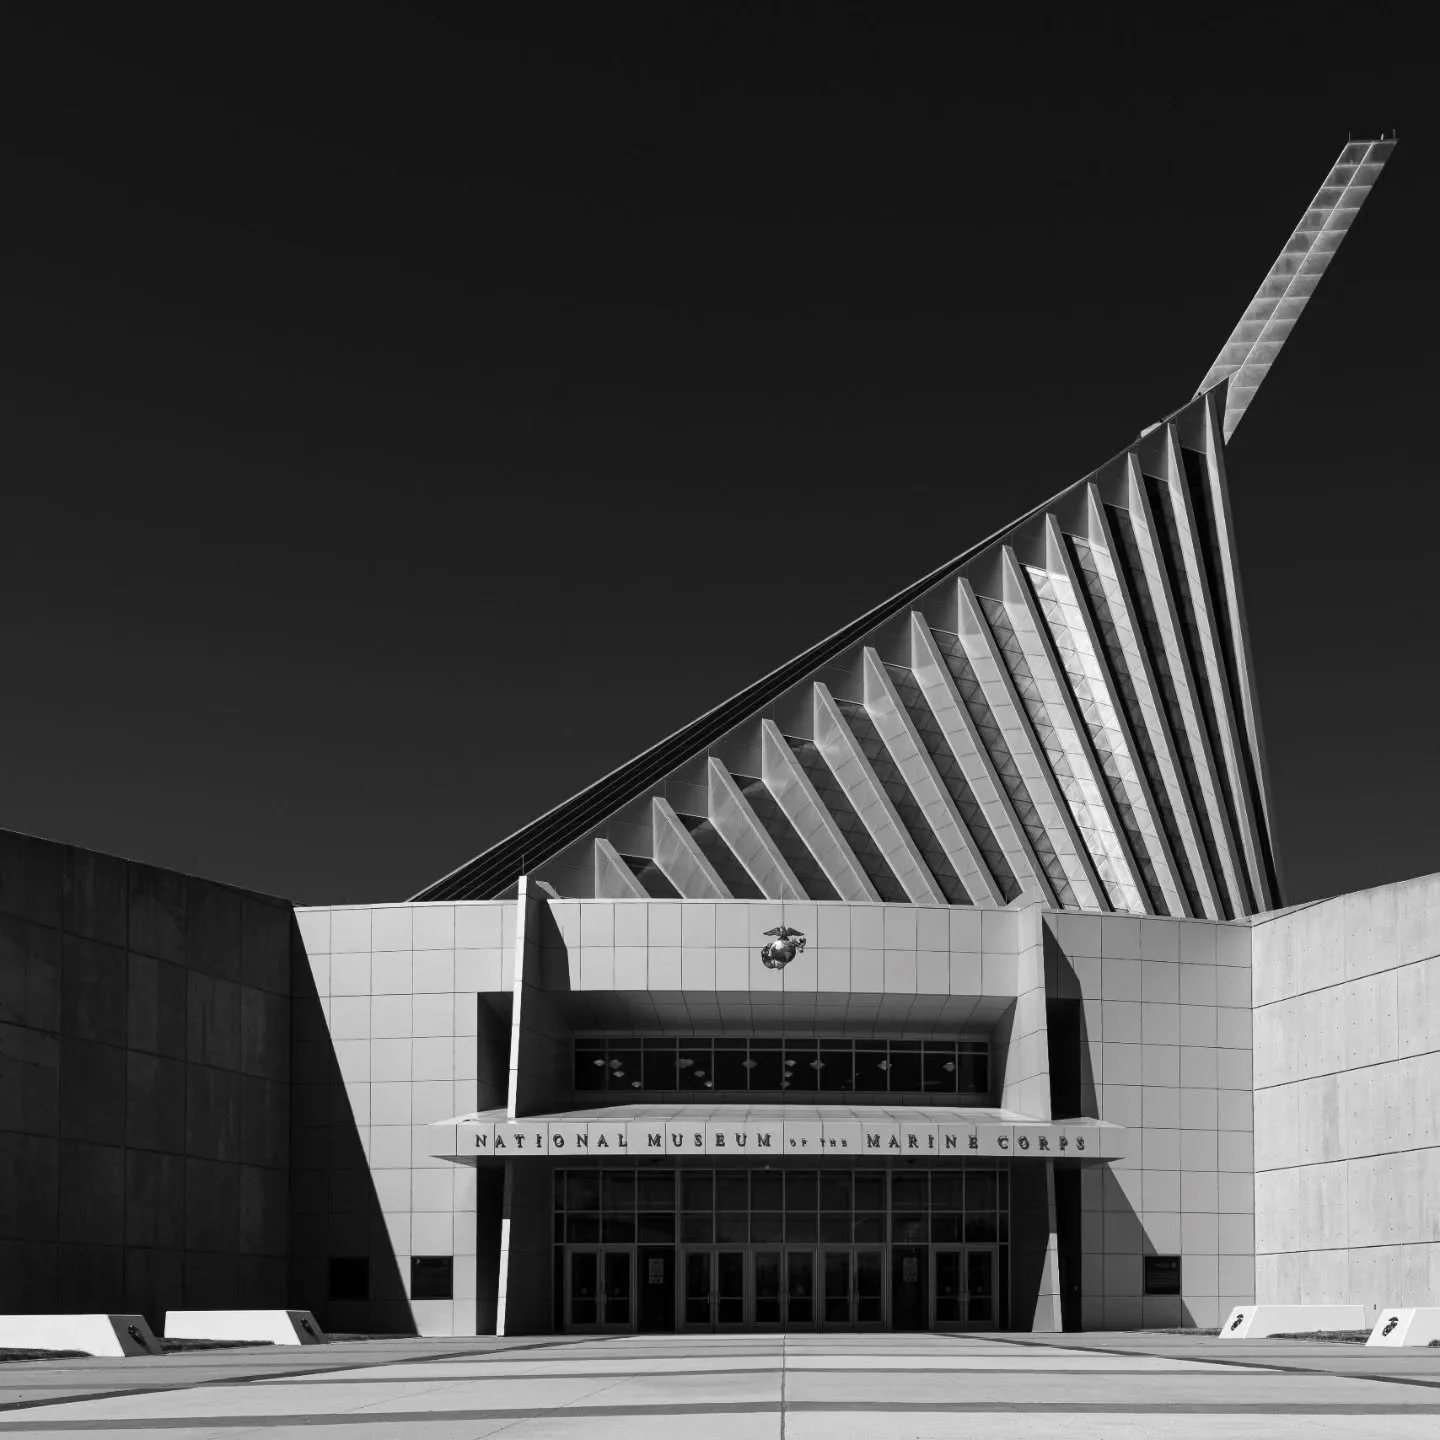
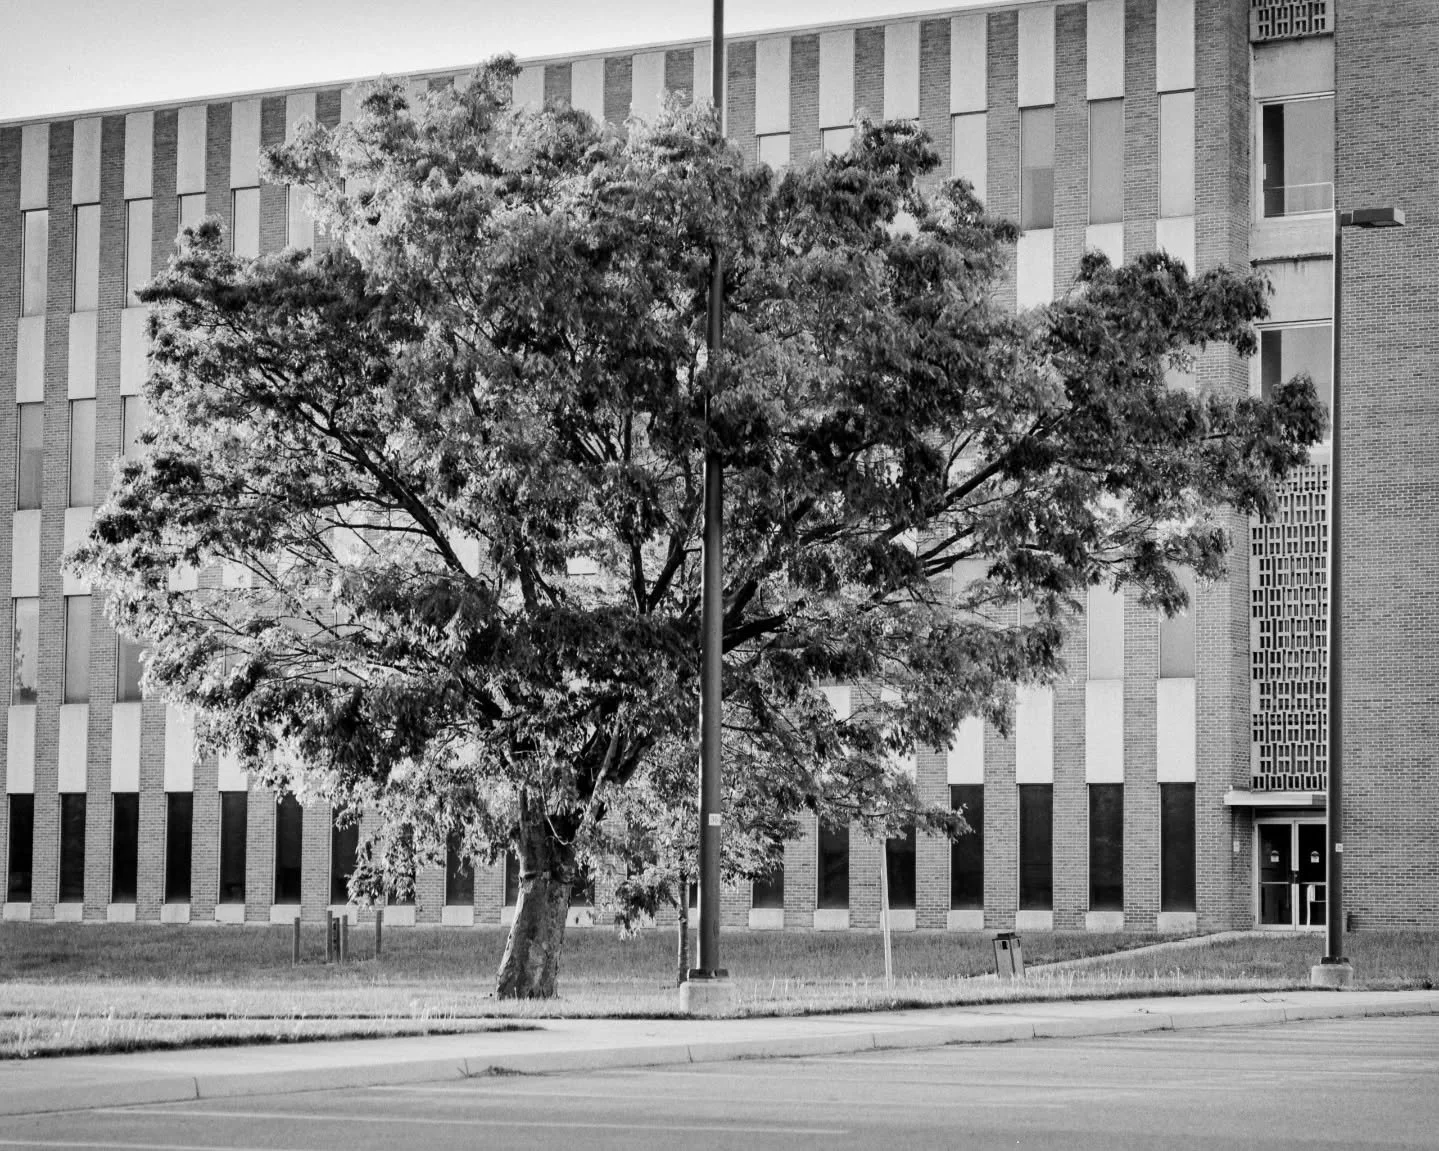
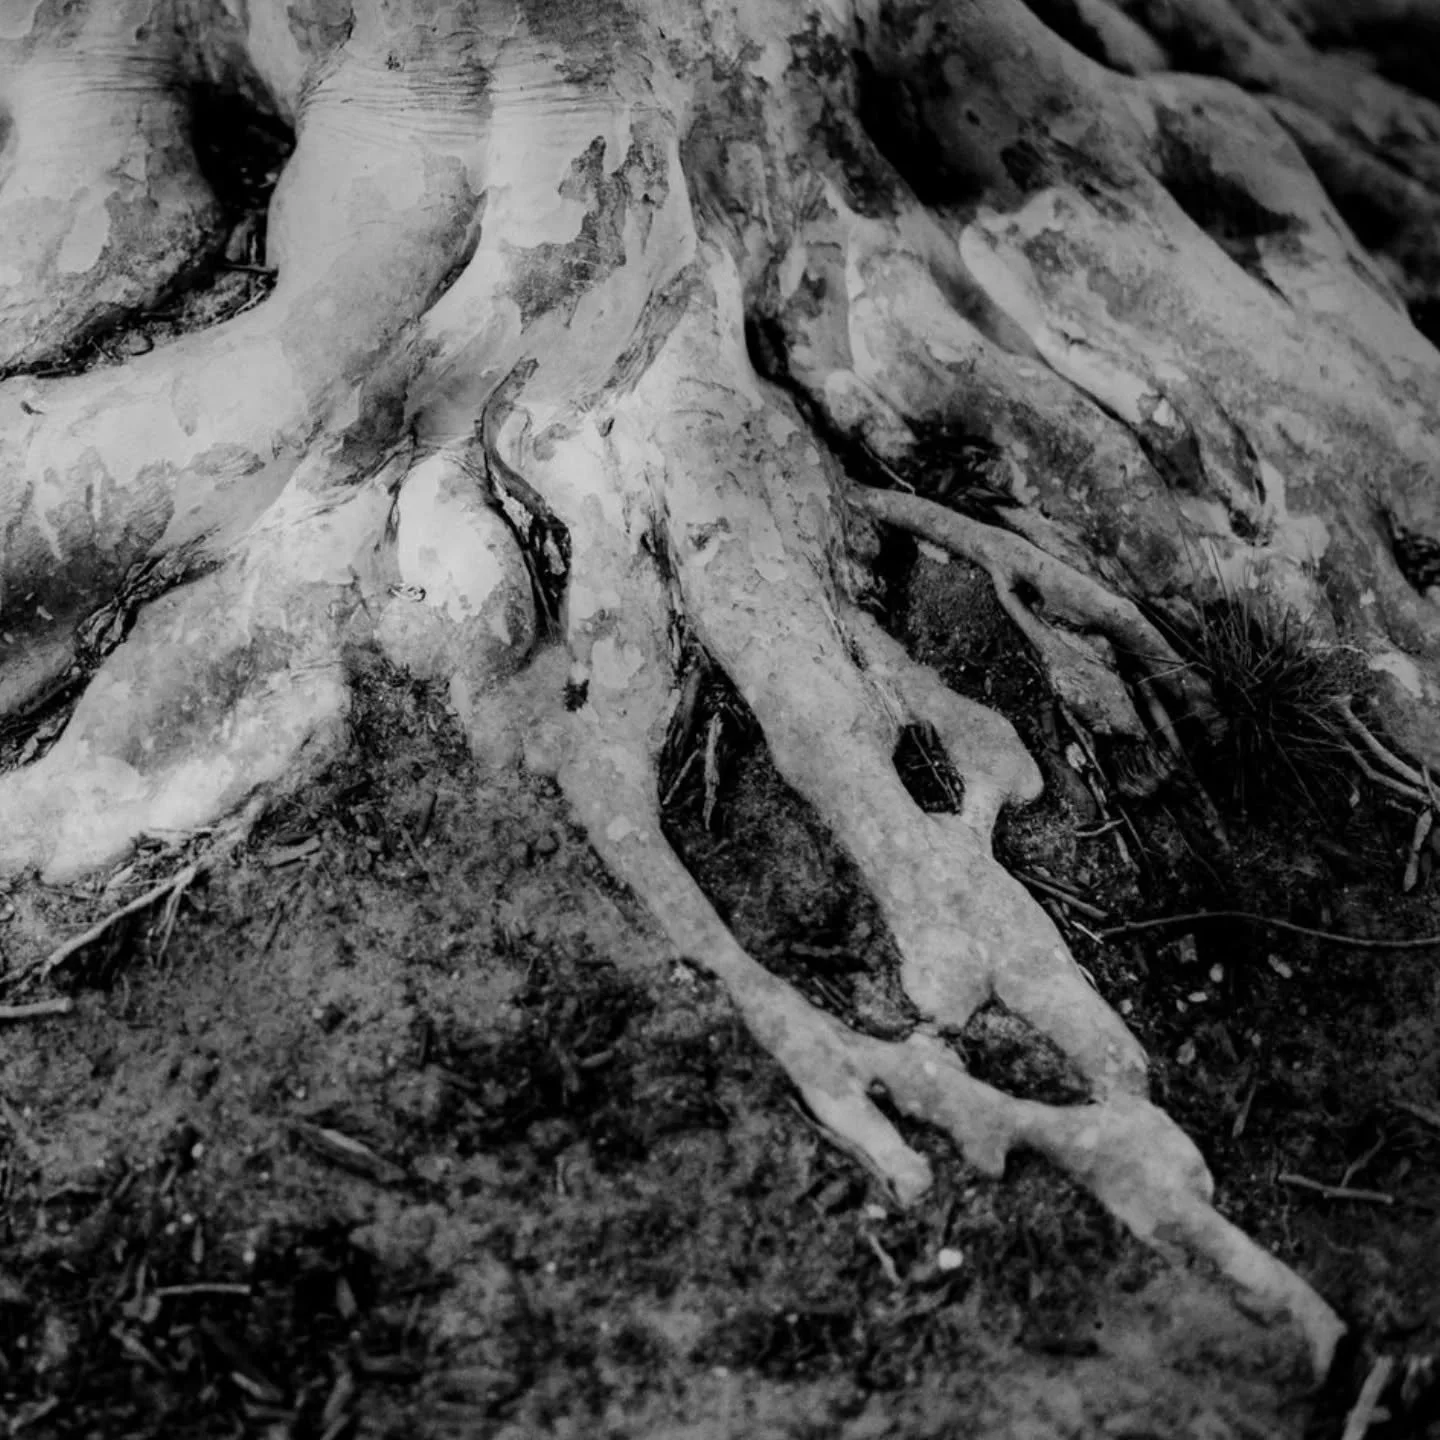
Pretty much all of this was happening while I was trying to develop a body of fine art photography for my thesis project.
For this work, I am interested in visually describing the military veteran experience. I found it curious that veterans who camouflaged themselves with their uniform or face paint in order to protect themselves became exposed when taken outside of the context of the military.

In the Garden, Mike Guinto. 2018, Inkjet print, 13x19”.

Brick and Mortars, Mike Guinto, 2018, Inkjet Print 13x19”
These photos may become a different series, however I think some of the other work I have created since works a little better.
I also tried photographing veterans hiding in plain sight, being able to disappear into a landscape.
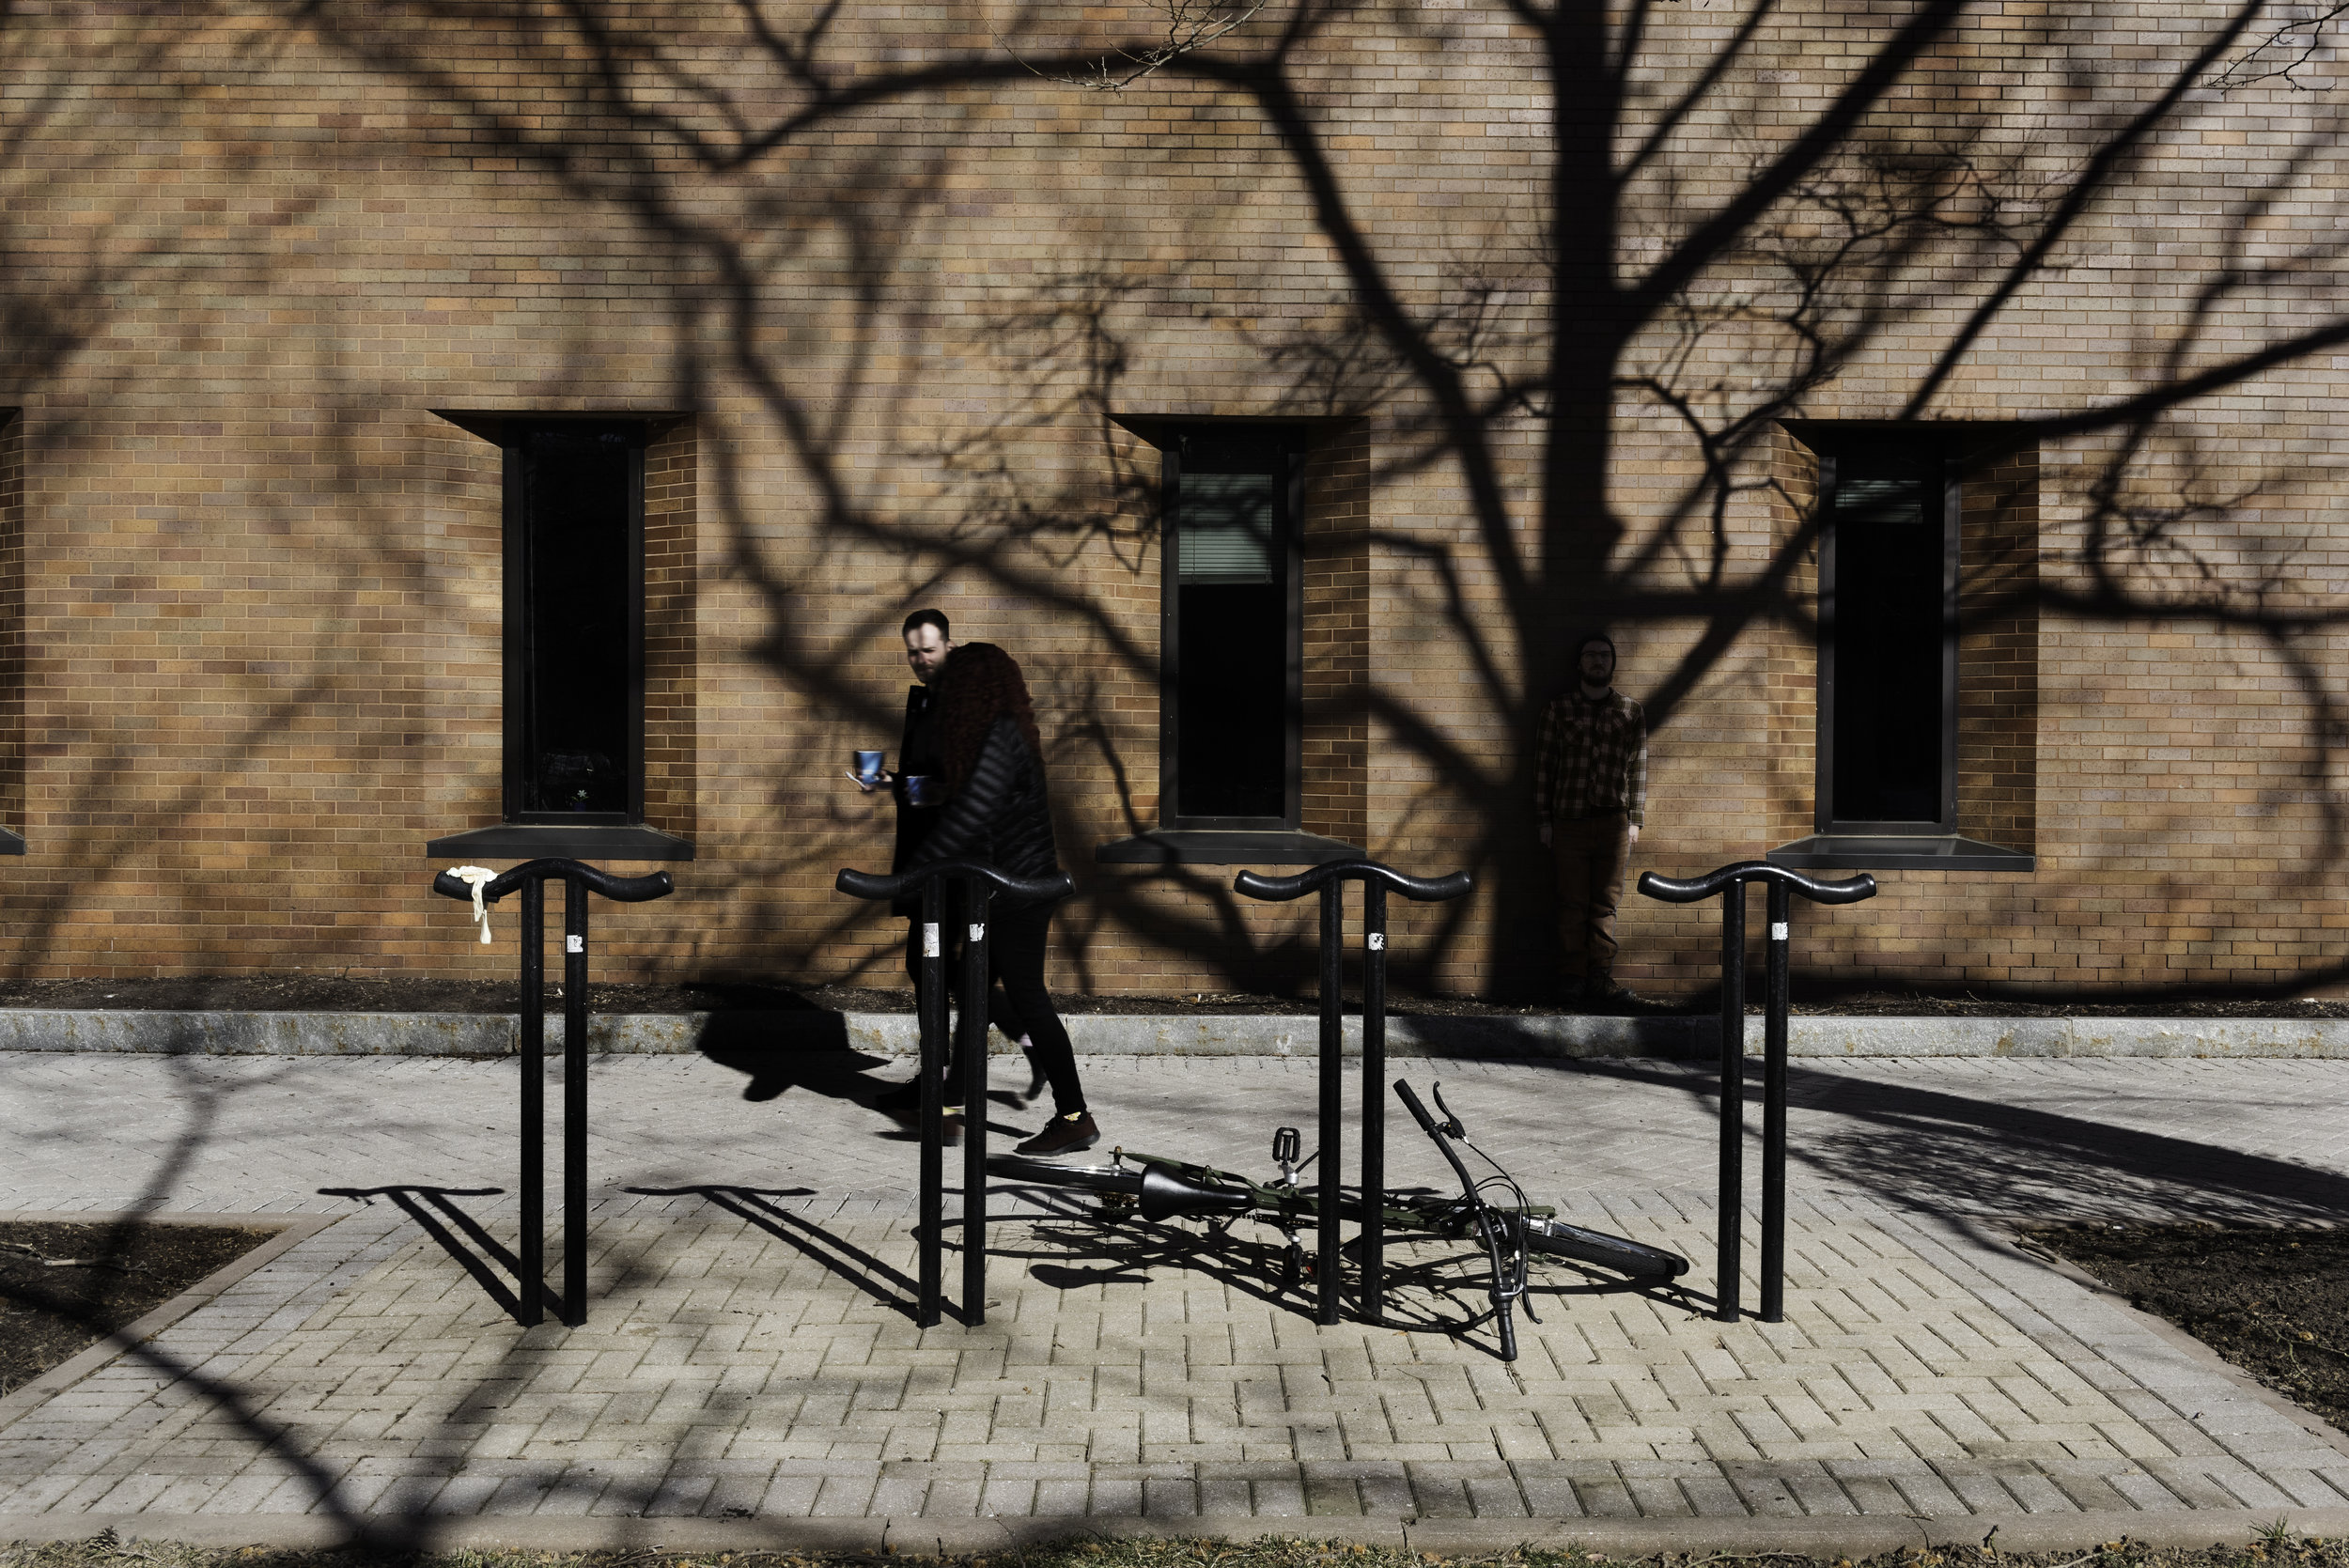
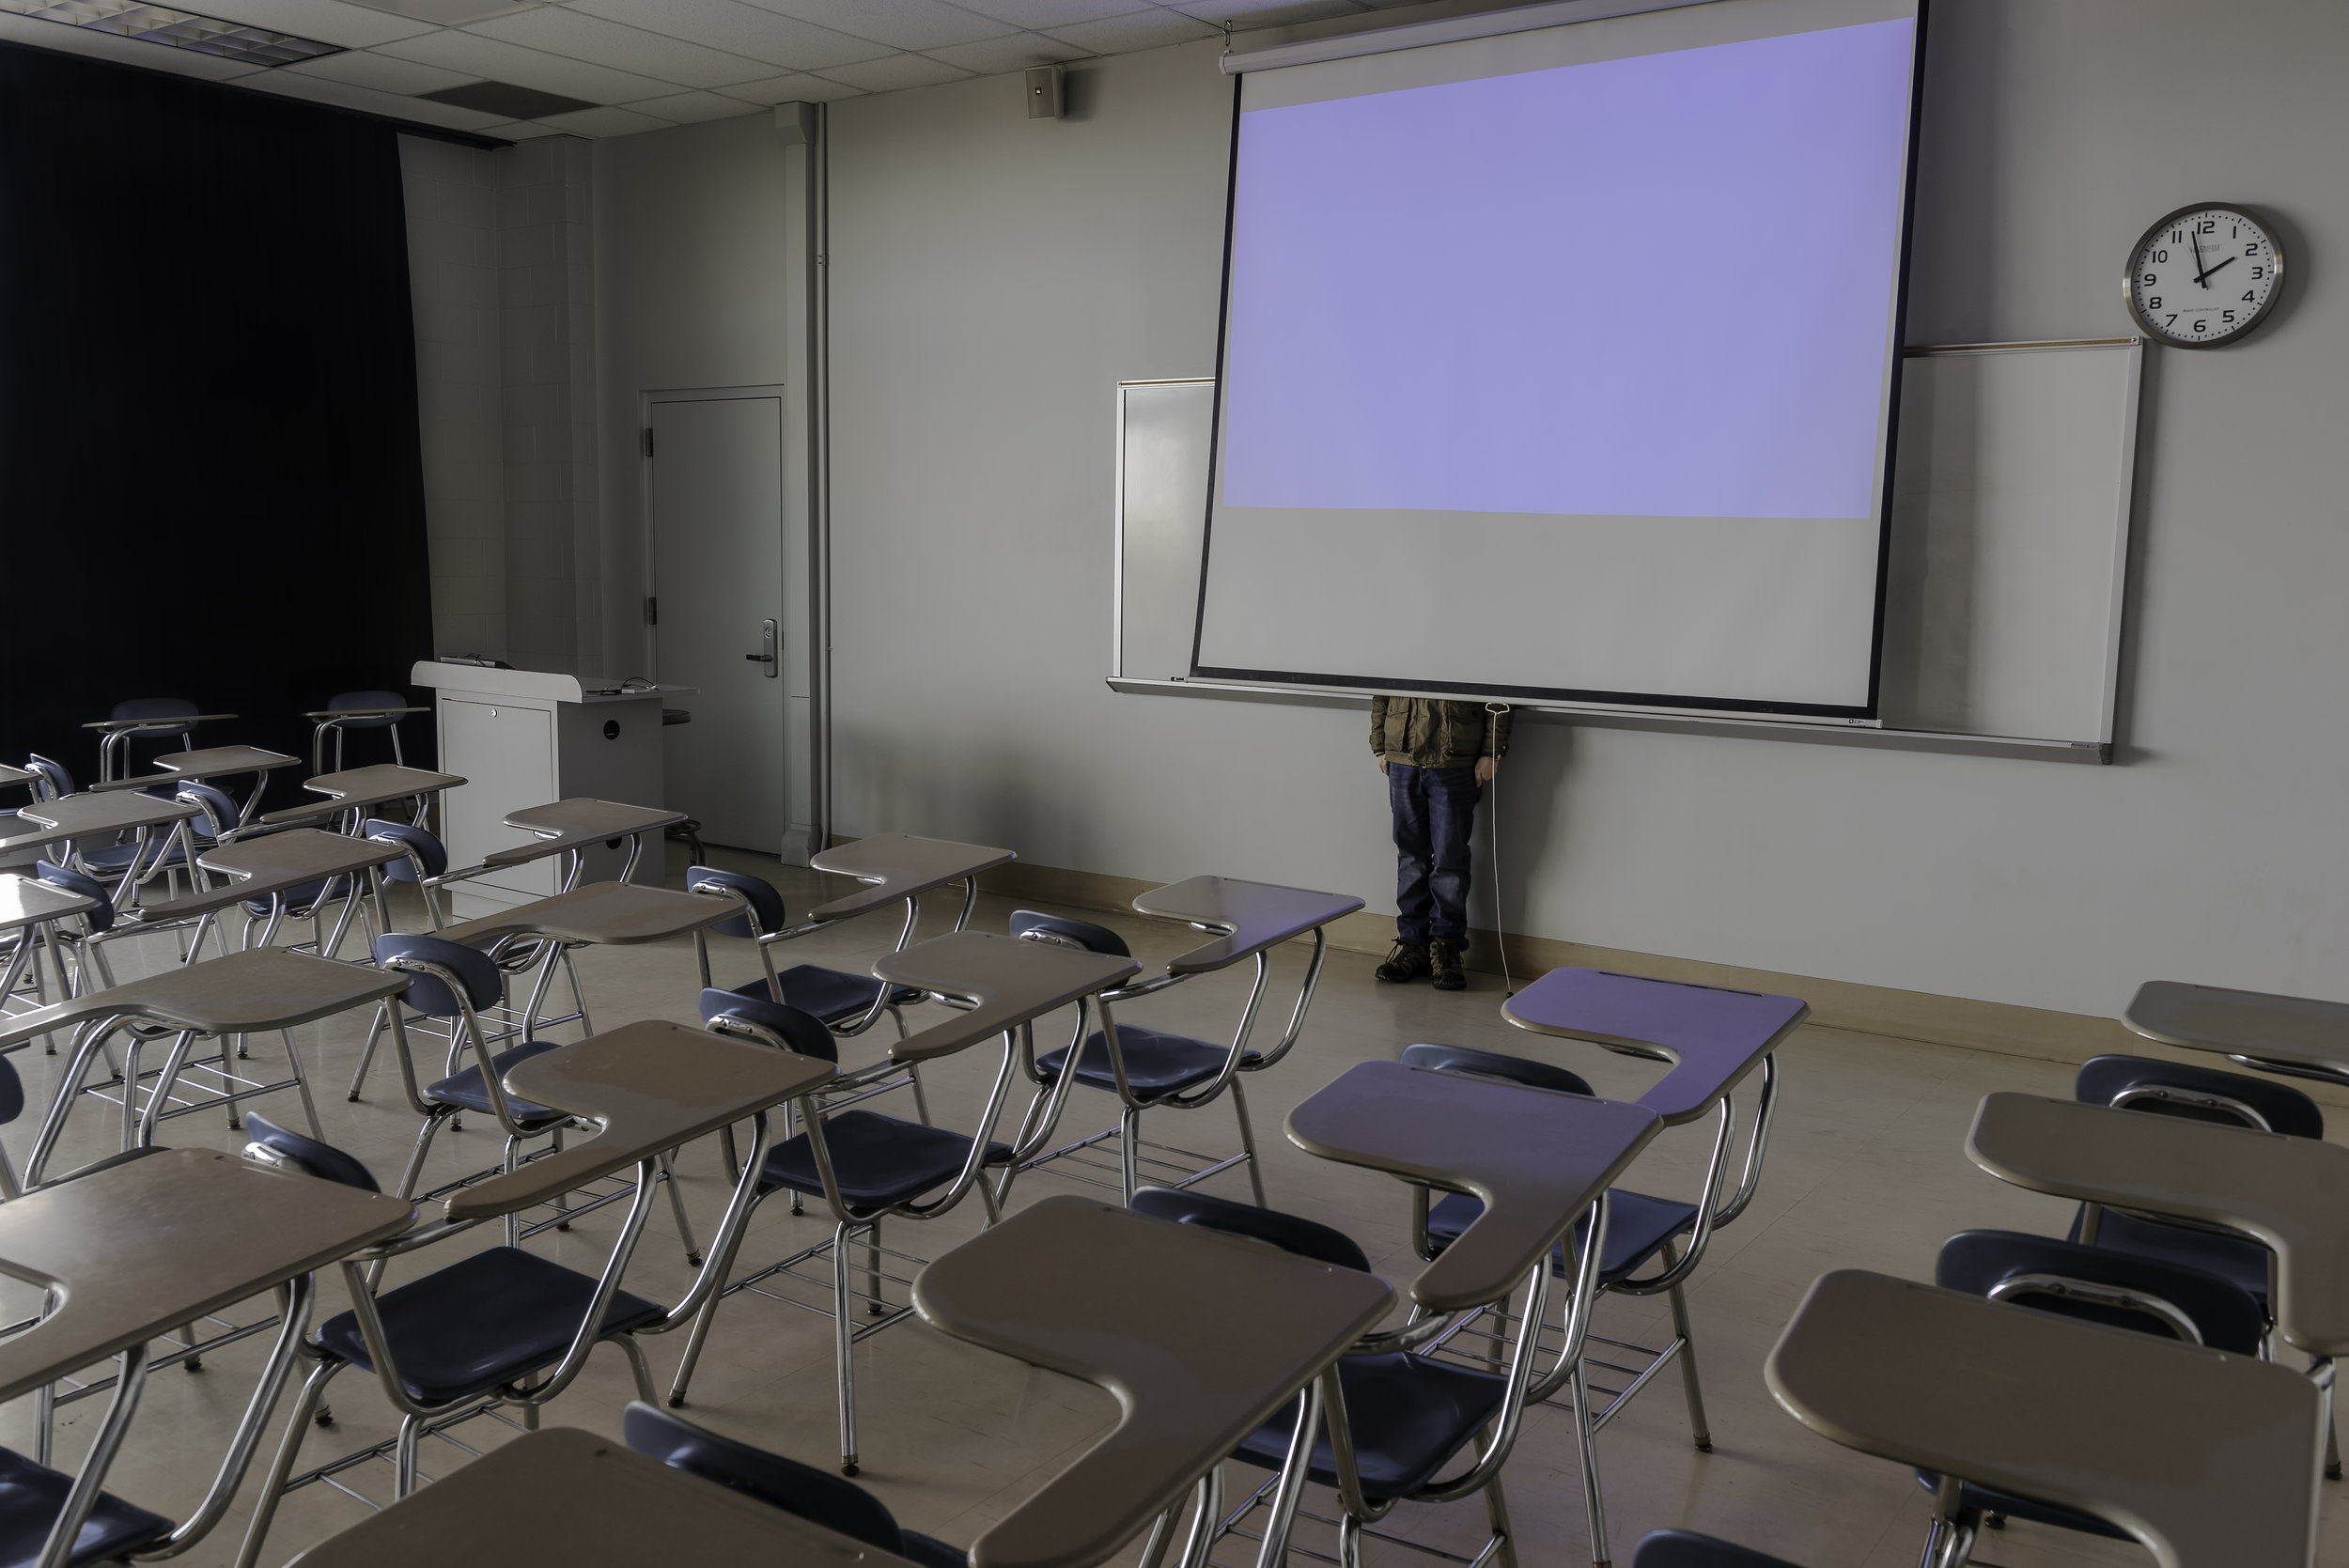
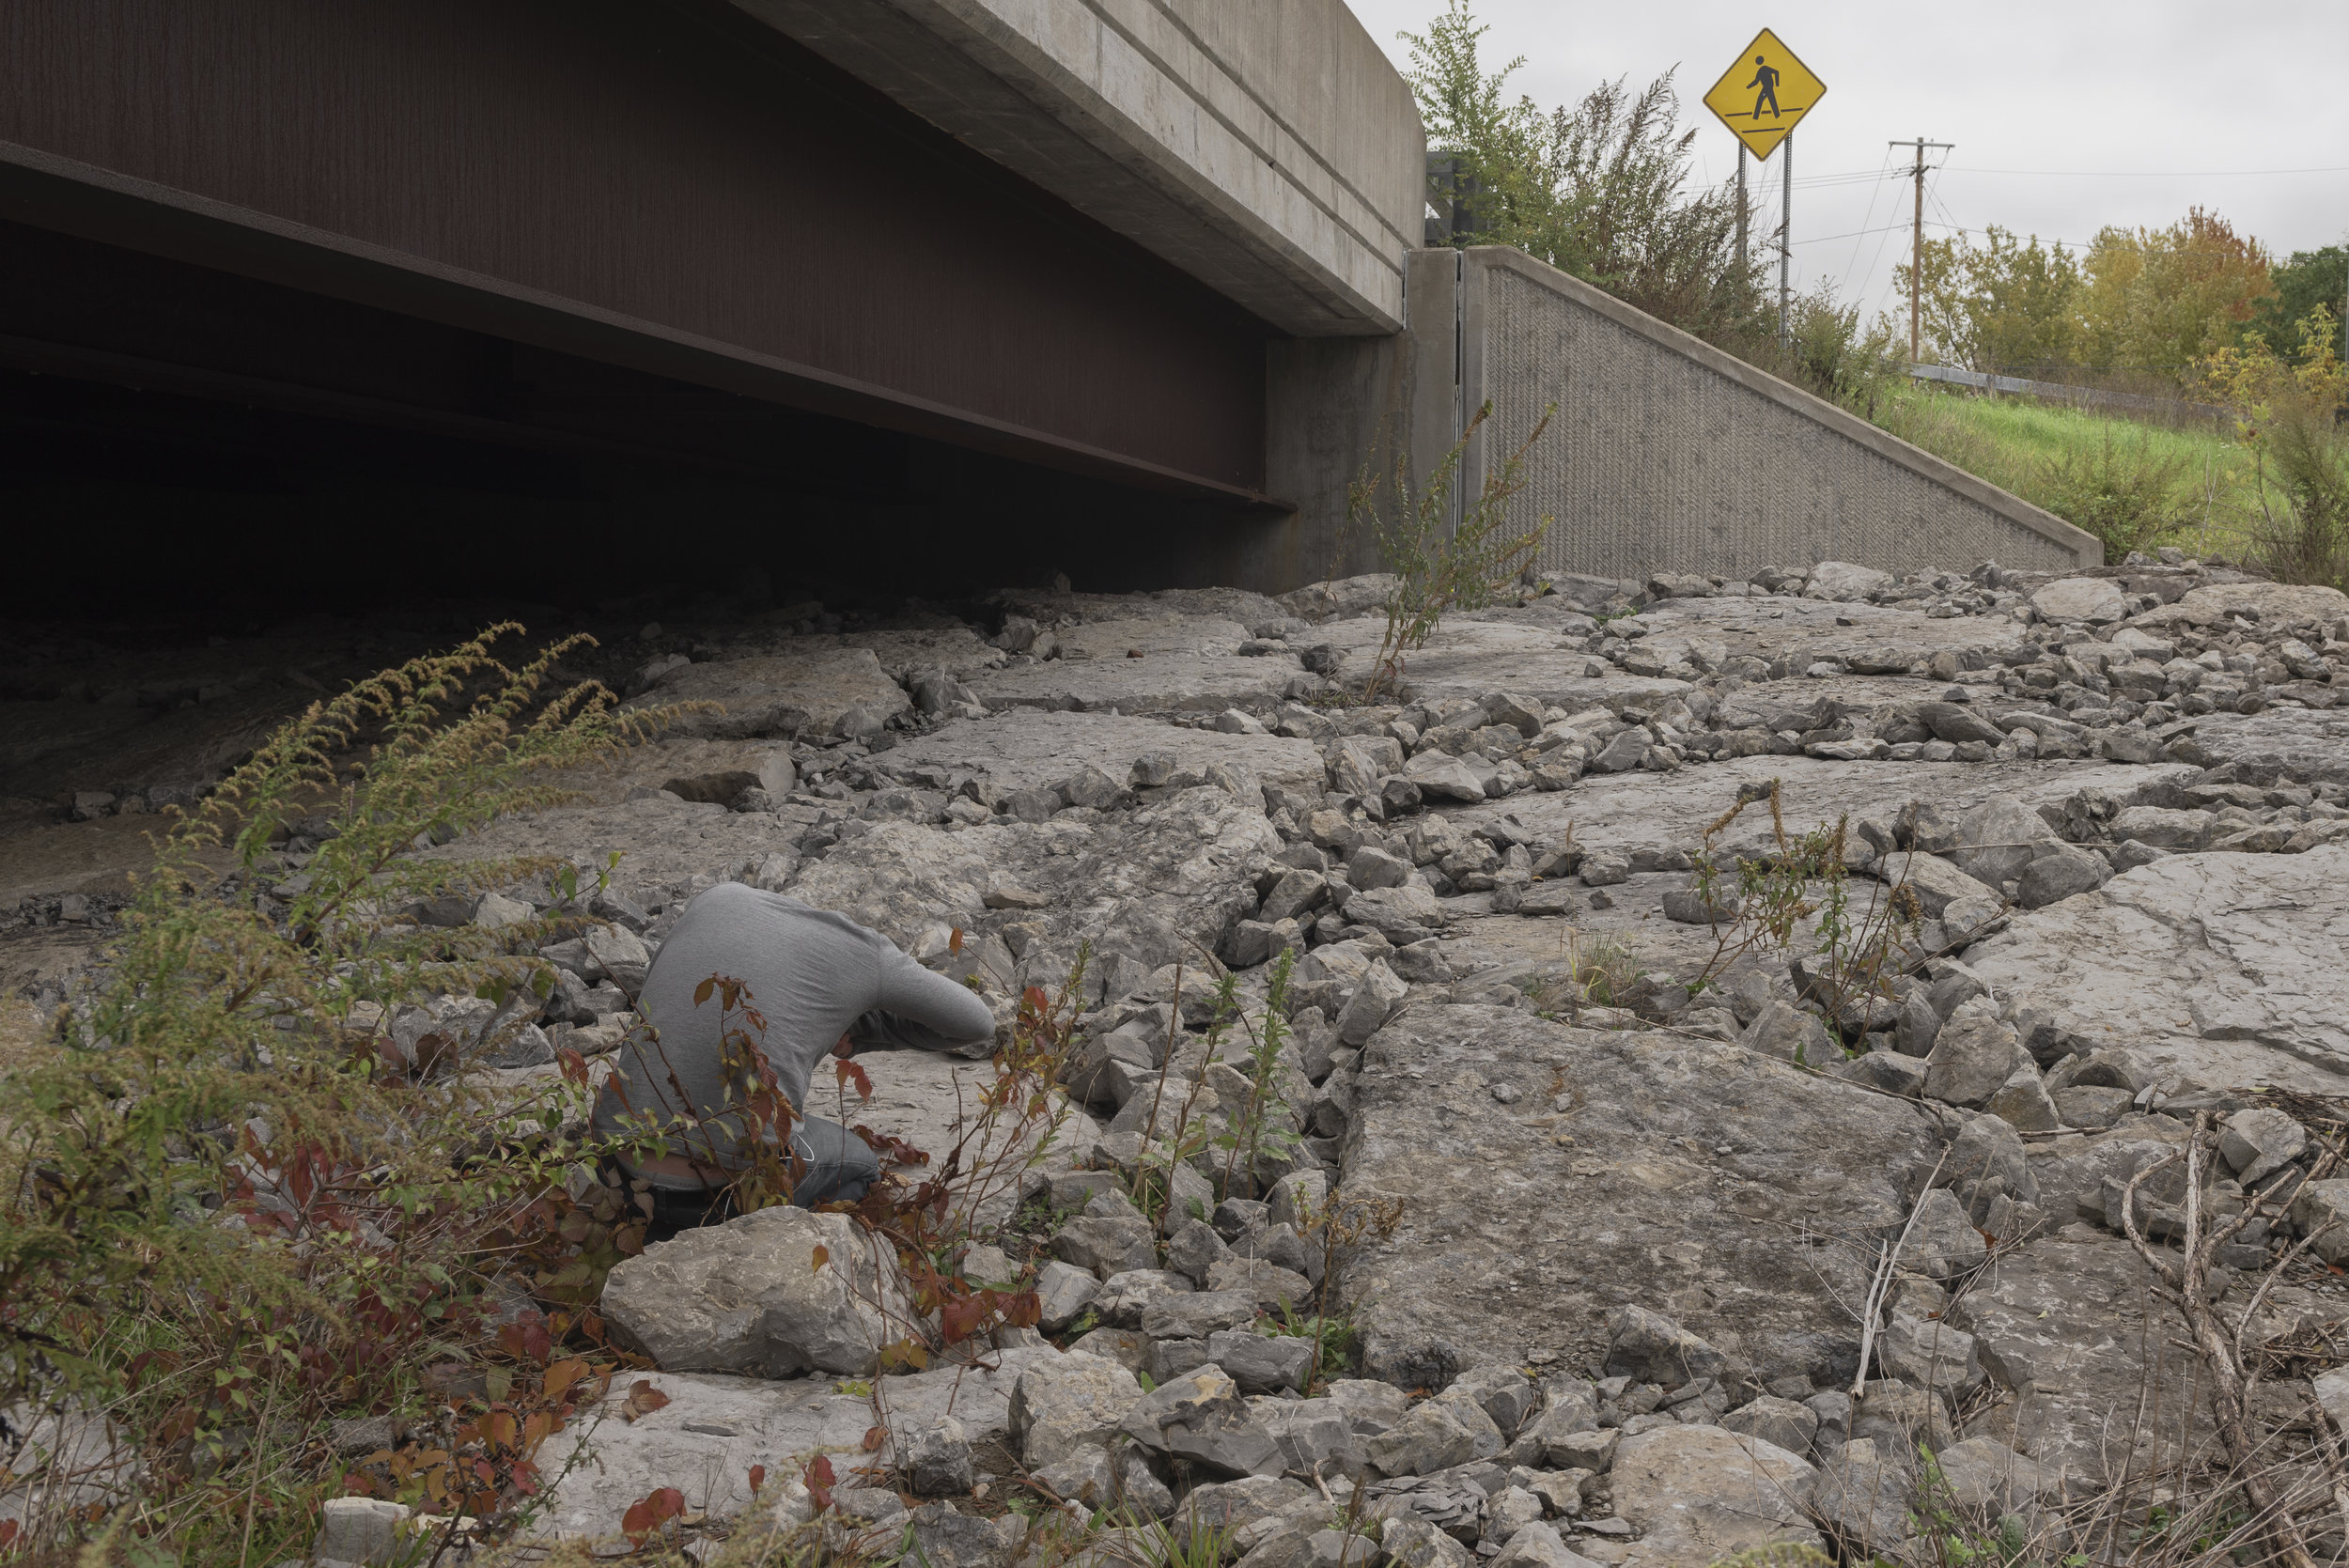
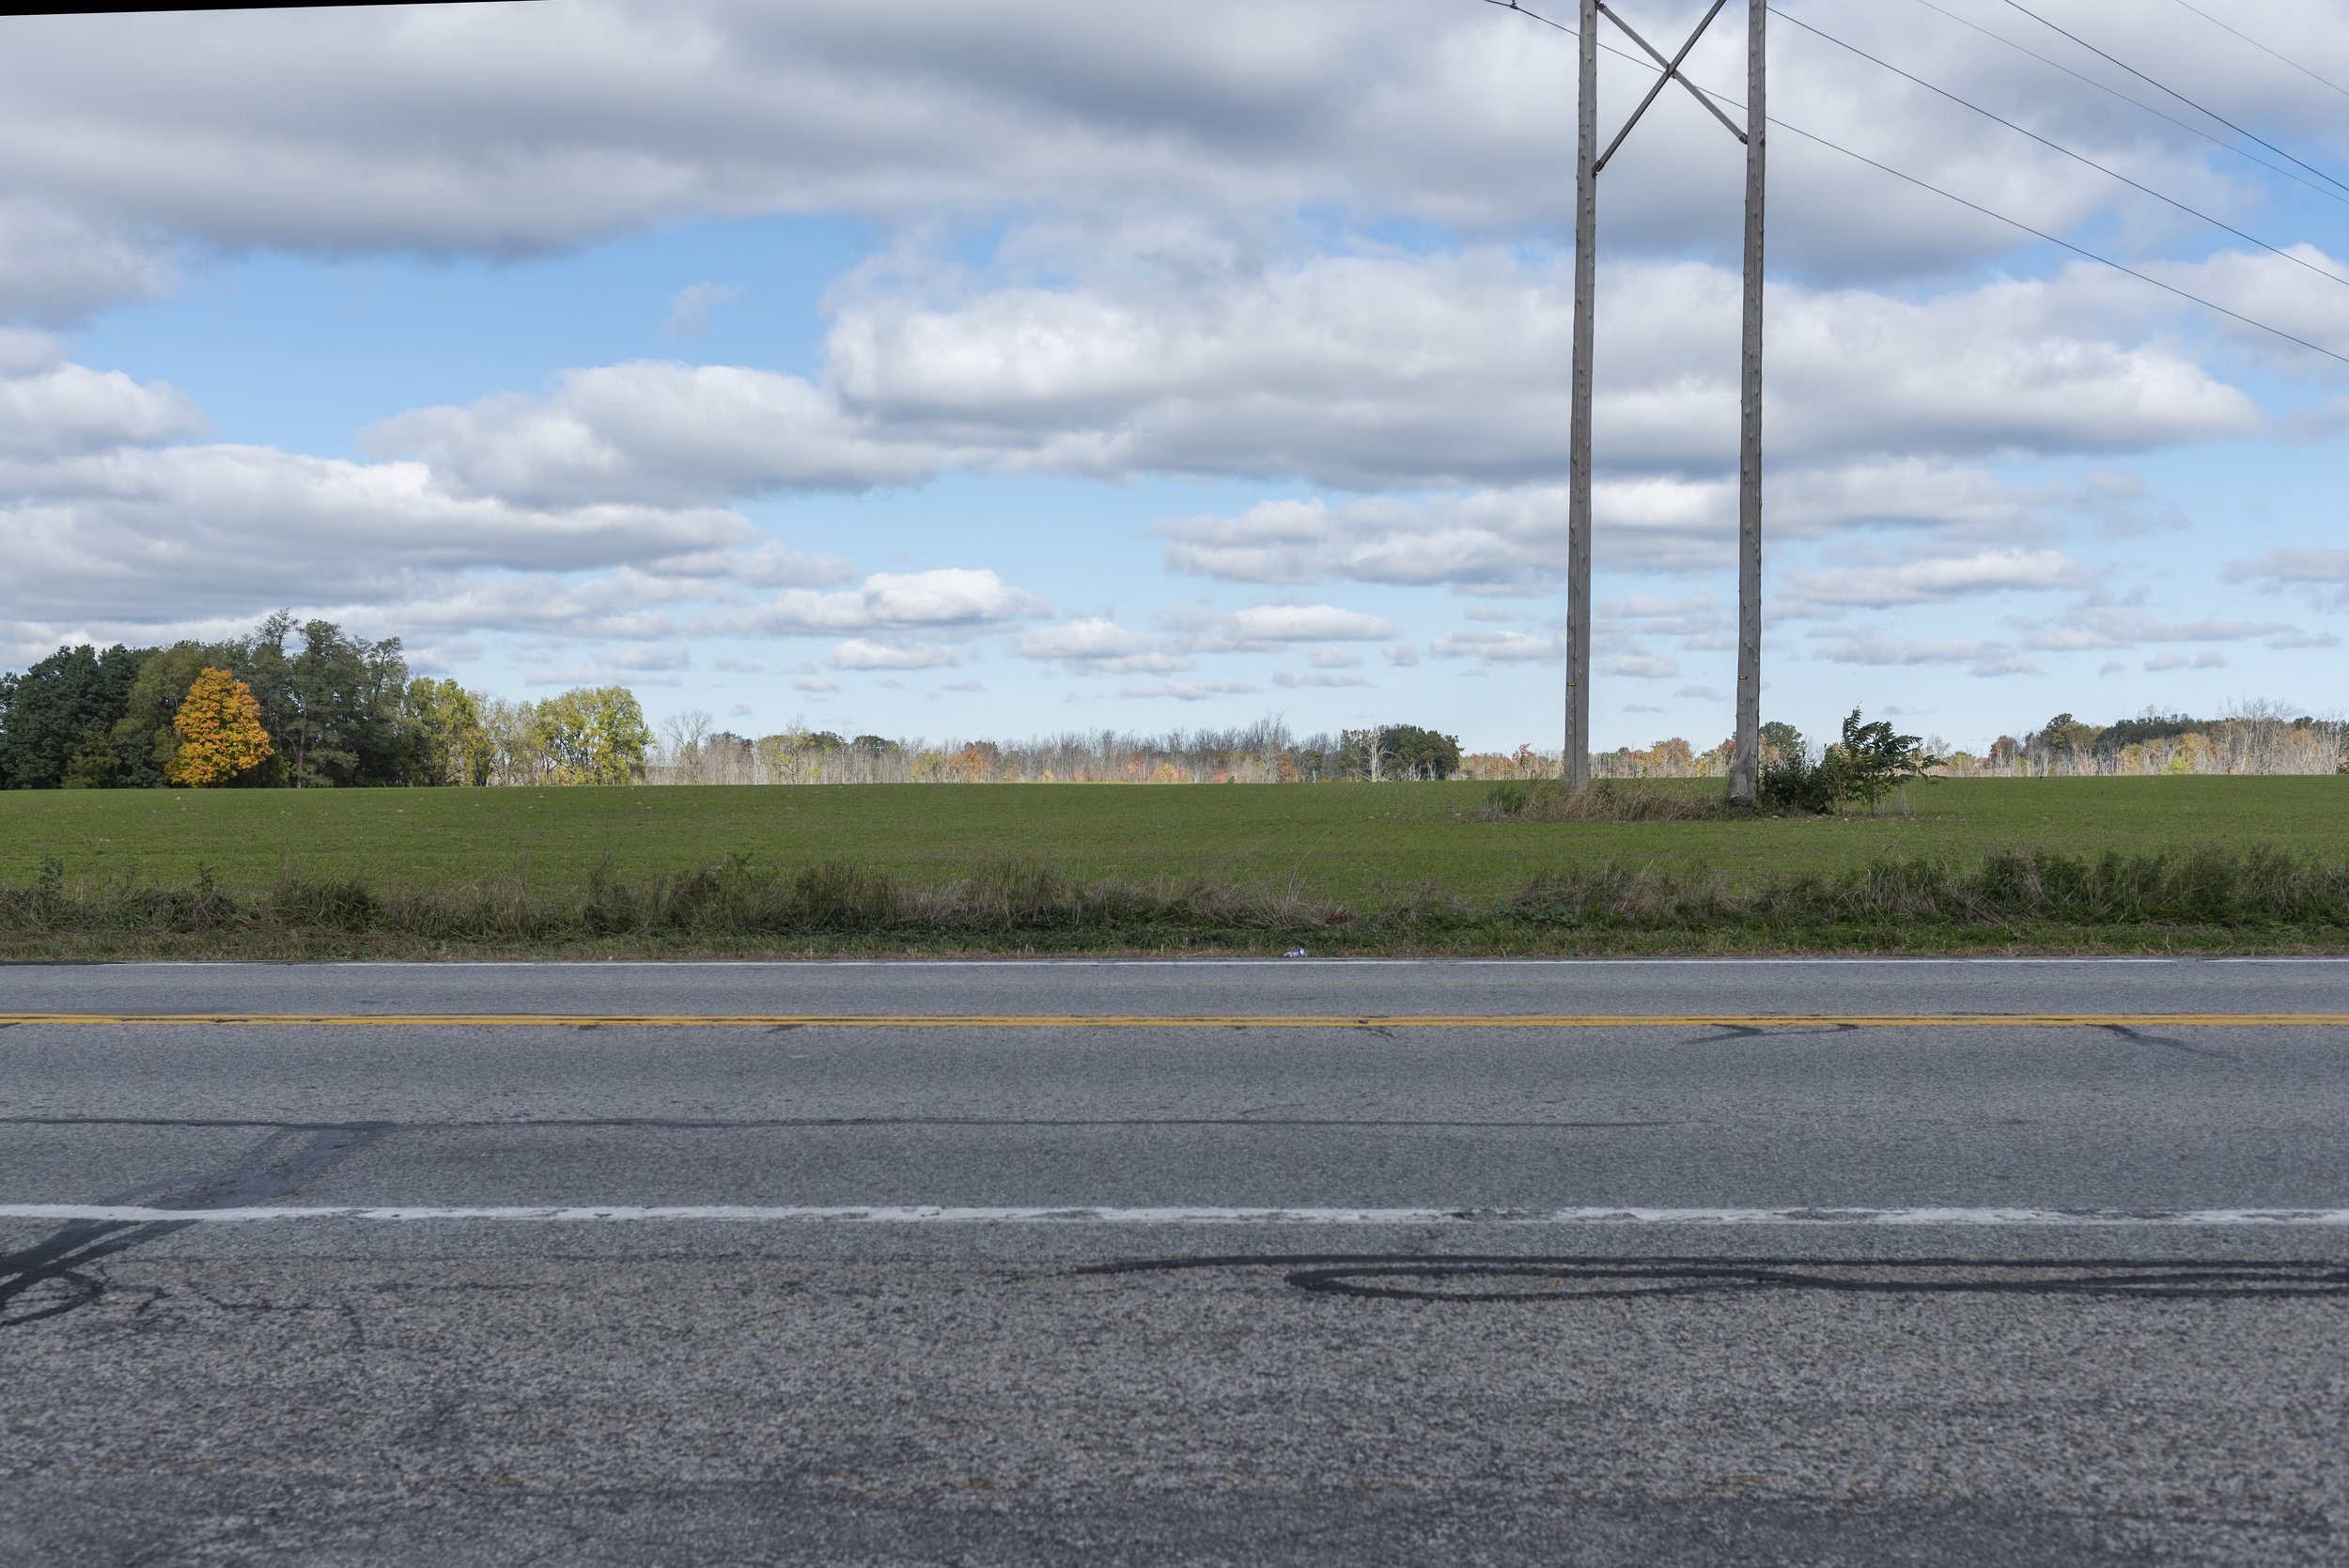
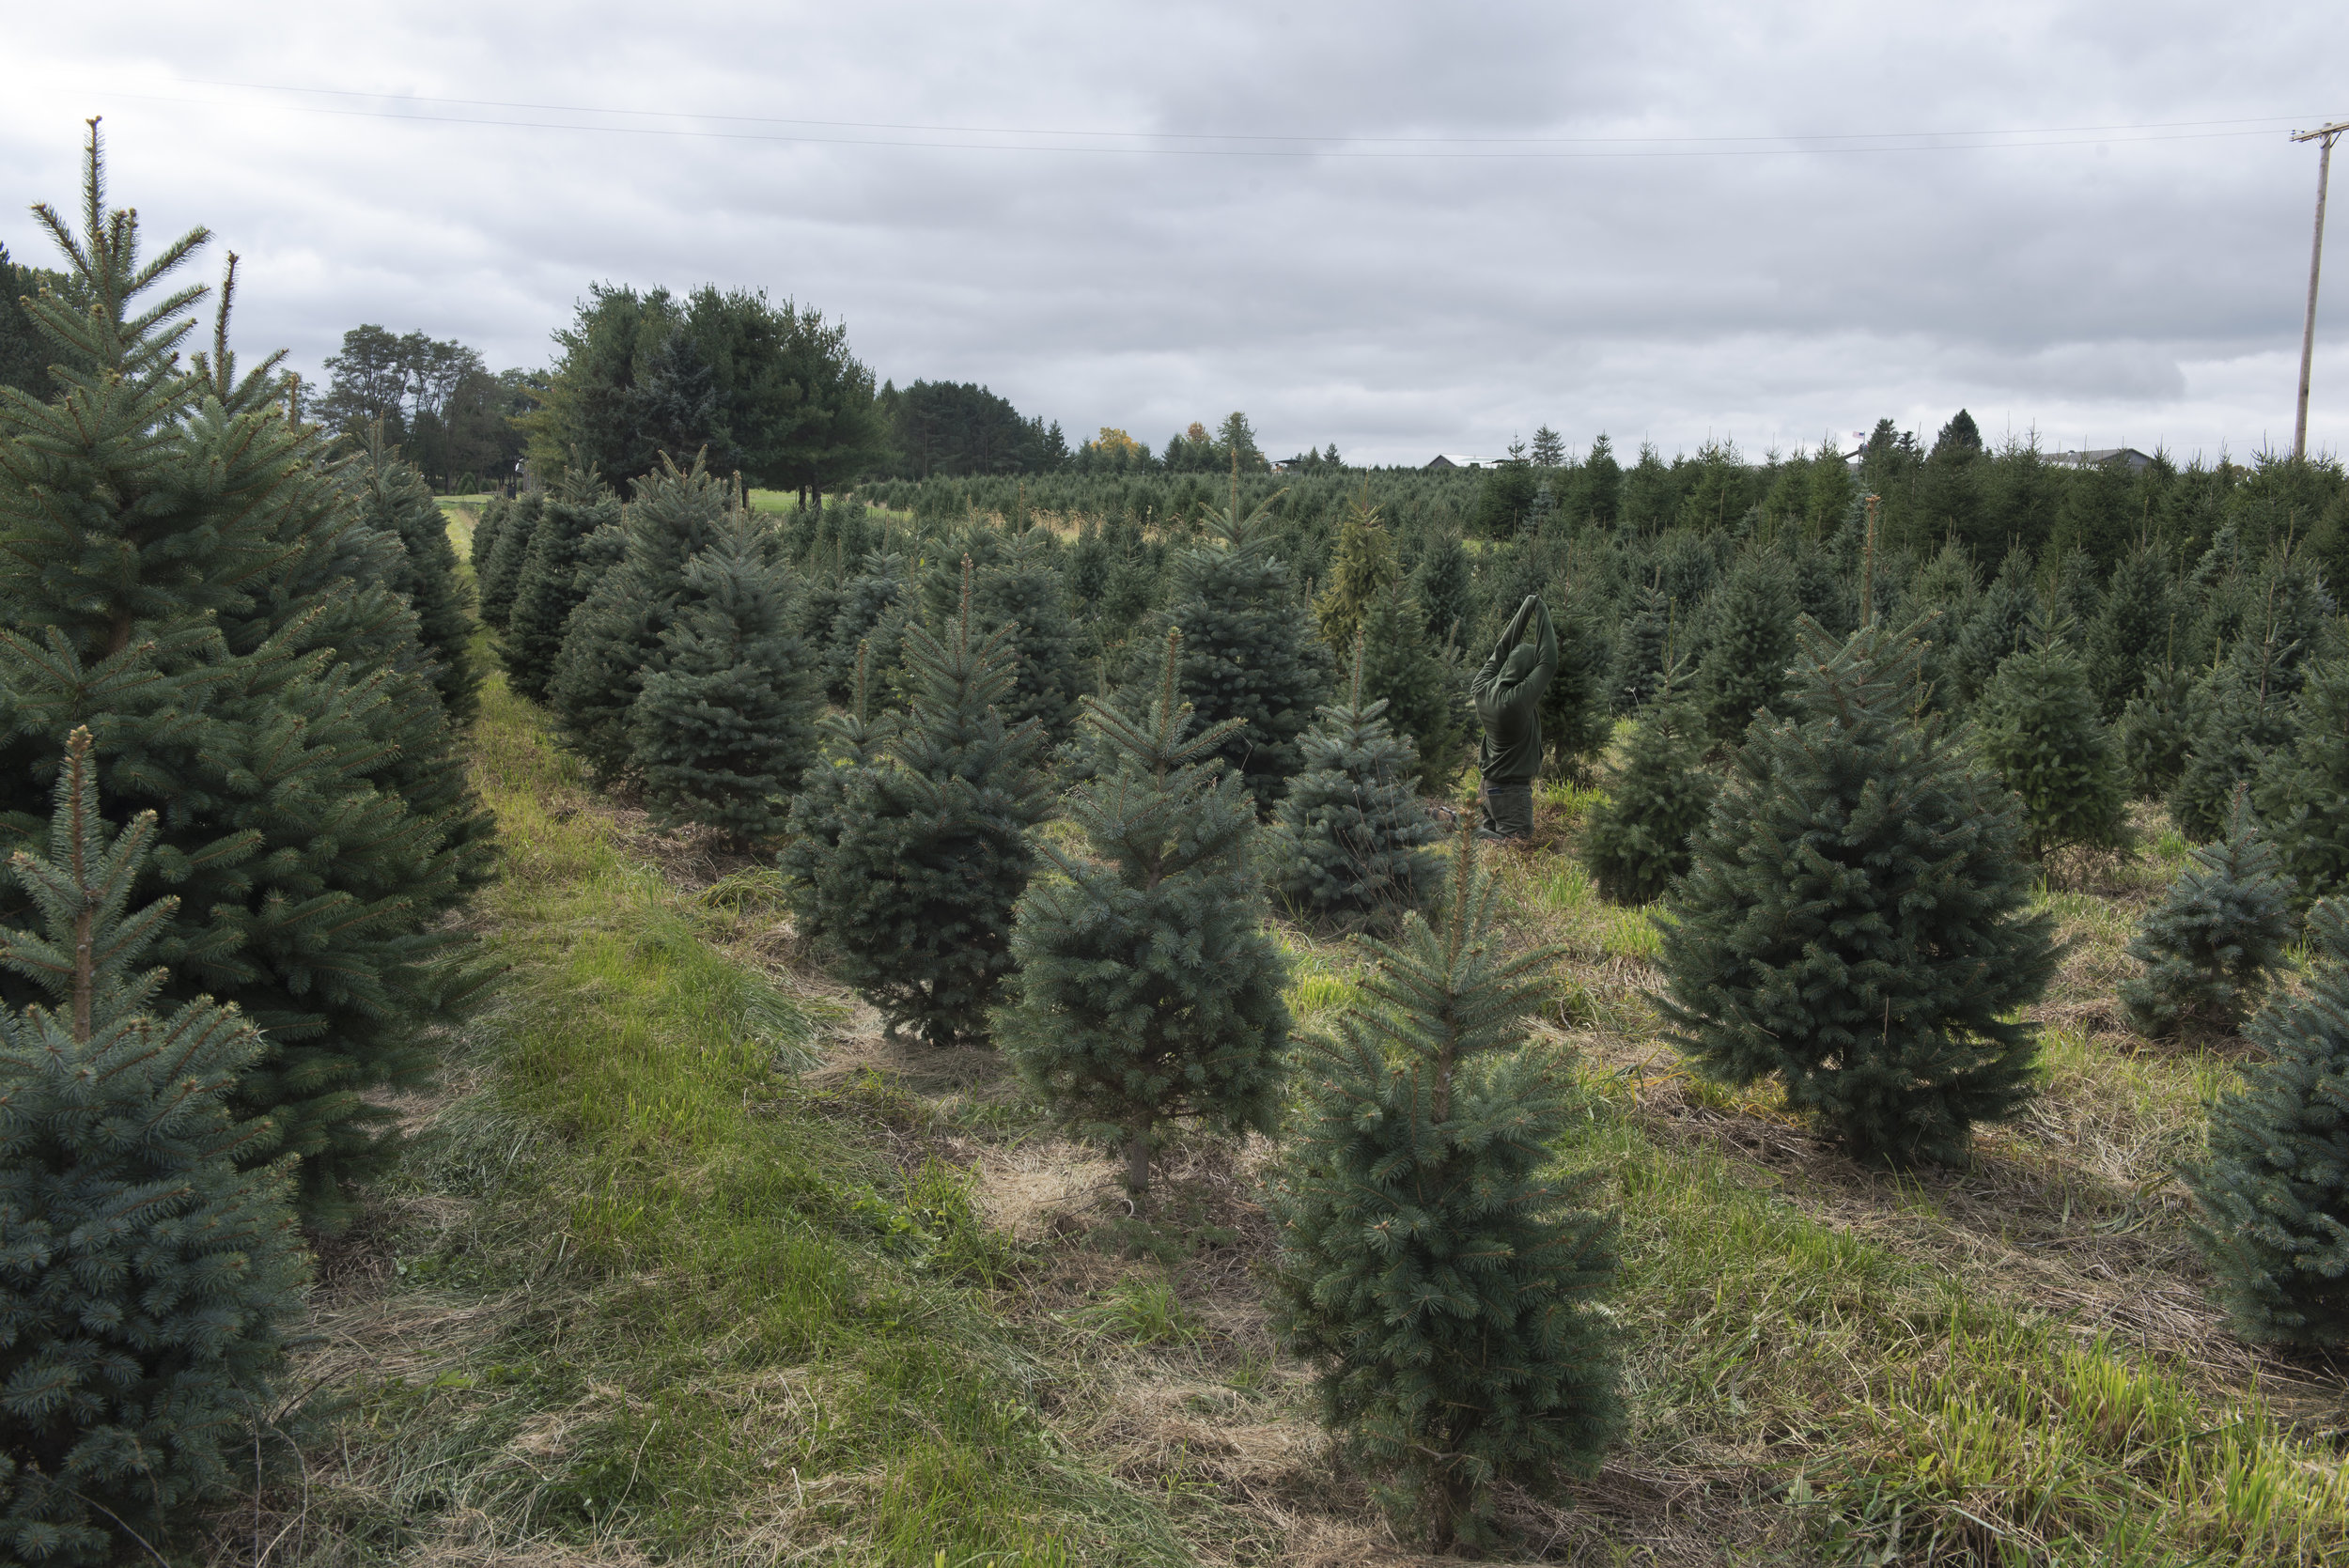
One of the problems I had with this is I felt like I was generalizing or speaking on behalf of all veterans (which is just impossible to do.) So I decided to let the veterans experiences speak for themselves, and allow the audience to interpret how they wish. So I started cutting my old work prints.
One of the things they tell you before you go to boot camp is that they “break you down, so they can build you back up.”
I wanted to ask the question of what happens to those pieces when the service member transitions into a veteran. Unless you have a well crafted plan, it is easier to flounder, for the first time in many veterans lives they begin to live without a support network, they often move to a new city or go back home where everyone has either left or learned to live without the veteran. My project is attempting to reassemble the veteran.

Brenan, Mike Guinto, Inkjet Print Collage, 8x10”
For this I began taking photos from the veterans personal archive and layering them on top of each other. The shapes I cut out are direct reference to camouflage patterns from uniform items the veteran has worn.
Over winter break I am going to be equally as busy writing my Thesis paper, continuing to develop this body of work, and also, the holidays!
So take this holiday card from us to you and I hope you all get some r&r this winter break!

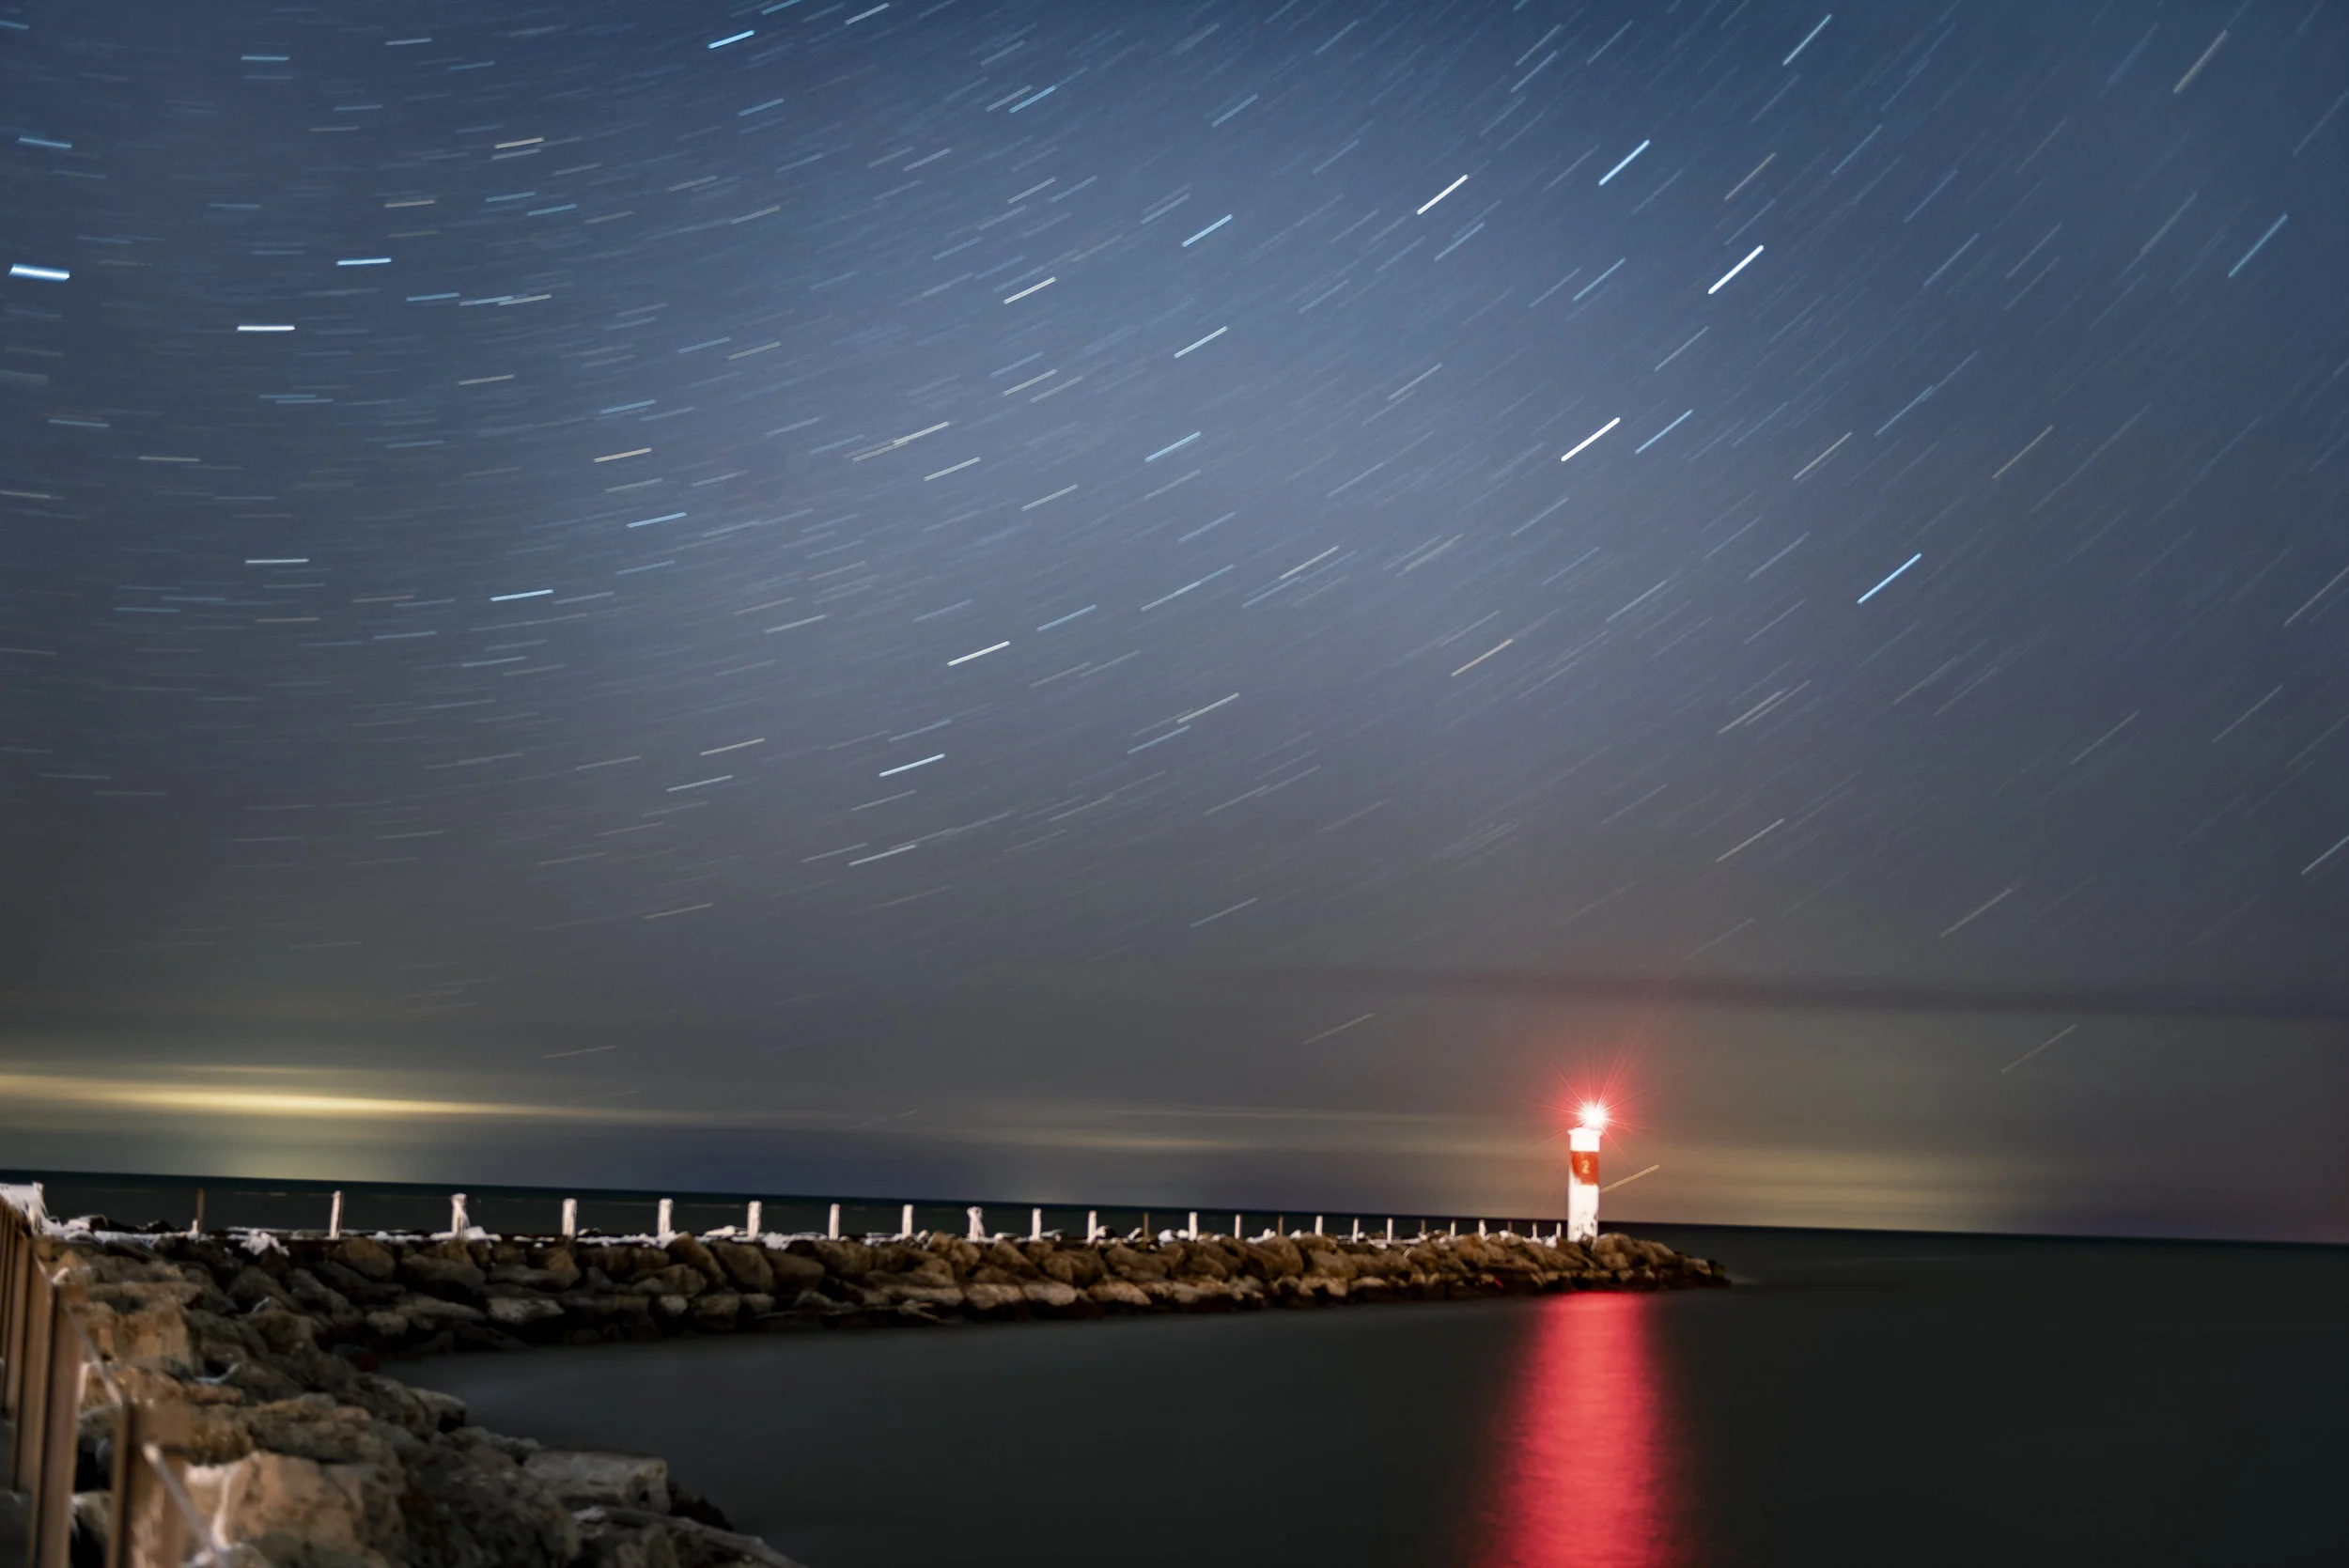
Helpful tips for night time long exposure photography
Here is a guide with some helpful tips and tricks to taking better star photographs.
One of the most fun techniques in photography is long exposure. I love heading out on a warm summer night, finding a beautiful subject whether it be a tree or a water tower, or a lake and just watching the stars drift by. In this blog post I hope to give you some helpful tips that will save you time and frustration when starting out taking night sky photographs.
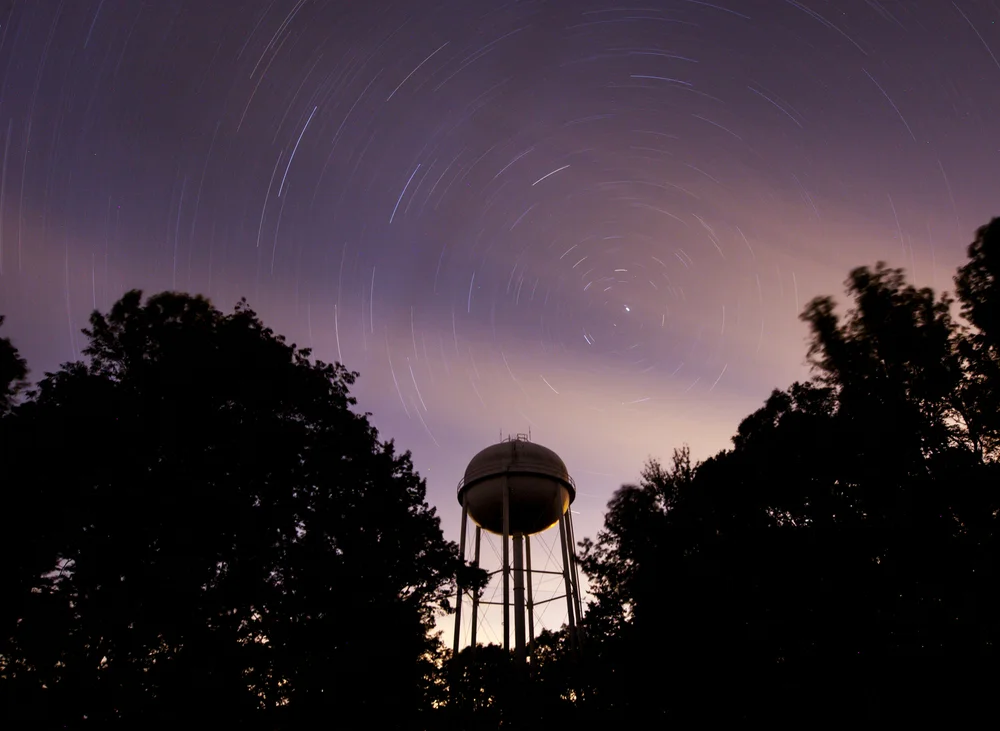
Equipment:
Camera: Make sure your camera has a bulb function or at least can go down to a 20 second shutter speed.
Tripod: after the camera, this is the only other part of this I would say is a requirement You can usually work around everything else, but a solid tripod is the most important investment for long exposure photography. This doesn't mean you need to go buy a $500 Manfroto, but as long as it will hold your camera still and the screw doesn't come loose mid exposure you will be fine.
Wide Lens: Wide lens captures more stars because you have a wider field of view. If you are trying to make the moon look big, go for a telephoto, the longer the better. Ideally you want a lens that can open to at least F2.8 - for more info on len's you can check out my post on What the numbers on lenses mean.
Remote Shutter: This will just save you time. A remote shutter allows you to press the shutter without actually touching your camera. Each time you touch your camera you shake it ever so slightly and it can show up in the photos. For this reason, some of the most expensive cameras have seismographs inside them! If you don't have one, or forget to pack it, one trick I like to do is turn on the delay shutter timer. originally used to give the photographer time to jump into the awkward family photo, now can be used to delay the shutter until the camera stops shaking.
Deck of Cards: When taking long exposures, especially if you are doing a straight 2 hour exposure, you might want something to do while you wait. Other recommendations if you don't like solitaire are a chatty friend, a telescope, or a good book.
Step 1:
Prepare.
Remember the 5 P's. Preparation prevents piss poor photos. I usually scout out places I want to photograph during the day time. Look for a cool landmark or a beat up rusty truck. You are going to want to look for something at least 20 minutes outside of a city or 45 minutes if its a big city like NYC or Chicago. If you are in California, just head for the hills or the desert. You are also going to want to look at the moon calendar. Plan to go on a moonless night, anything larger than a quarter moon drowns out a lot of potential stars. The moon as well as city lights make the sky brighter at night which means your camera wont be able to pick up the fainter starlight.
Step 2:
Set up your shot
Set up your shot how you like it and try to throw some sort of compositional technique in there. Rule of thirds, leading line, Symmetry, any one of those will make it look like you know what you are doing!
Now one of the questions I have been asked is how do you get your focus?! And It took a little creative problem solving to figure out. What I do, and it has not failed me yet, is flick off the automatic focus setting. There should be a switch on your camera and usually there is one on your lens. Switch it off of A or MA and bring it to M. Manual Mode will allow you to set a focus on a certain point and it wont move when you click the shutter. Next I shine my phone-screen's light on my lens to help me see the markings on it, set the focus ring to the infinity symbol. It is usually about a 1 degree rotation in from the very end. Once it is set, don't touch it.
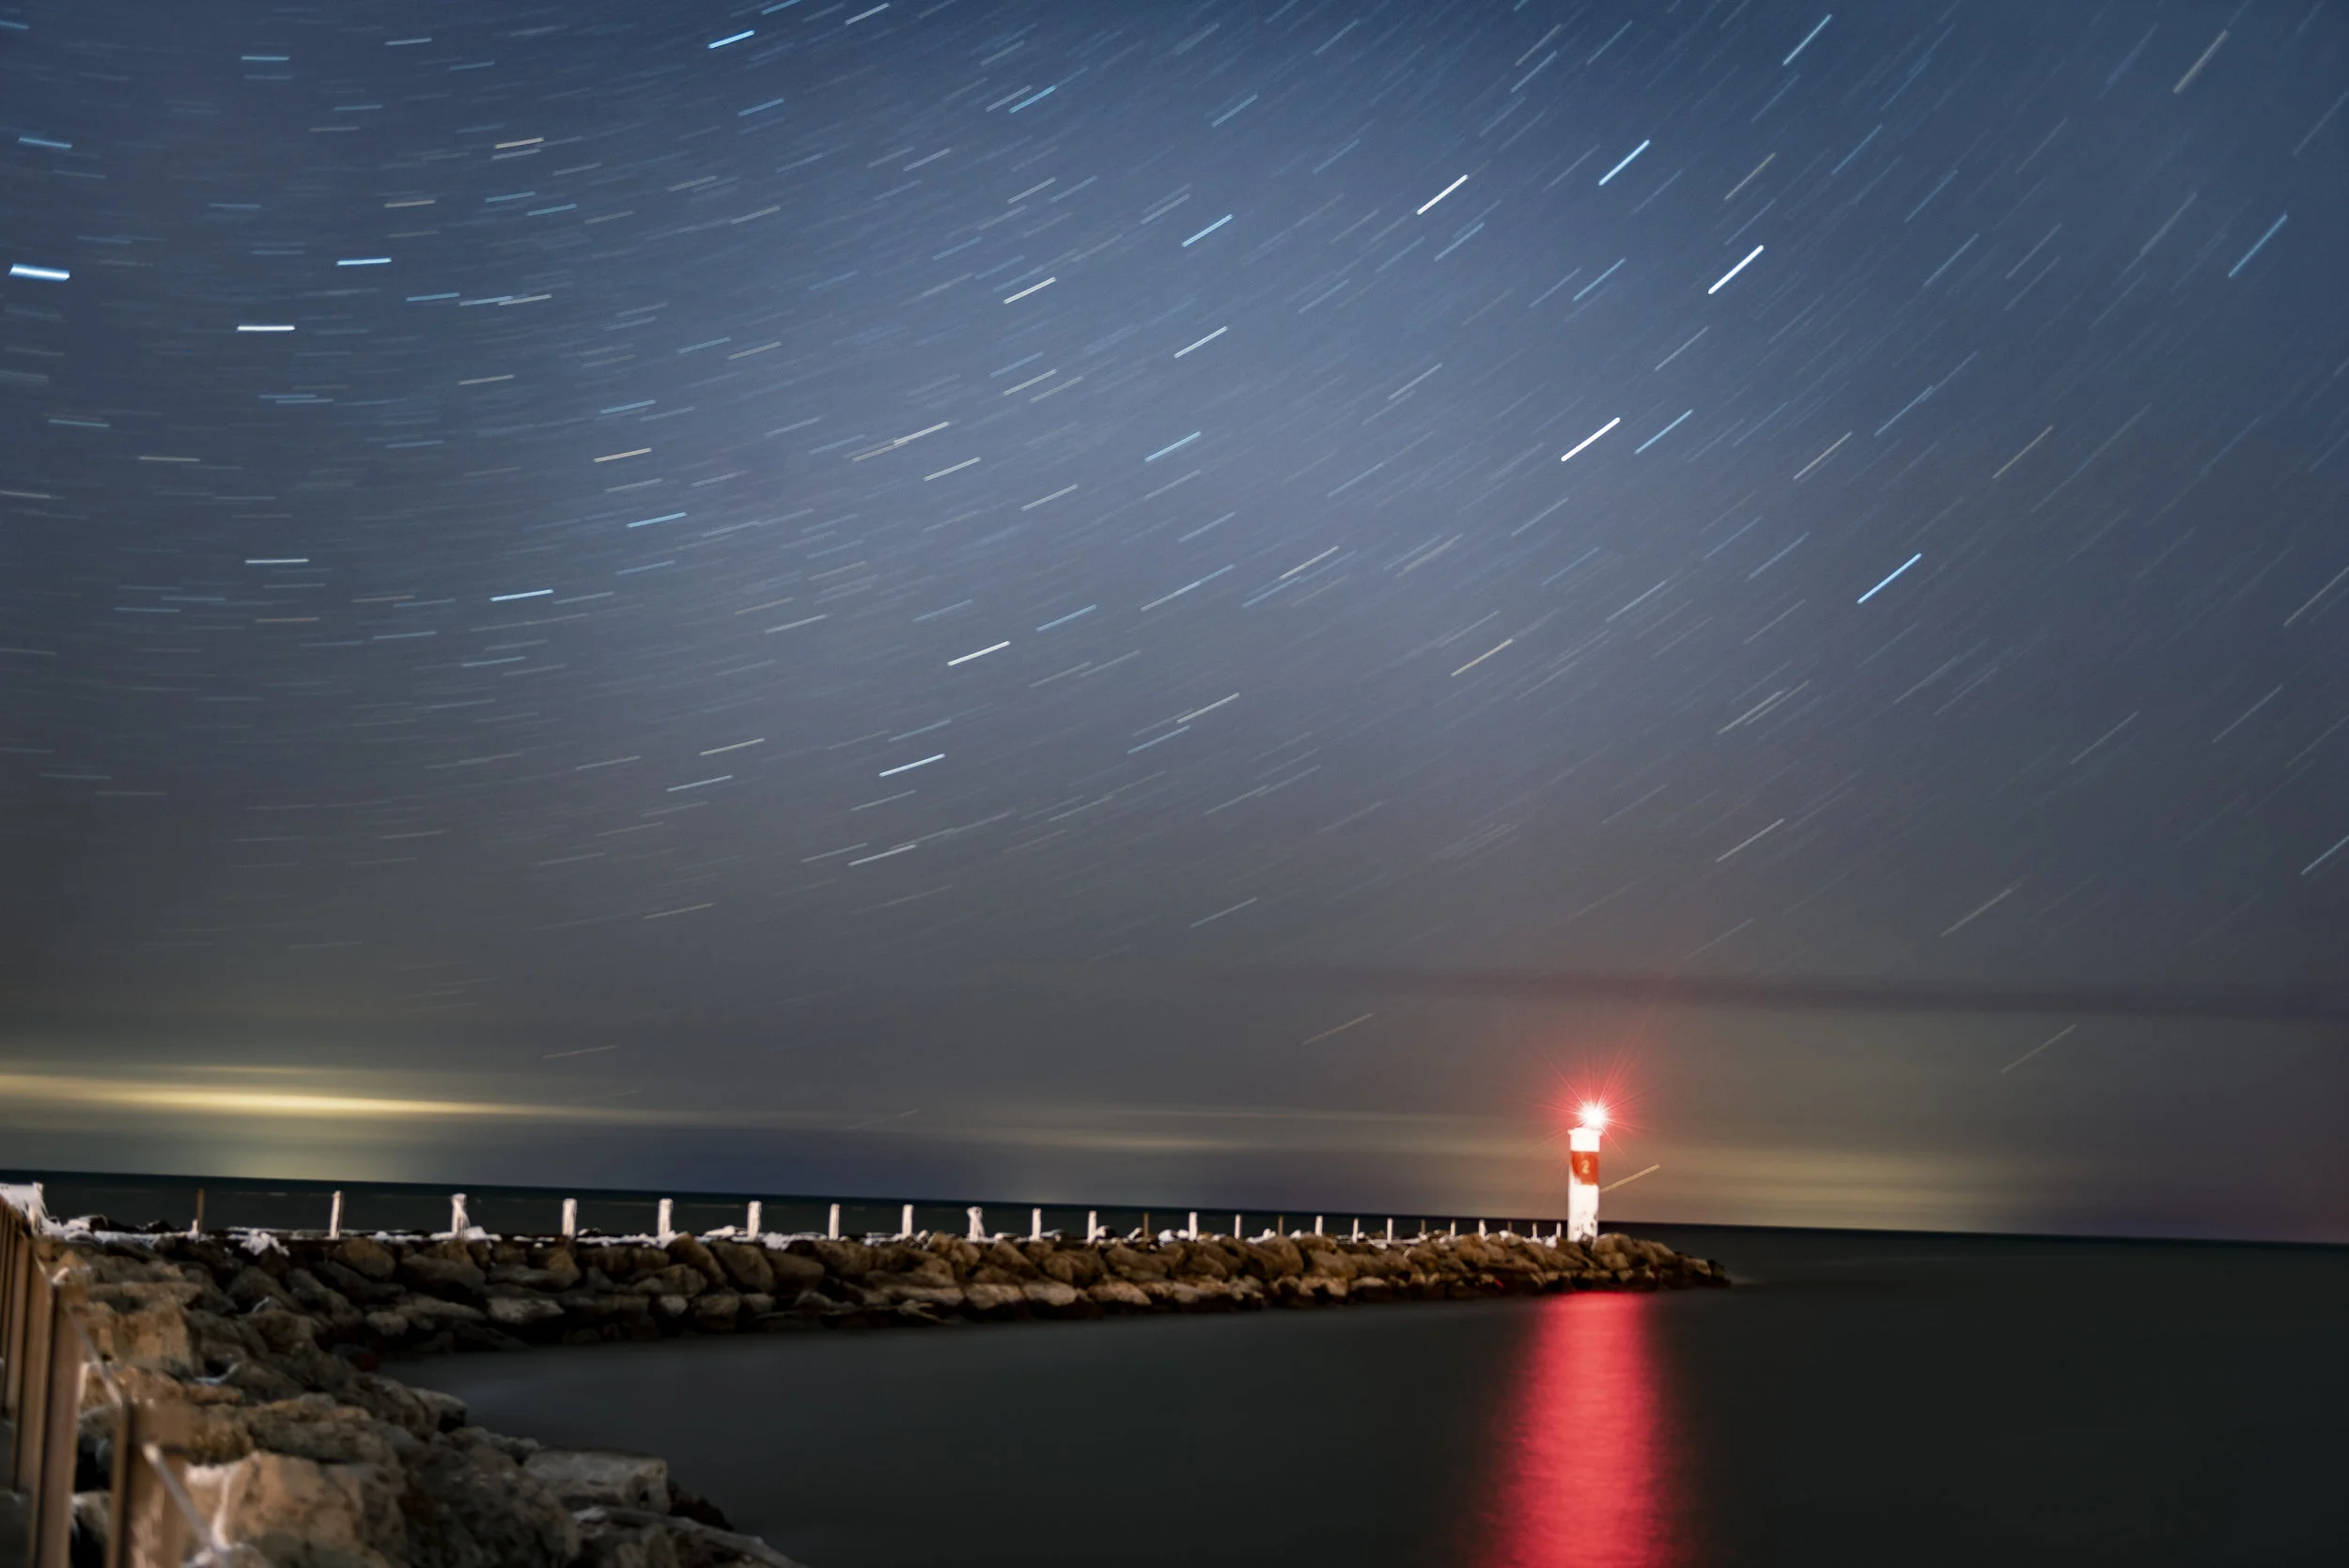
Now your settings are going to be different based off your camera, your lens, and how much light pollution is in your sky, so play around with the settings. Set your White Balance to Sunlight or 5500K and put your quality on RAW for best results. A good place to start is ISO 1600 / F2.8 (or as low as you can get) and set your shutter speed to 20." I find at 30" you have actually had the shutter open long enough to catch a little bit of motion blur in the stars from the earth's rotation.
With any luck you should get something that looks like this...
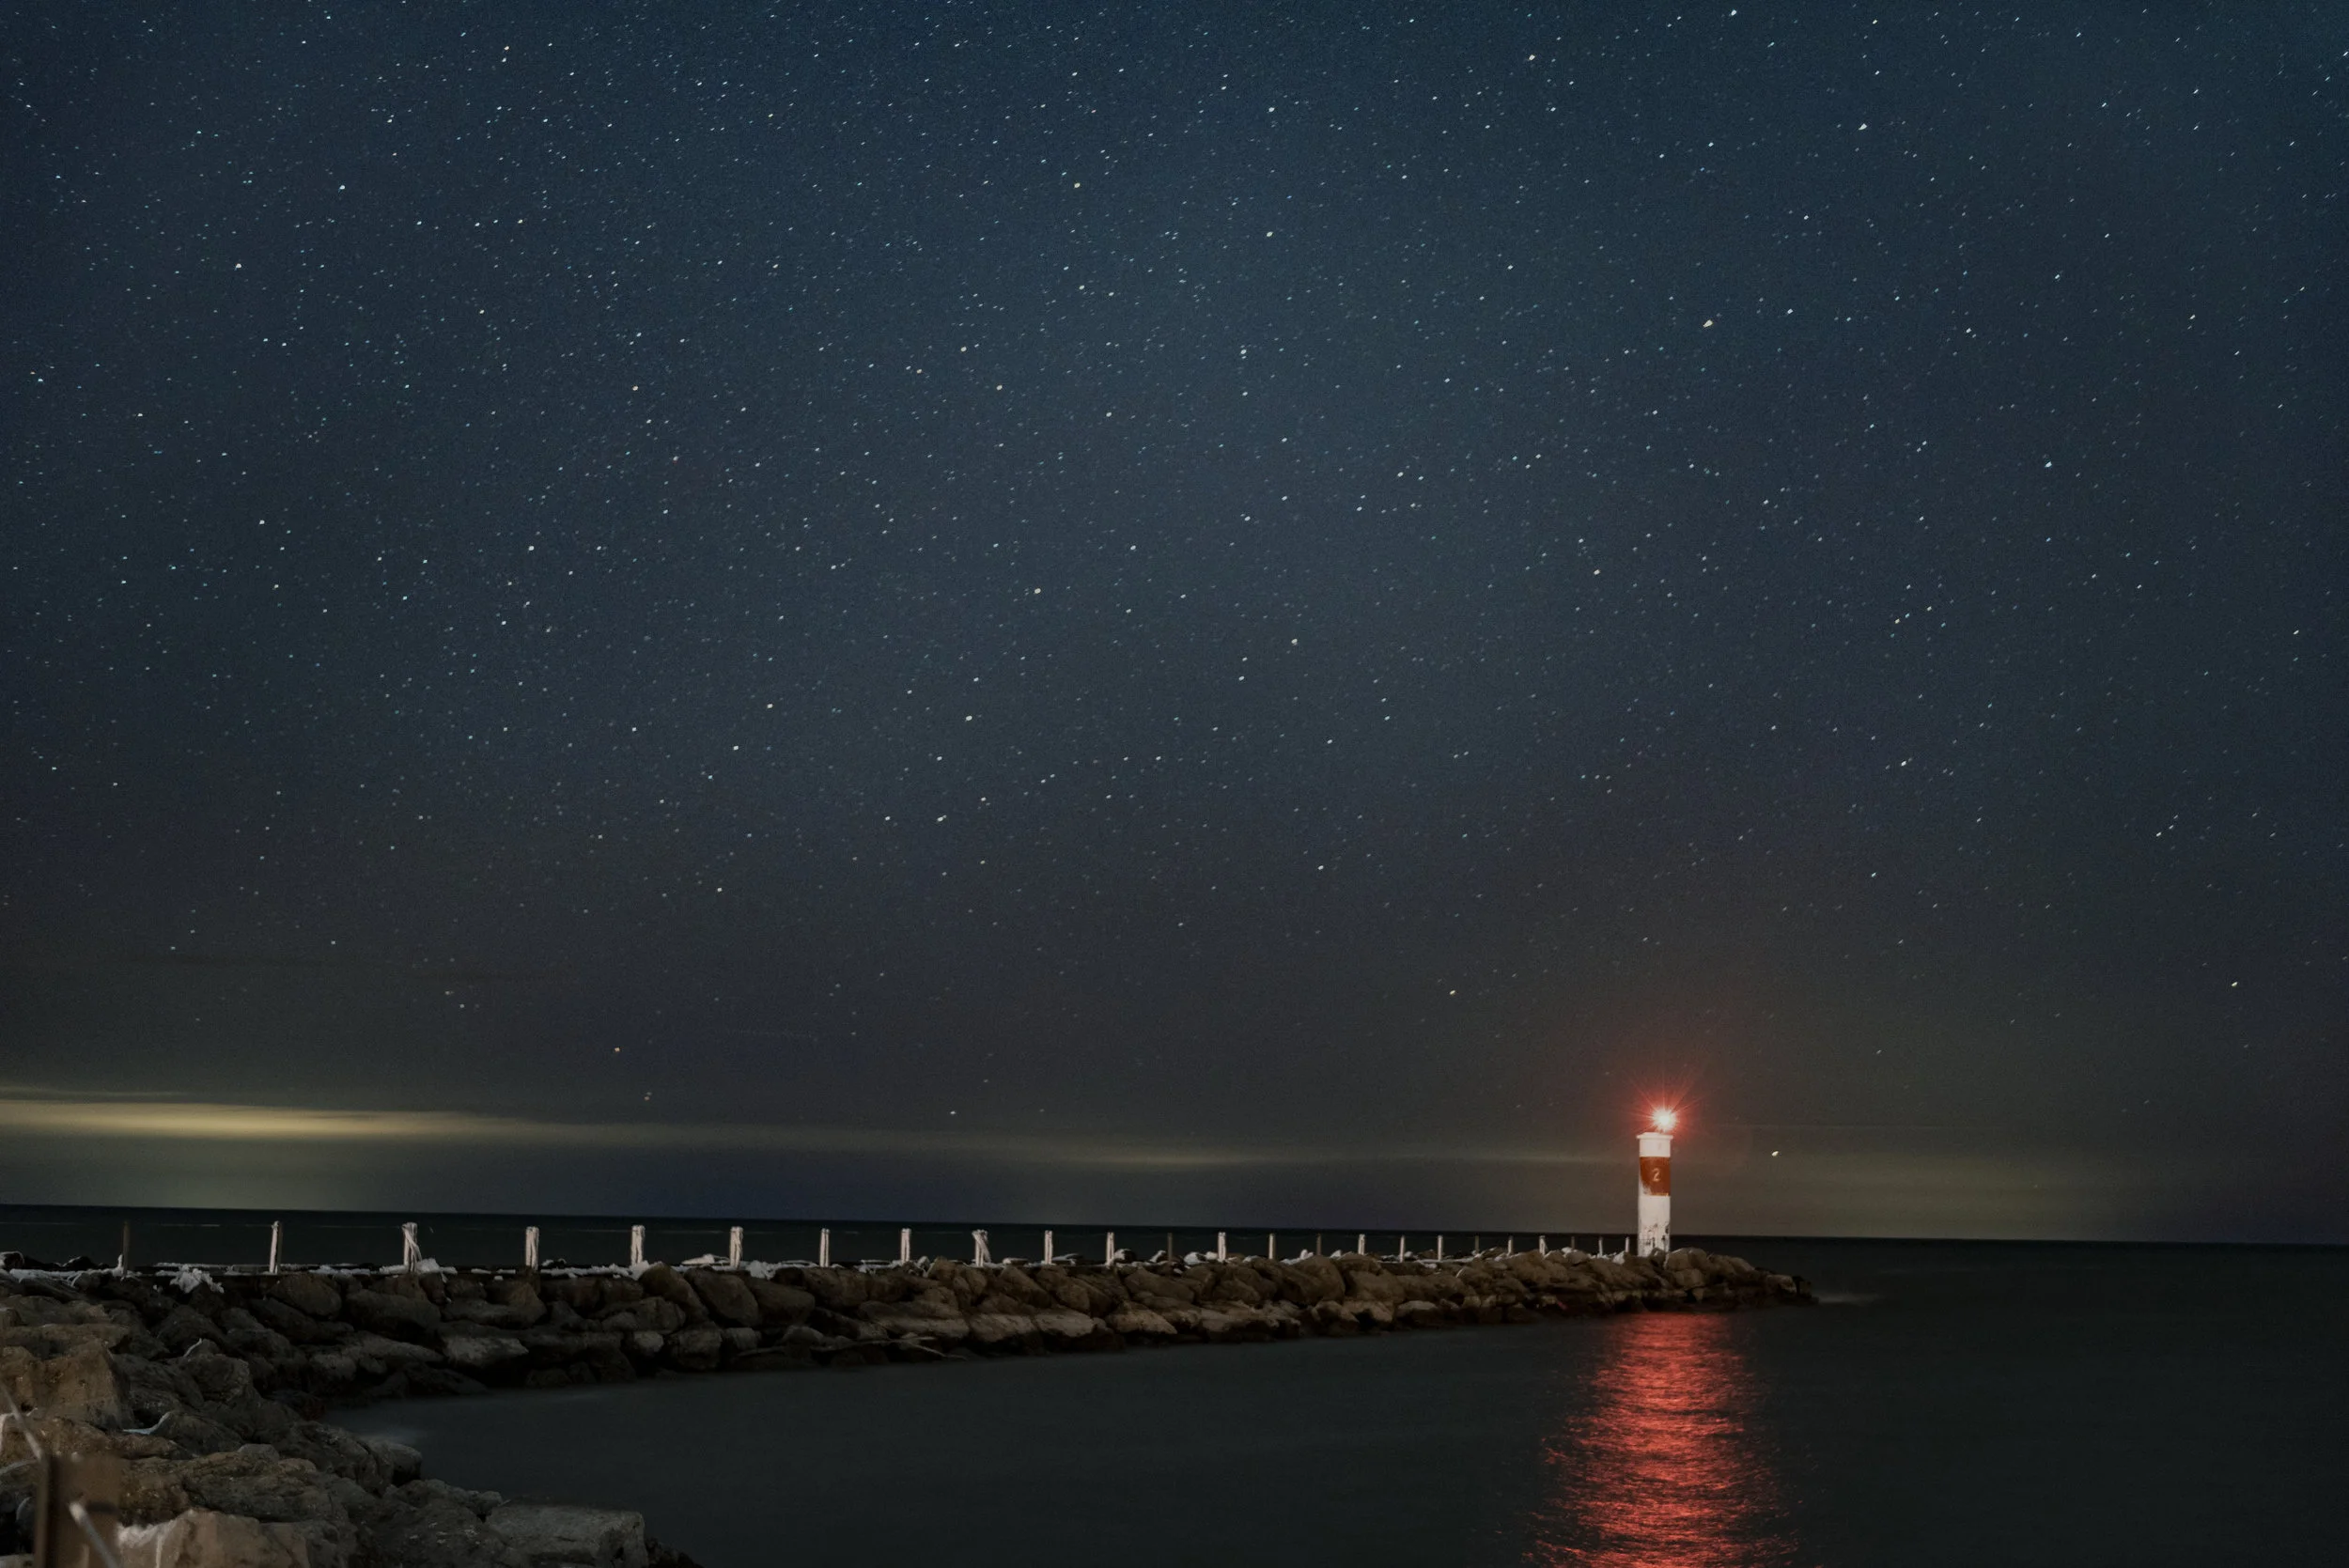
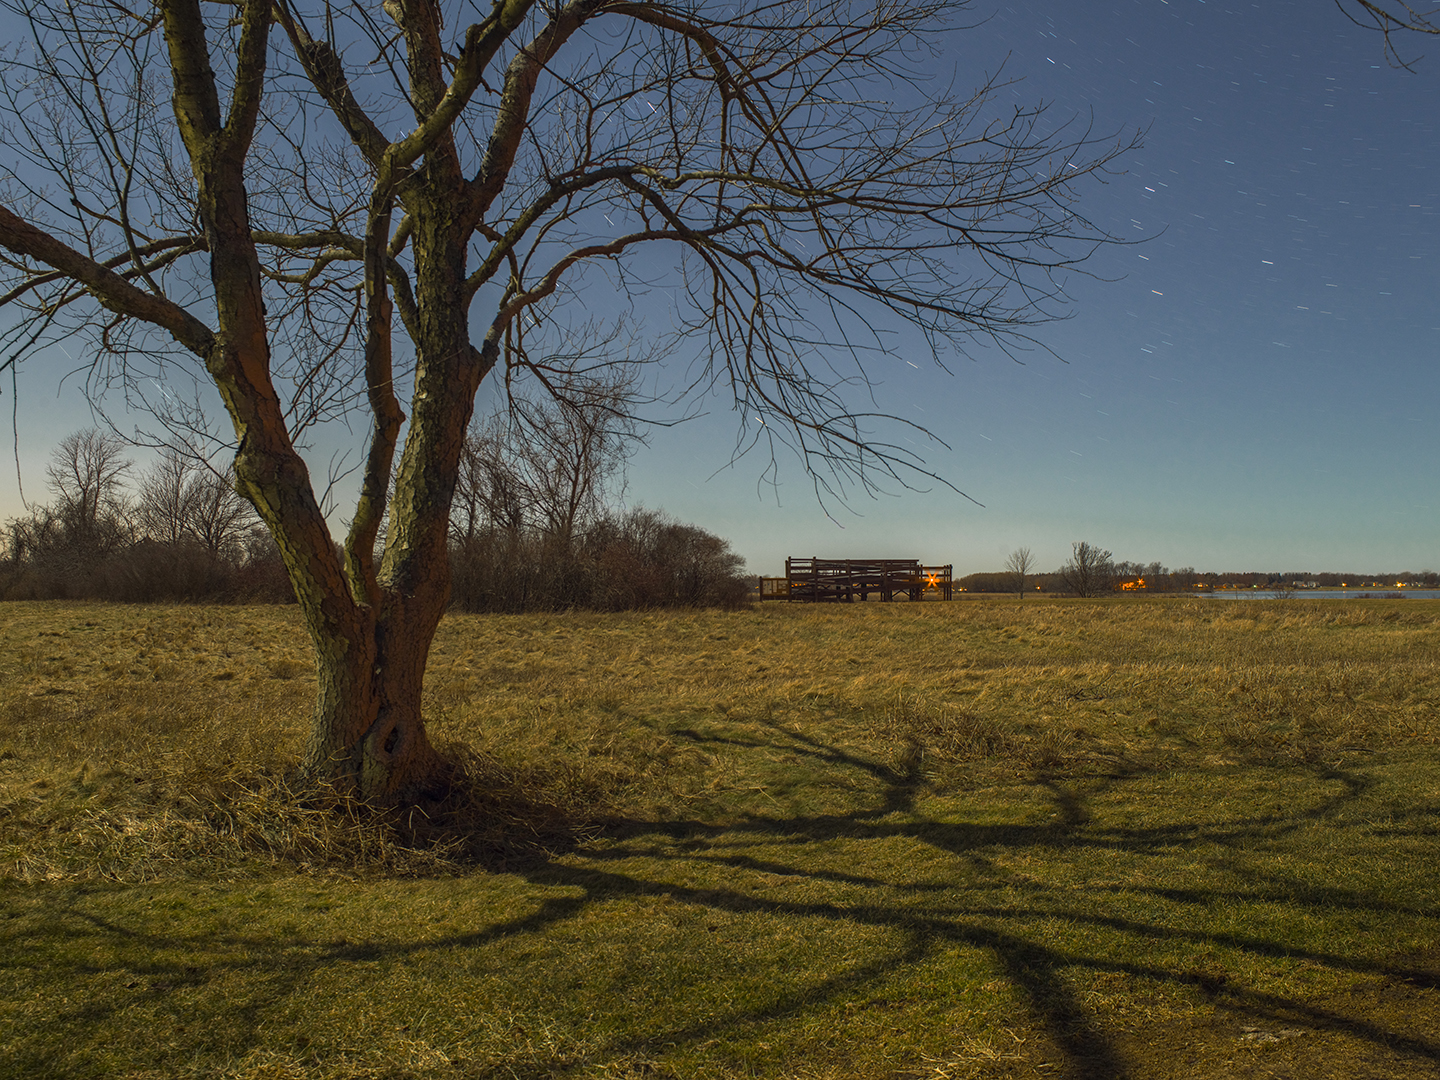
Just for reference, this next photo was taken on a night with a half moon... notice how fewer stars there are and how the moon actually creates a shadow. The photograph looks like it was taken during the day if not for the stars and lights in the background.
Things to keep in mind:
Notice in the second photo how fewer stars you see because the moon is polluting the night sky with light. City lights are even worse which is why you need to travel so far from any big city. If you can put mountains or a large body of water between you and the city, the darker it will be.
Most night sky photos you see on instagram are more than likely composites. Basically photographers take a lot of photos only 10 seconds to a minute long and they stack them together to create what looks like an hour long exposure. It is a really neat trick which can save you the risk of taking a 2 hour photo and having it be overexposed.
The other composite technique which is more common (unfortunately) is to drag and drop a sky from a different photo and put it over a photo of something else. While it may look really pretty to your average instagrammer, you have to realize that this is an unrealistic expectation to have when going out to take night photographs. Personally, I think this technique is cheating, but who am I to judge... Example1, Example2, Example3. At what point do these images become digital art and not photographs?

Now, in order to see the milky way, you have to be looking towards the milky way. I like to use star mapping apps to help me locate certain celestial objects.
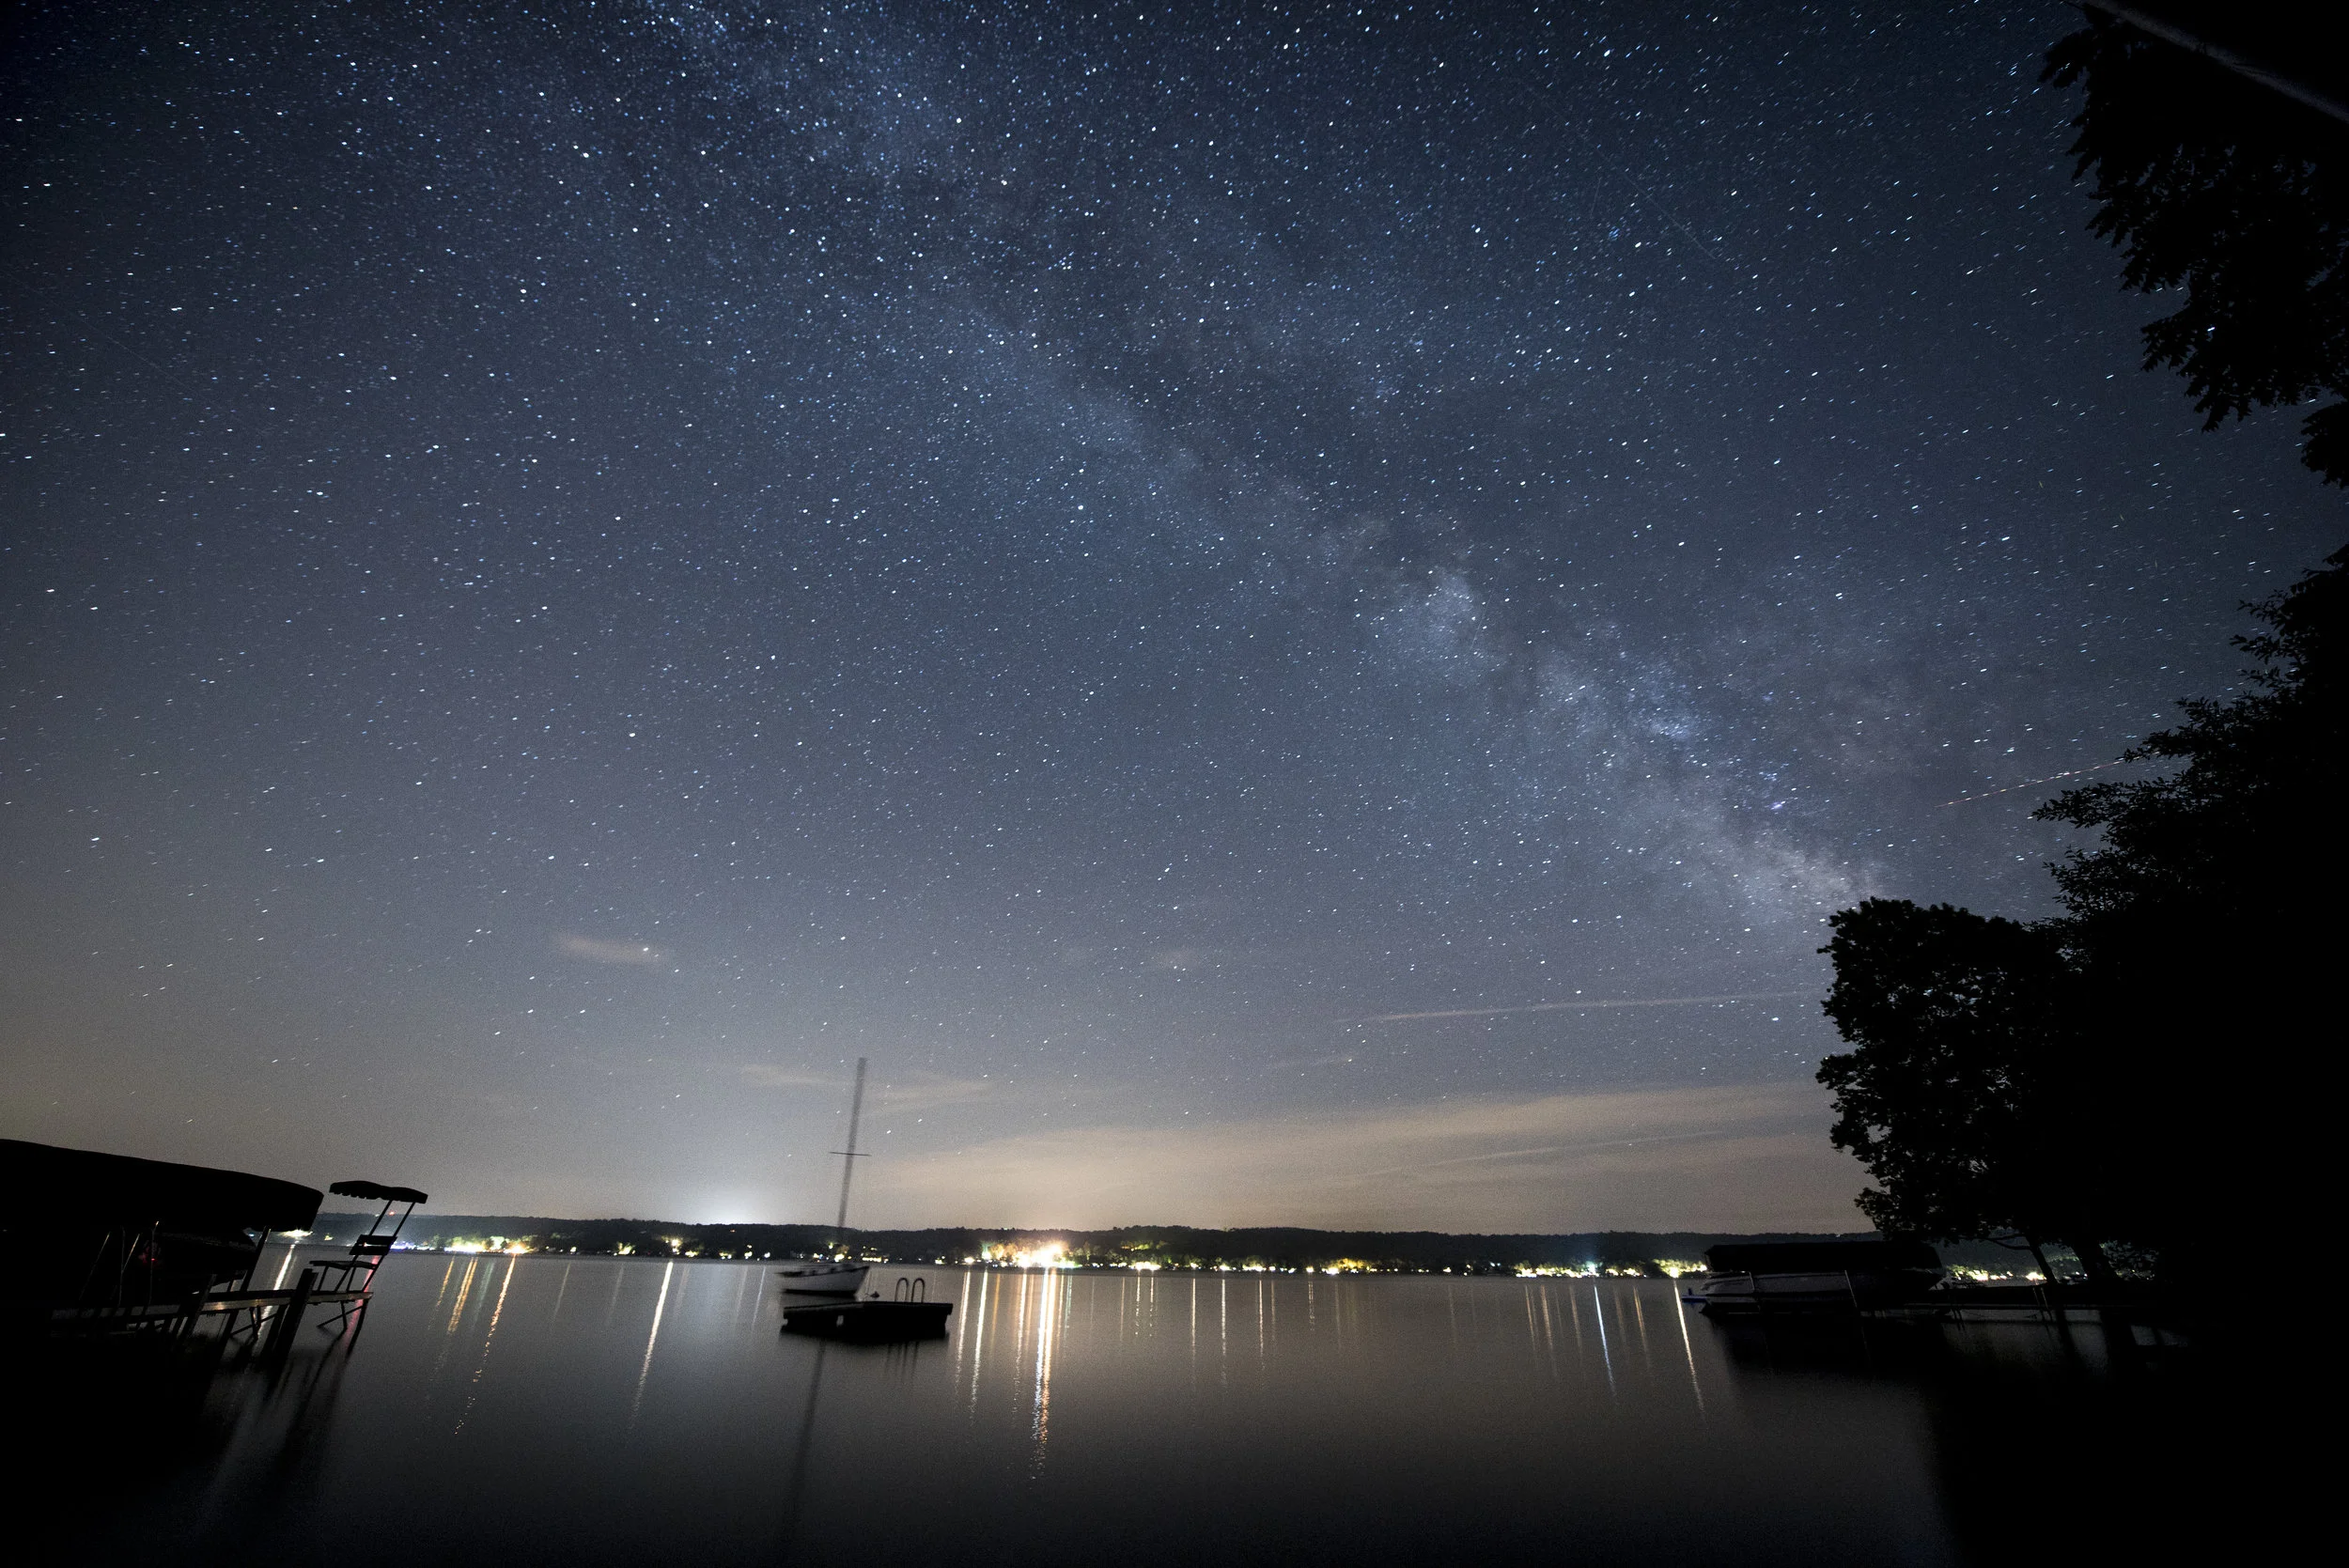
Notice how the lights along the lake actually blot out the stars. If you can spot the milky way with your naked eye, it will show up easily in a photo. Here we see it stretching from the southern sky (camera right) up and over the lake.
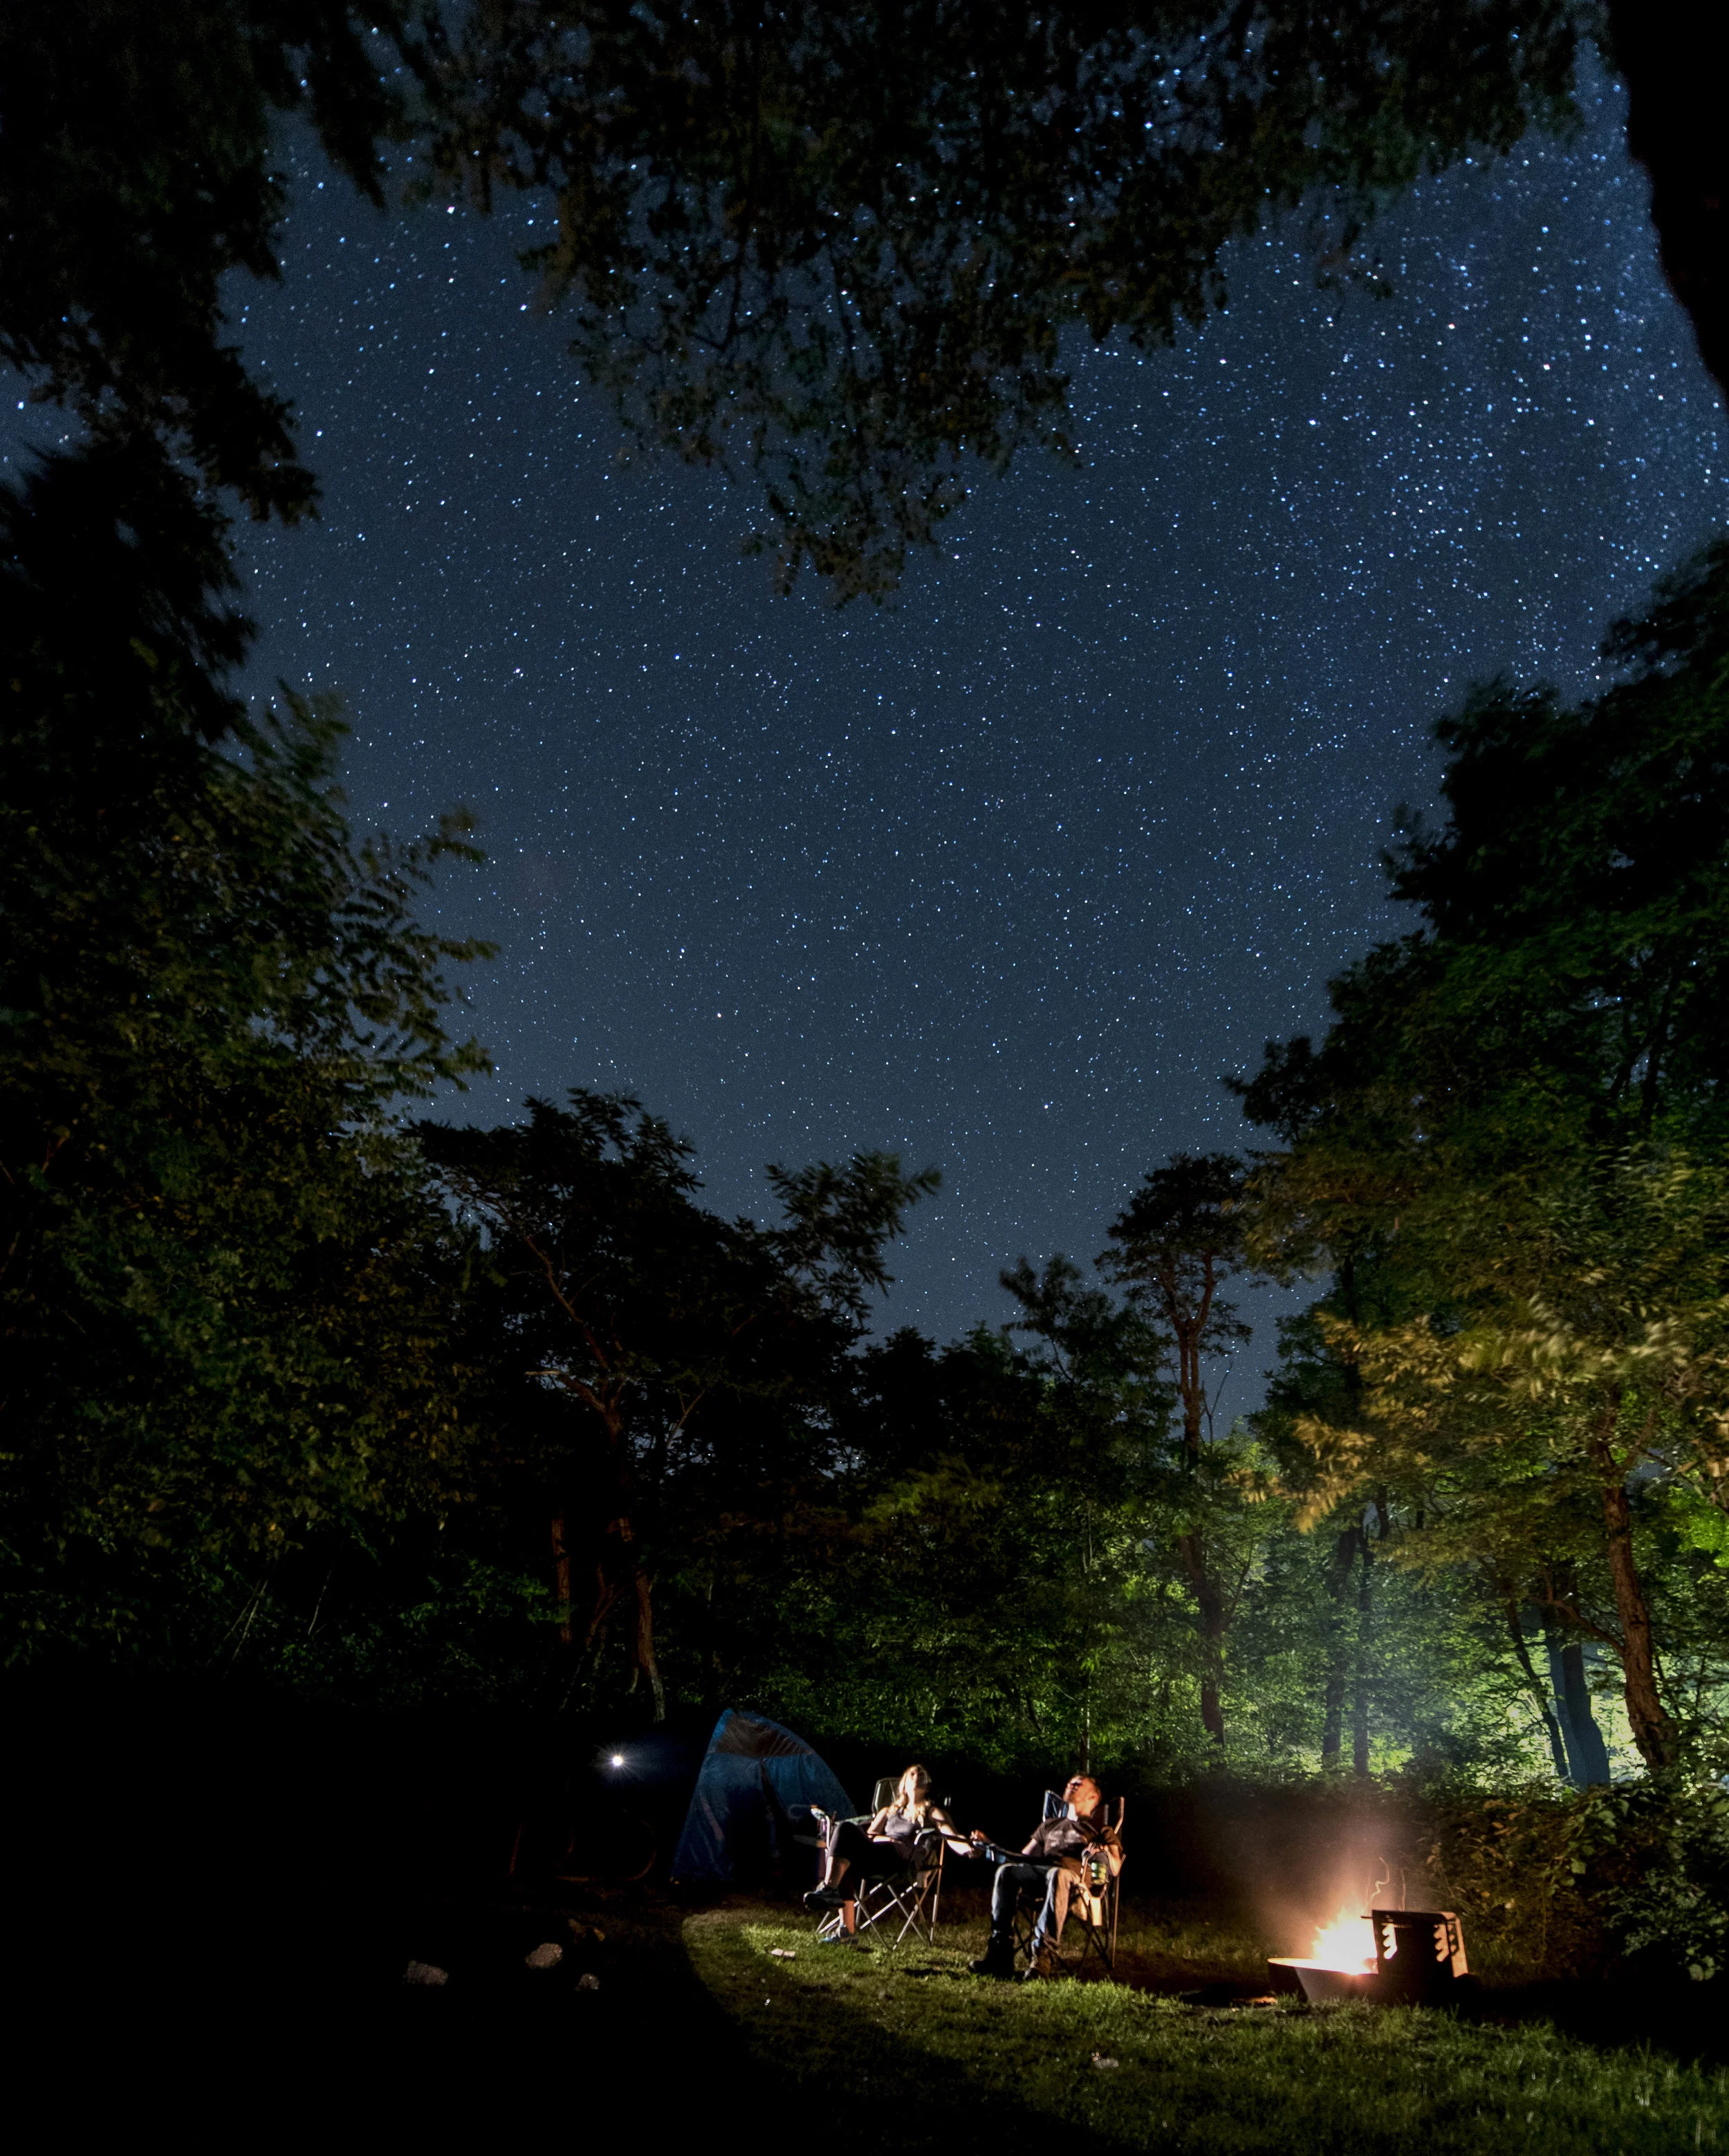
Some of the best star shots in my opinion are ones where the stars are simply a backdrop to something else. Play around with negative space. Here I used a low hanging branch to dip in creating the shape of a heart in the treetops. Using a campfire and a flashlight I was able expose for my fiance and I underneath the stars on a camping trip to finish a romantic themed photo. This was during our weekend getaway to the Shenandoah Mountains.
Give your audience an anchor, some subject matter other than just a sky full of stars. This will add interest to any photo. Make the stars secondary to the image. The best photos in my opinion show us something in a way we don't often see it.

One last thing is when you get back to your computer, go gentle on the post processing. It is very easy to want to slam your contrast and clarity and saturation all the way up, but it will just end up making the image look dirty.

Thank you for reading, I hope this helped. If you have any more questions about star photos or want to learn about something else photo related, leave a reply in the comment section!
You can also follow me on instagram.

Crescent Trail Pilates
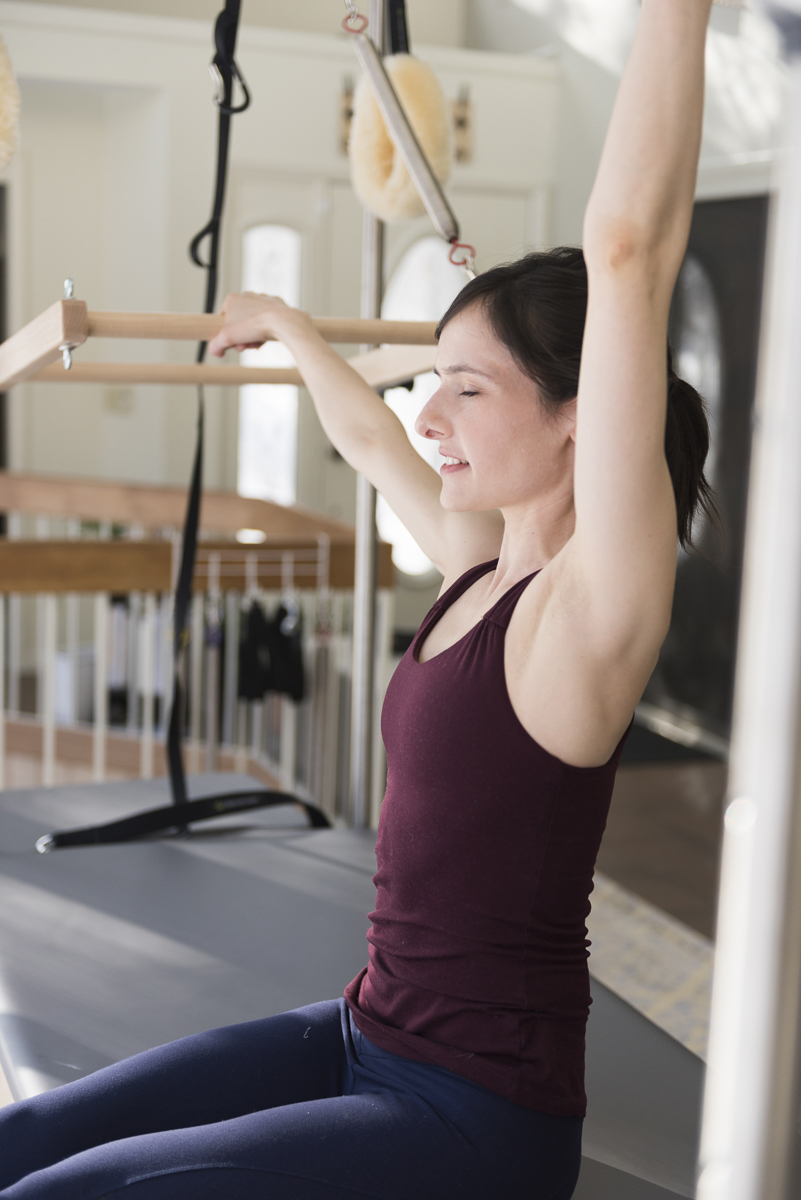
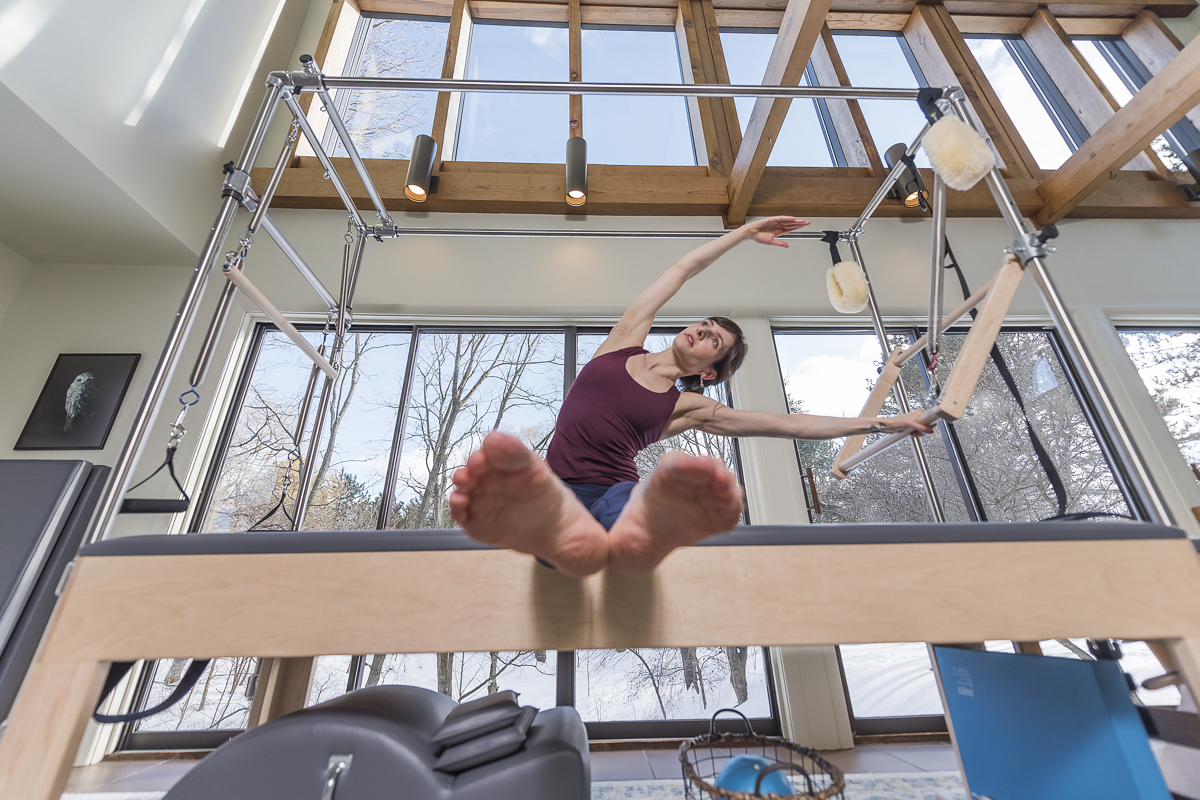
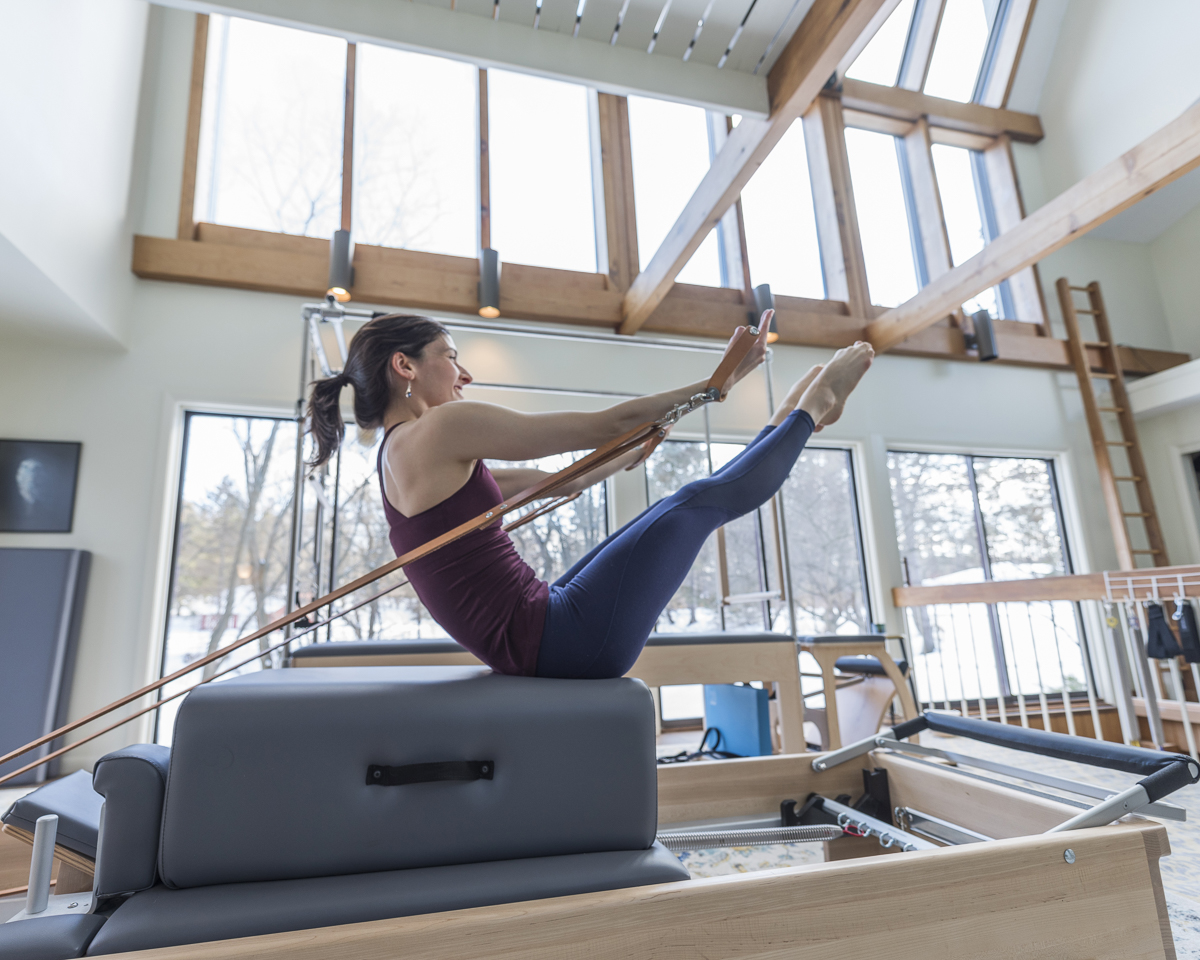
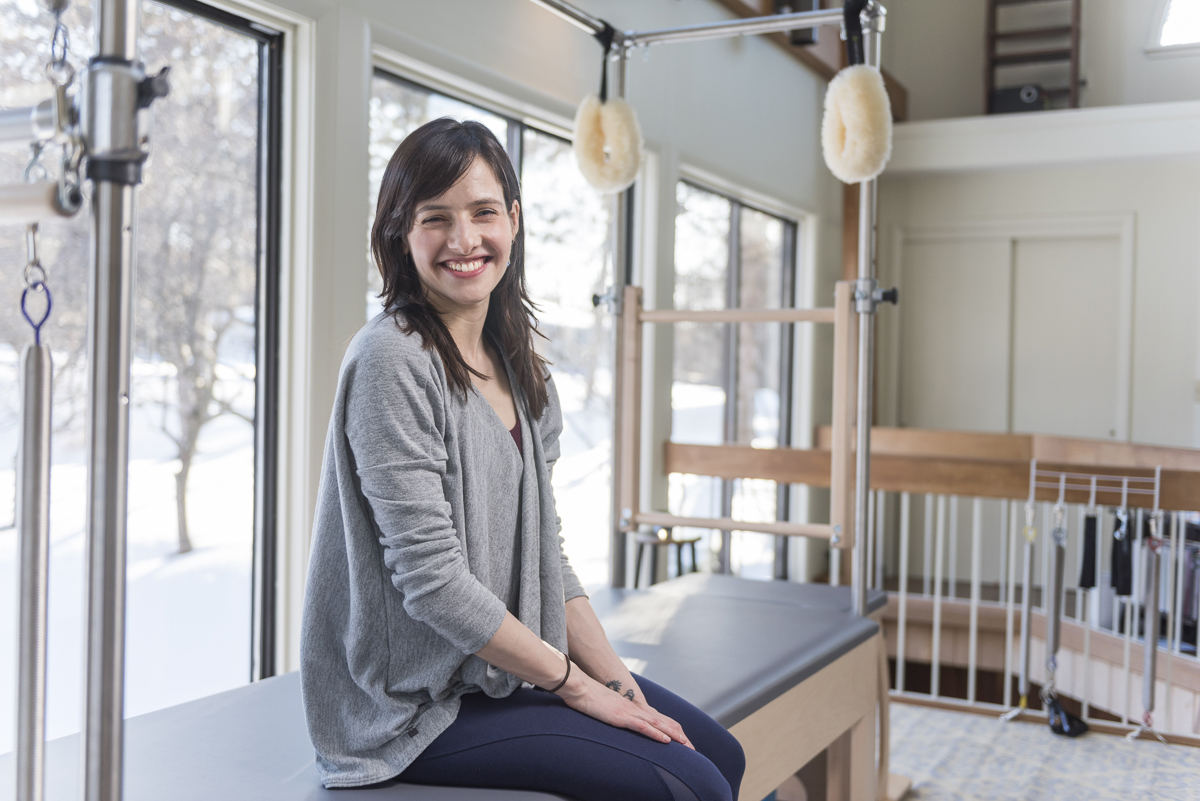
Select photos from my day at Crescent Trail Pilates with Kate. Kate offers private training near Rochester, NY.
I recently did some photo work for a friend of a friend who offers private Pilates training near Rochester New York. If you have been following my Instagram, you have probably seen a couple of the photos already. Kate was a lot of fun to work with and her studio is so stunning I did not want to leave! Check out her website at https://crescenttrailpilates.com. The large windows get beautiful southern exposure throughout the day creating a welcoming sense of warmth and openness. You can check out some of my favorite photos from the shoot below!







Jess & Joe
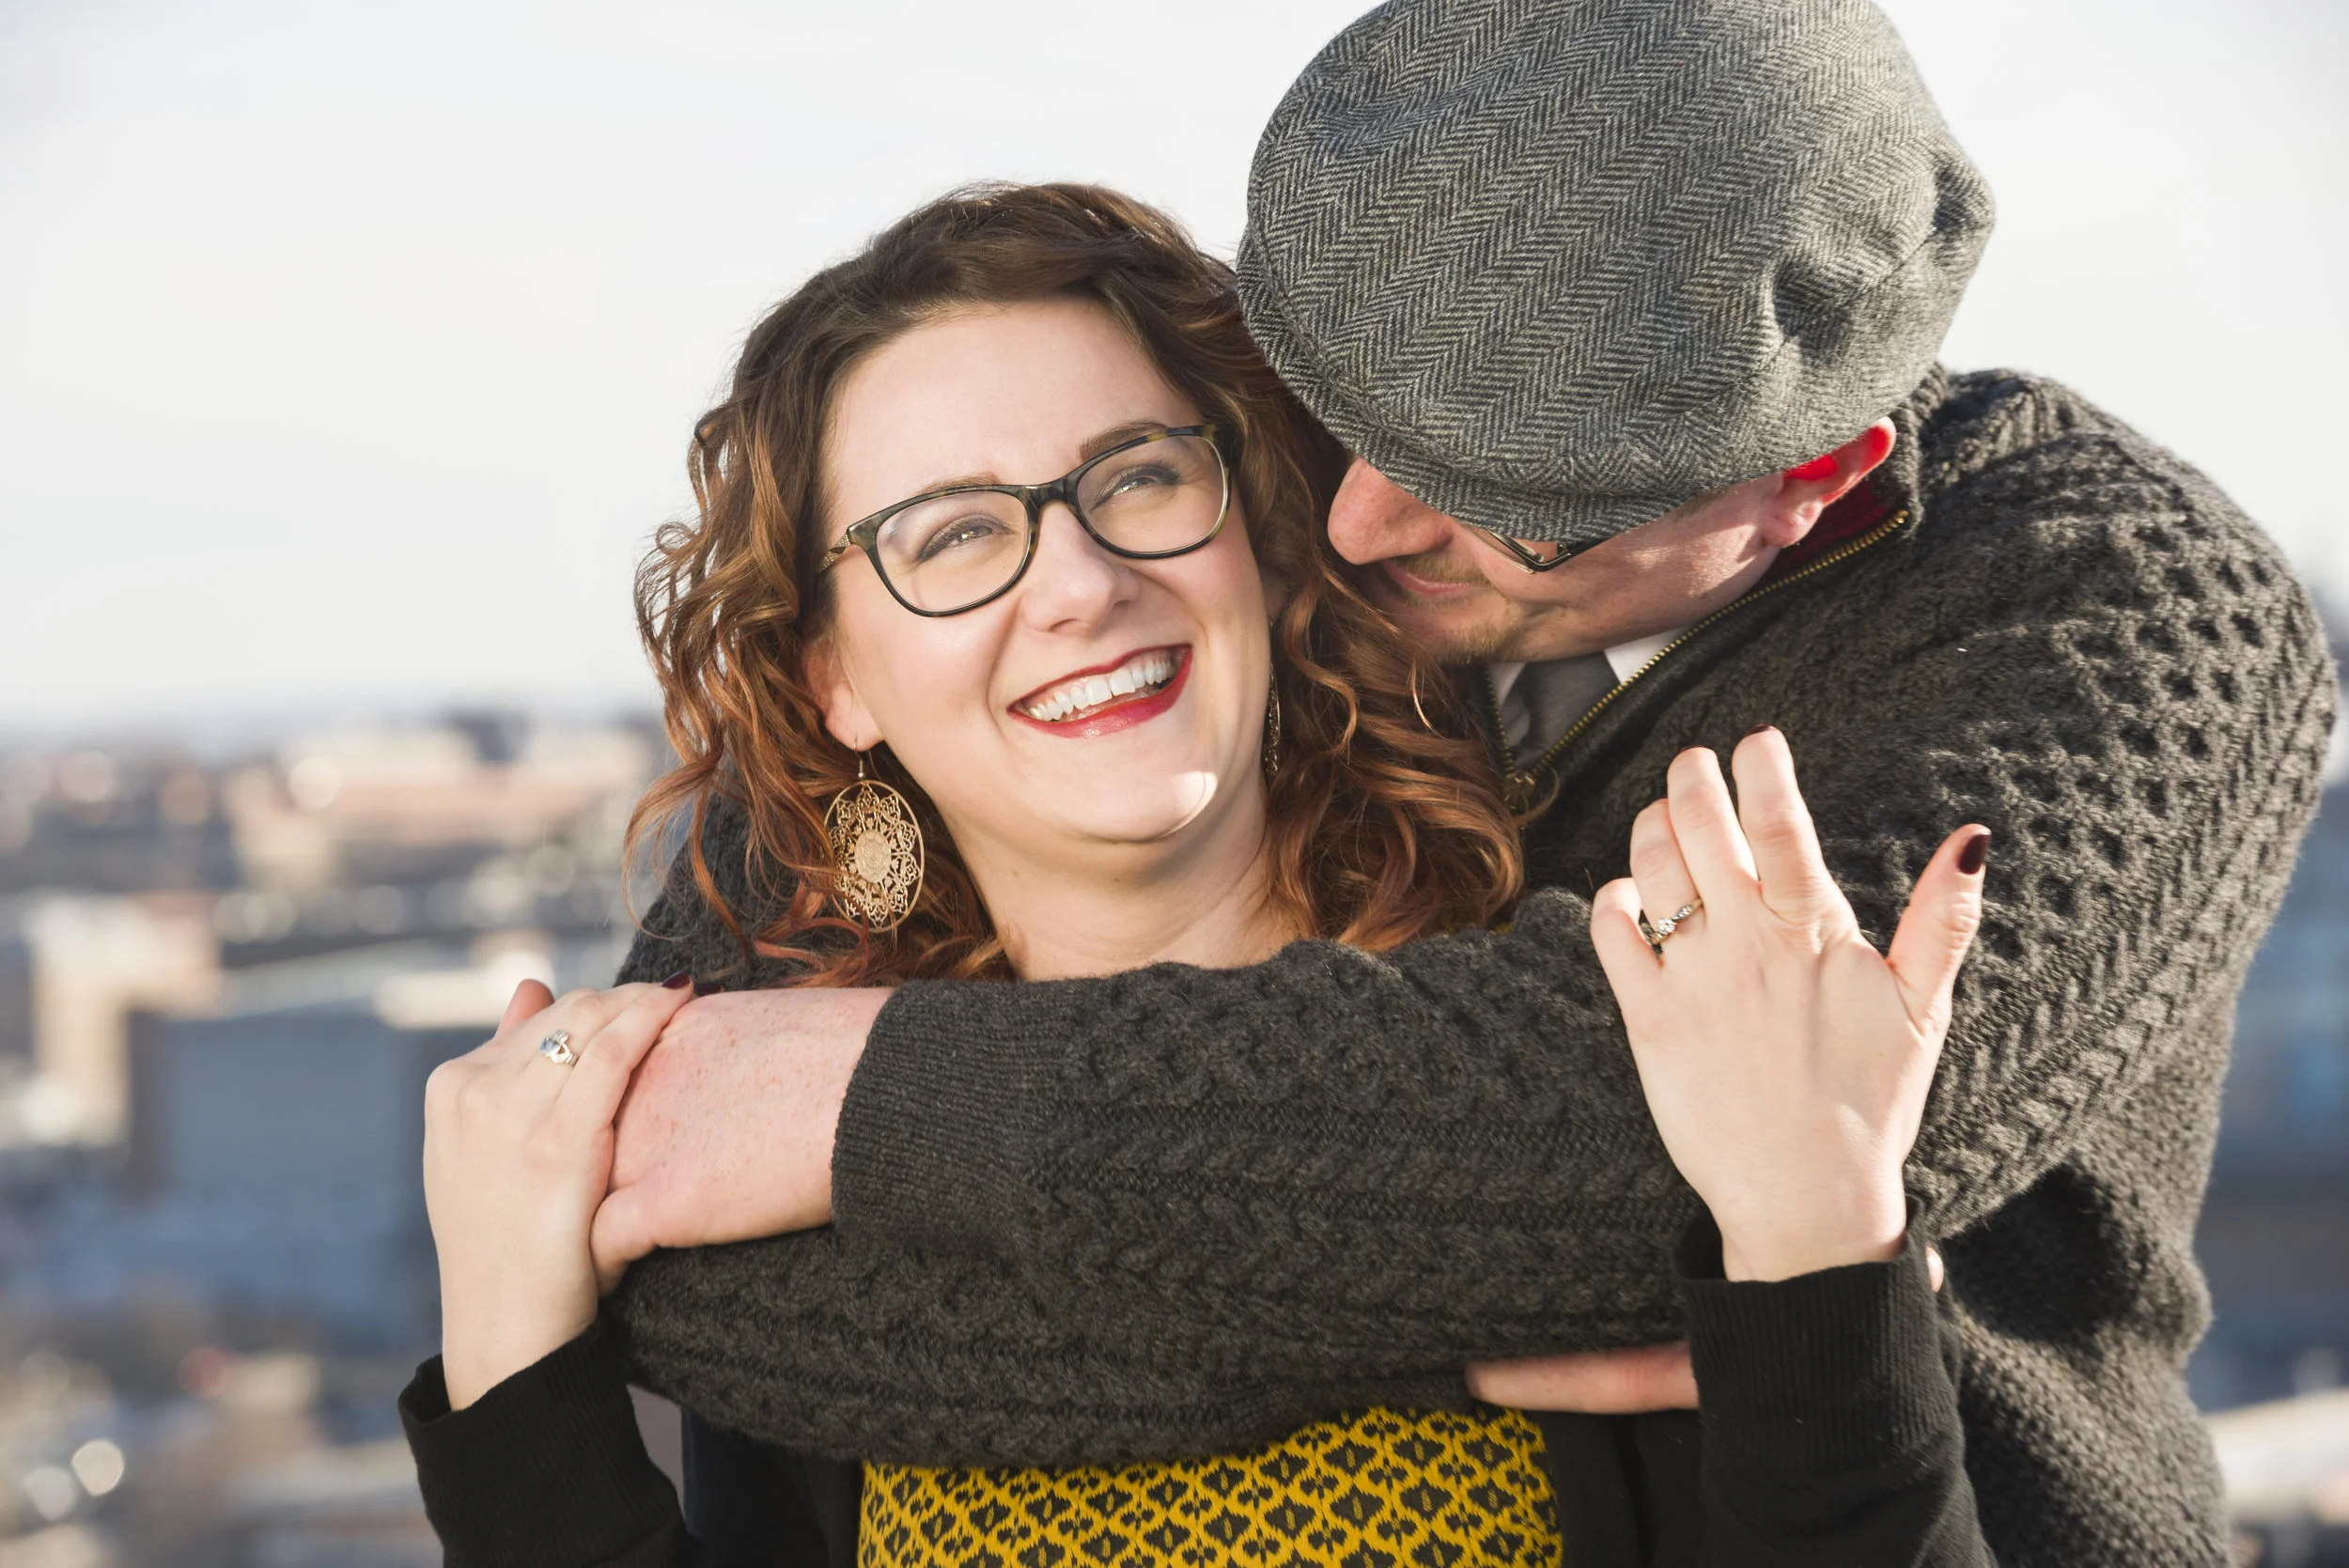
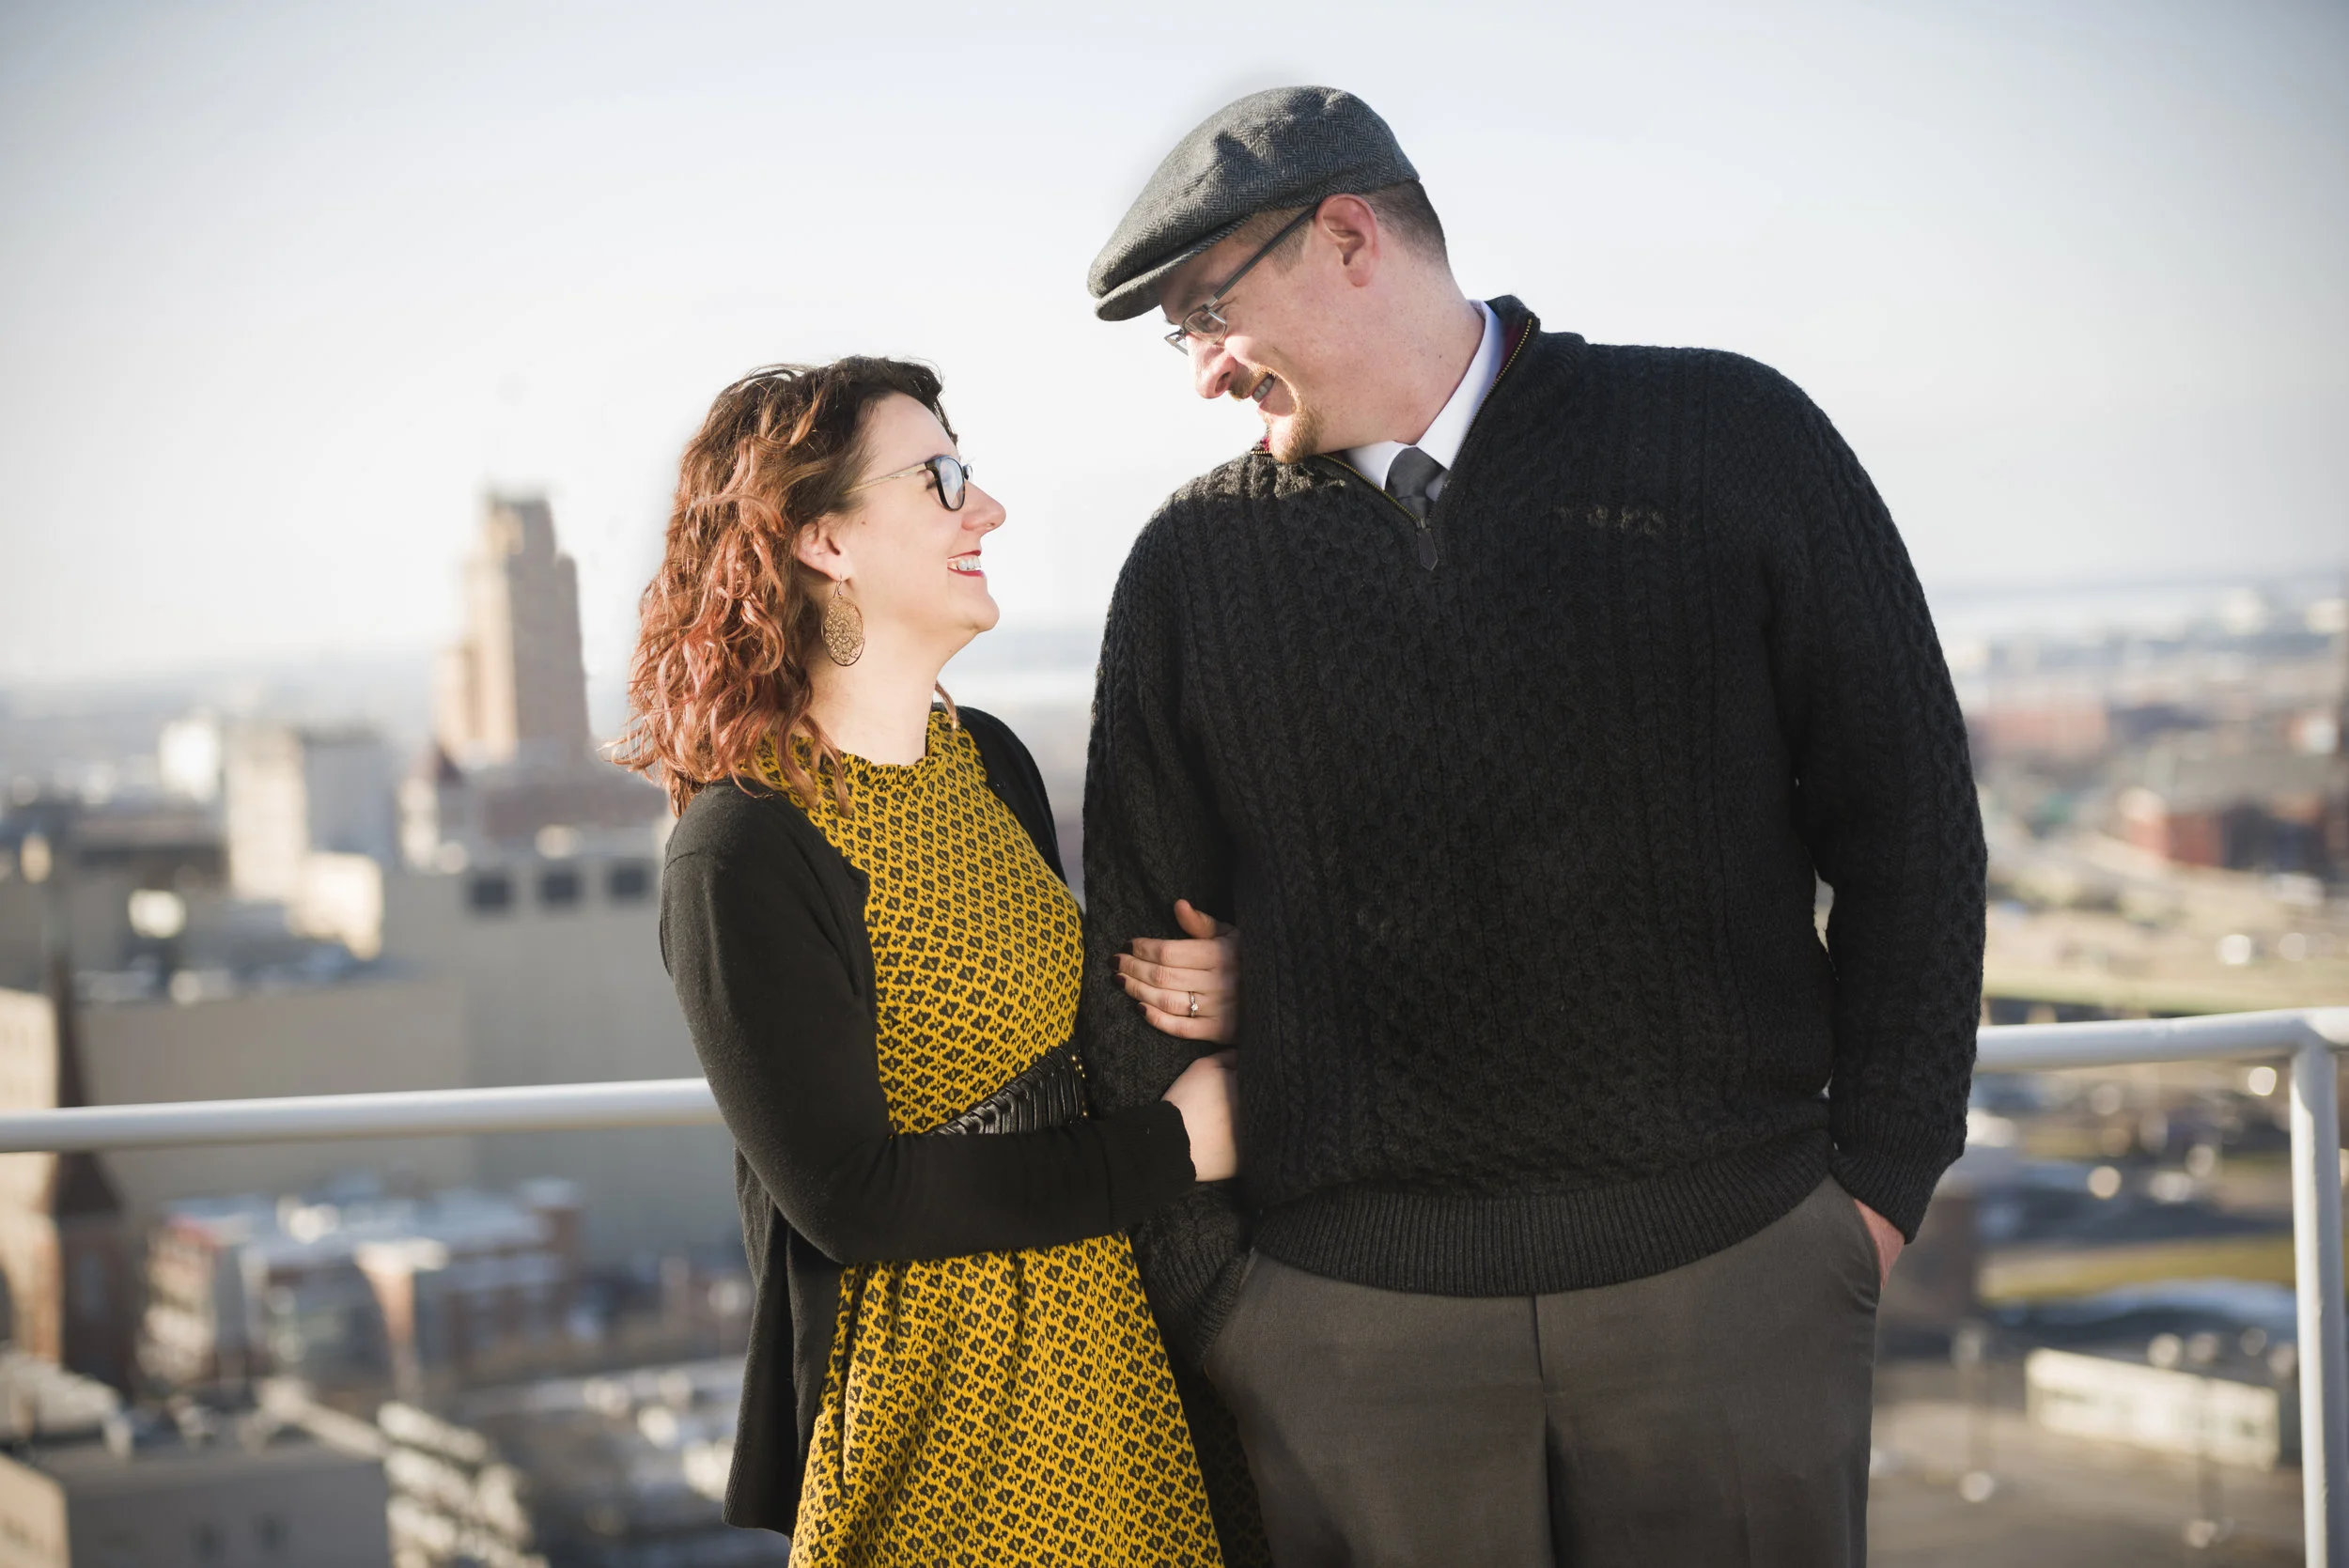
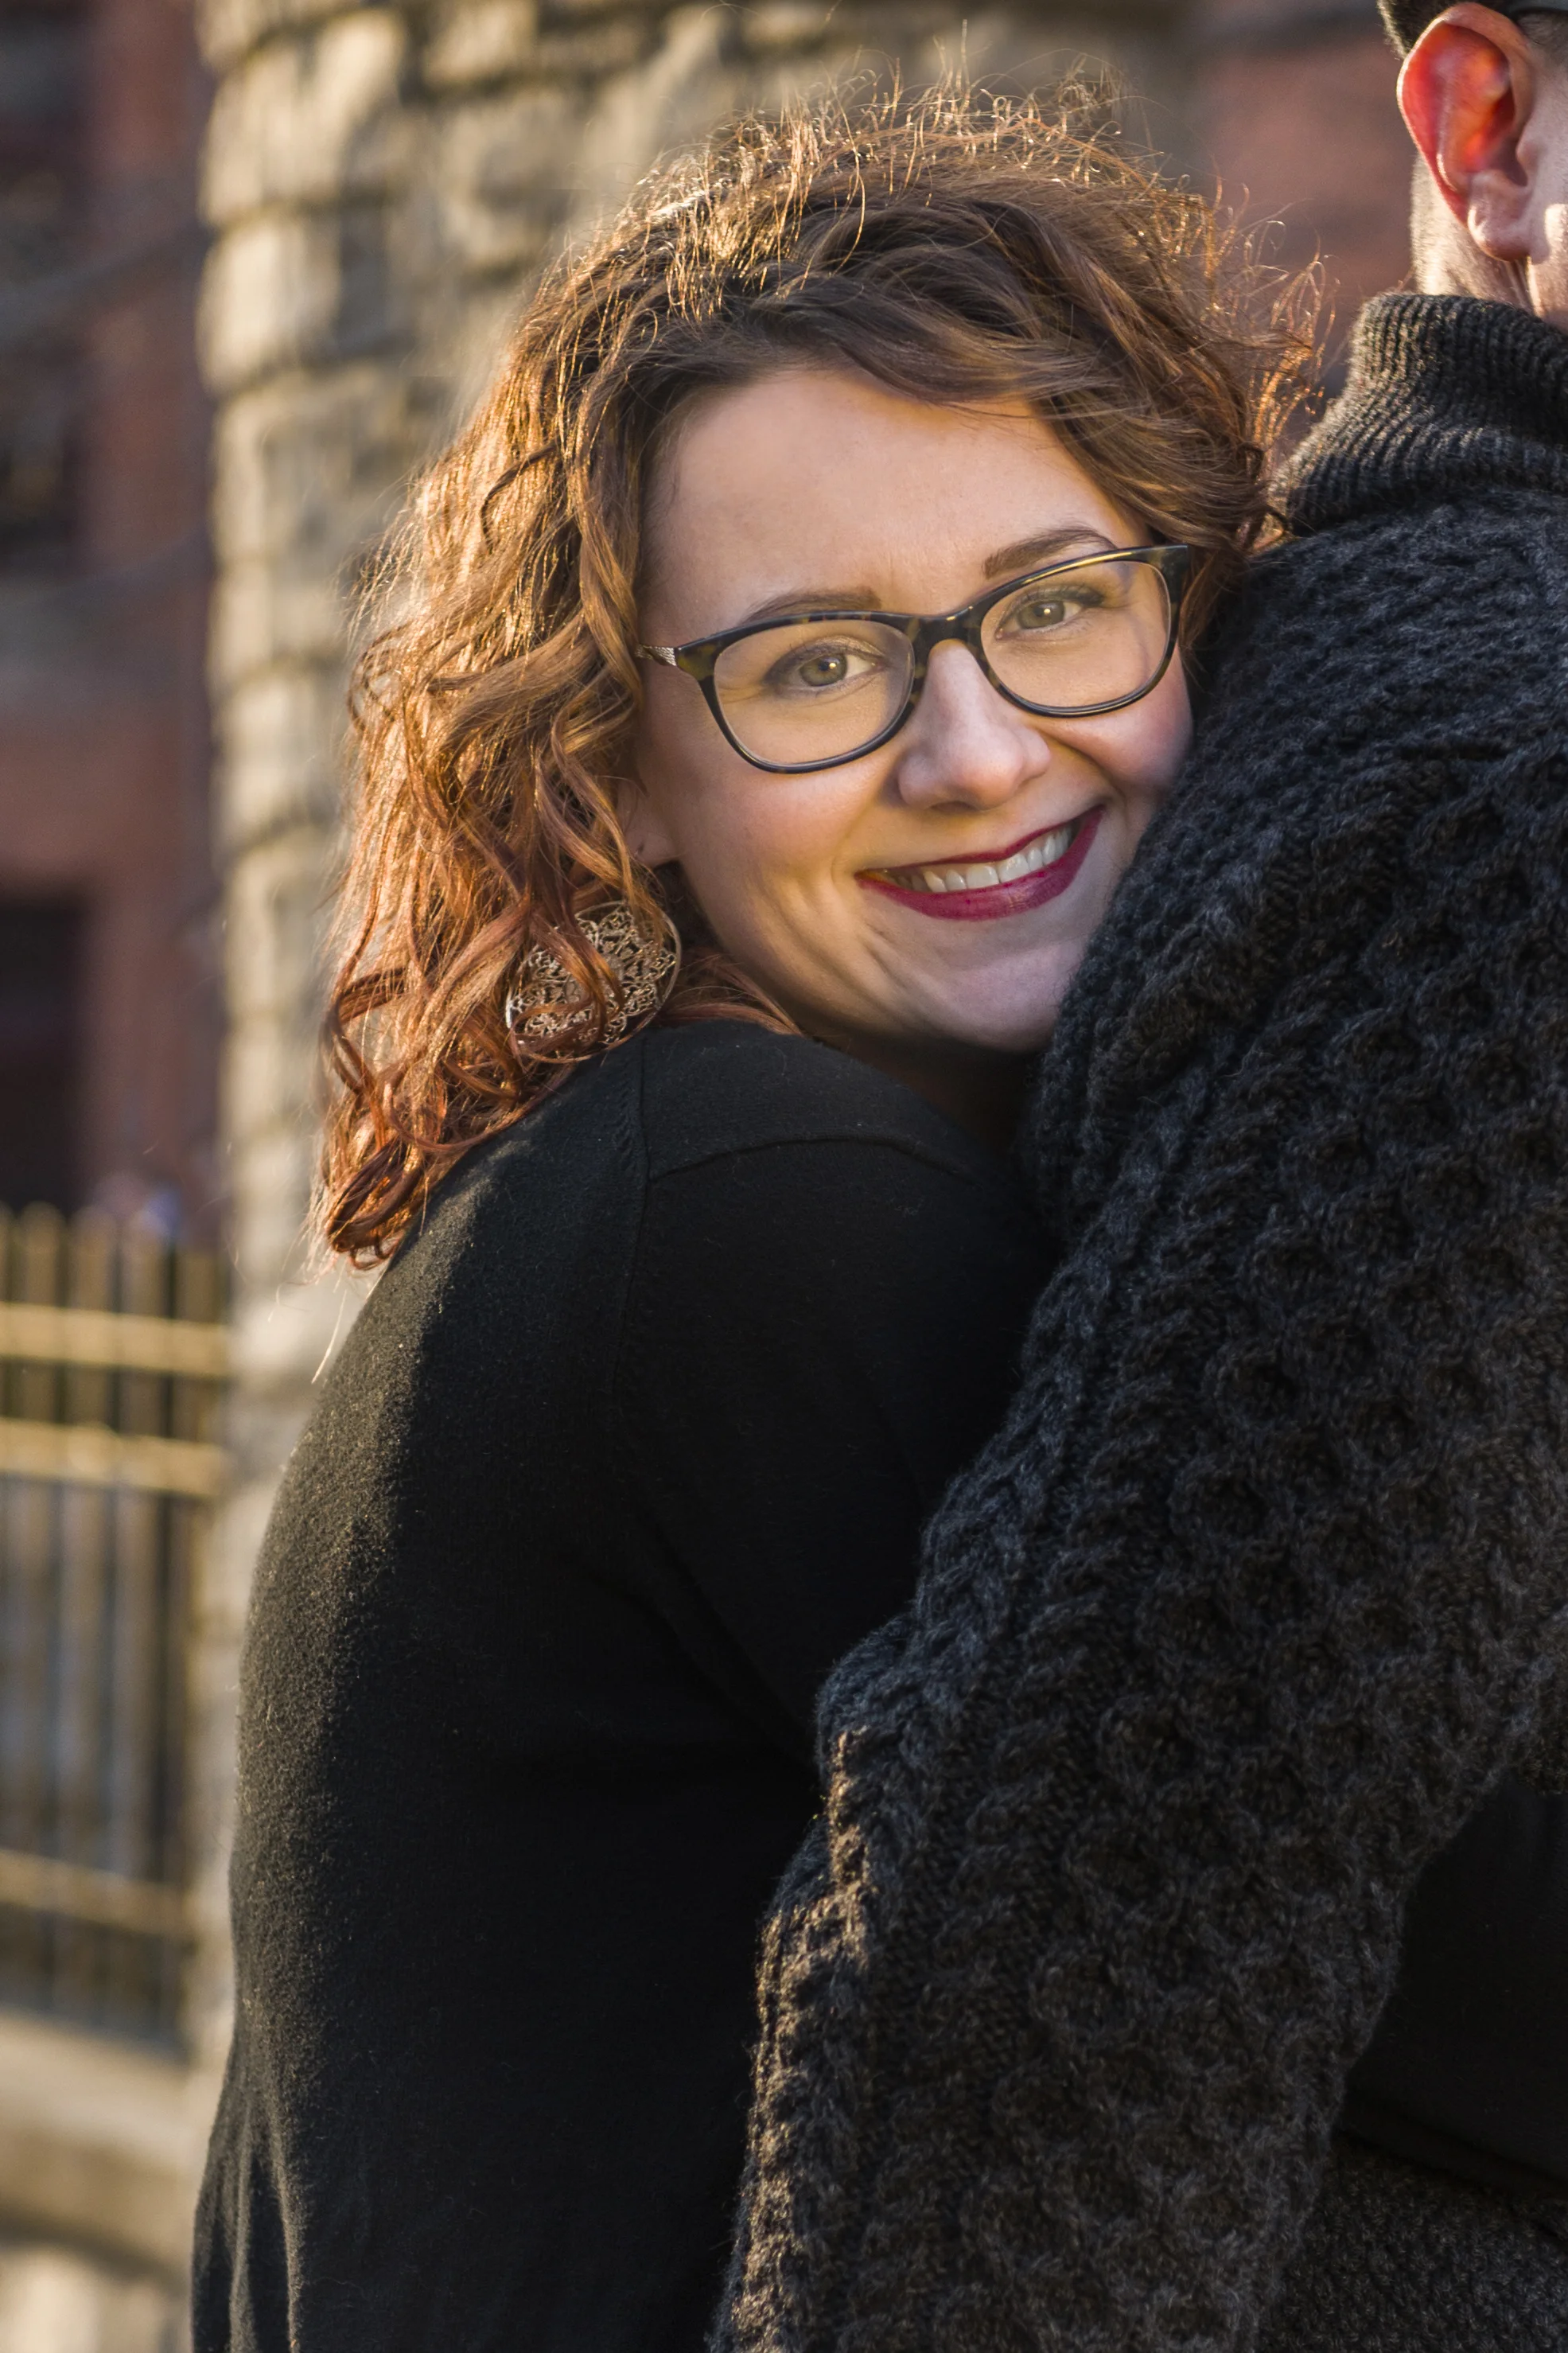
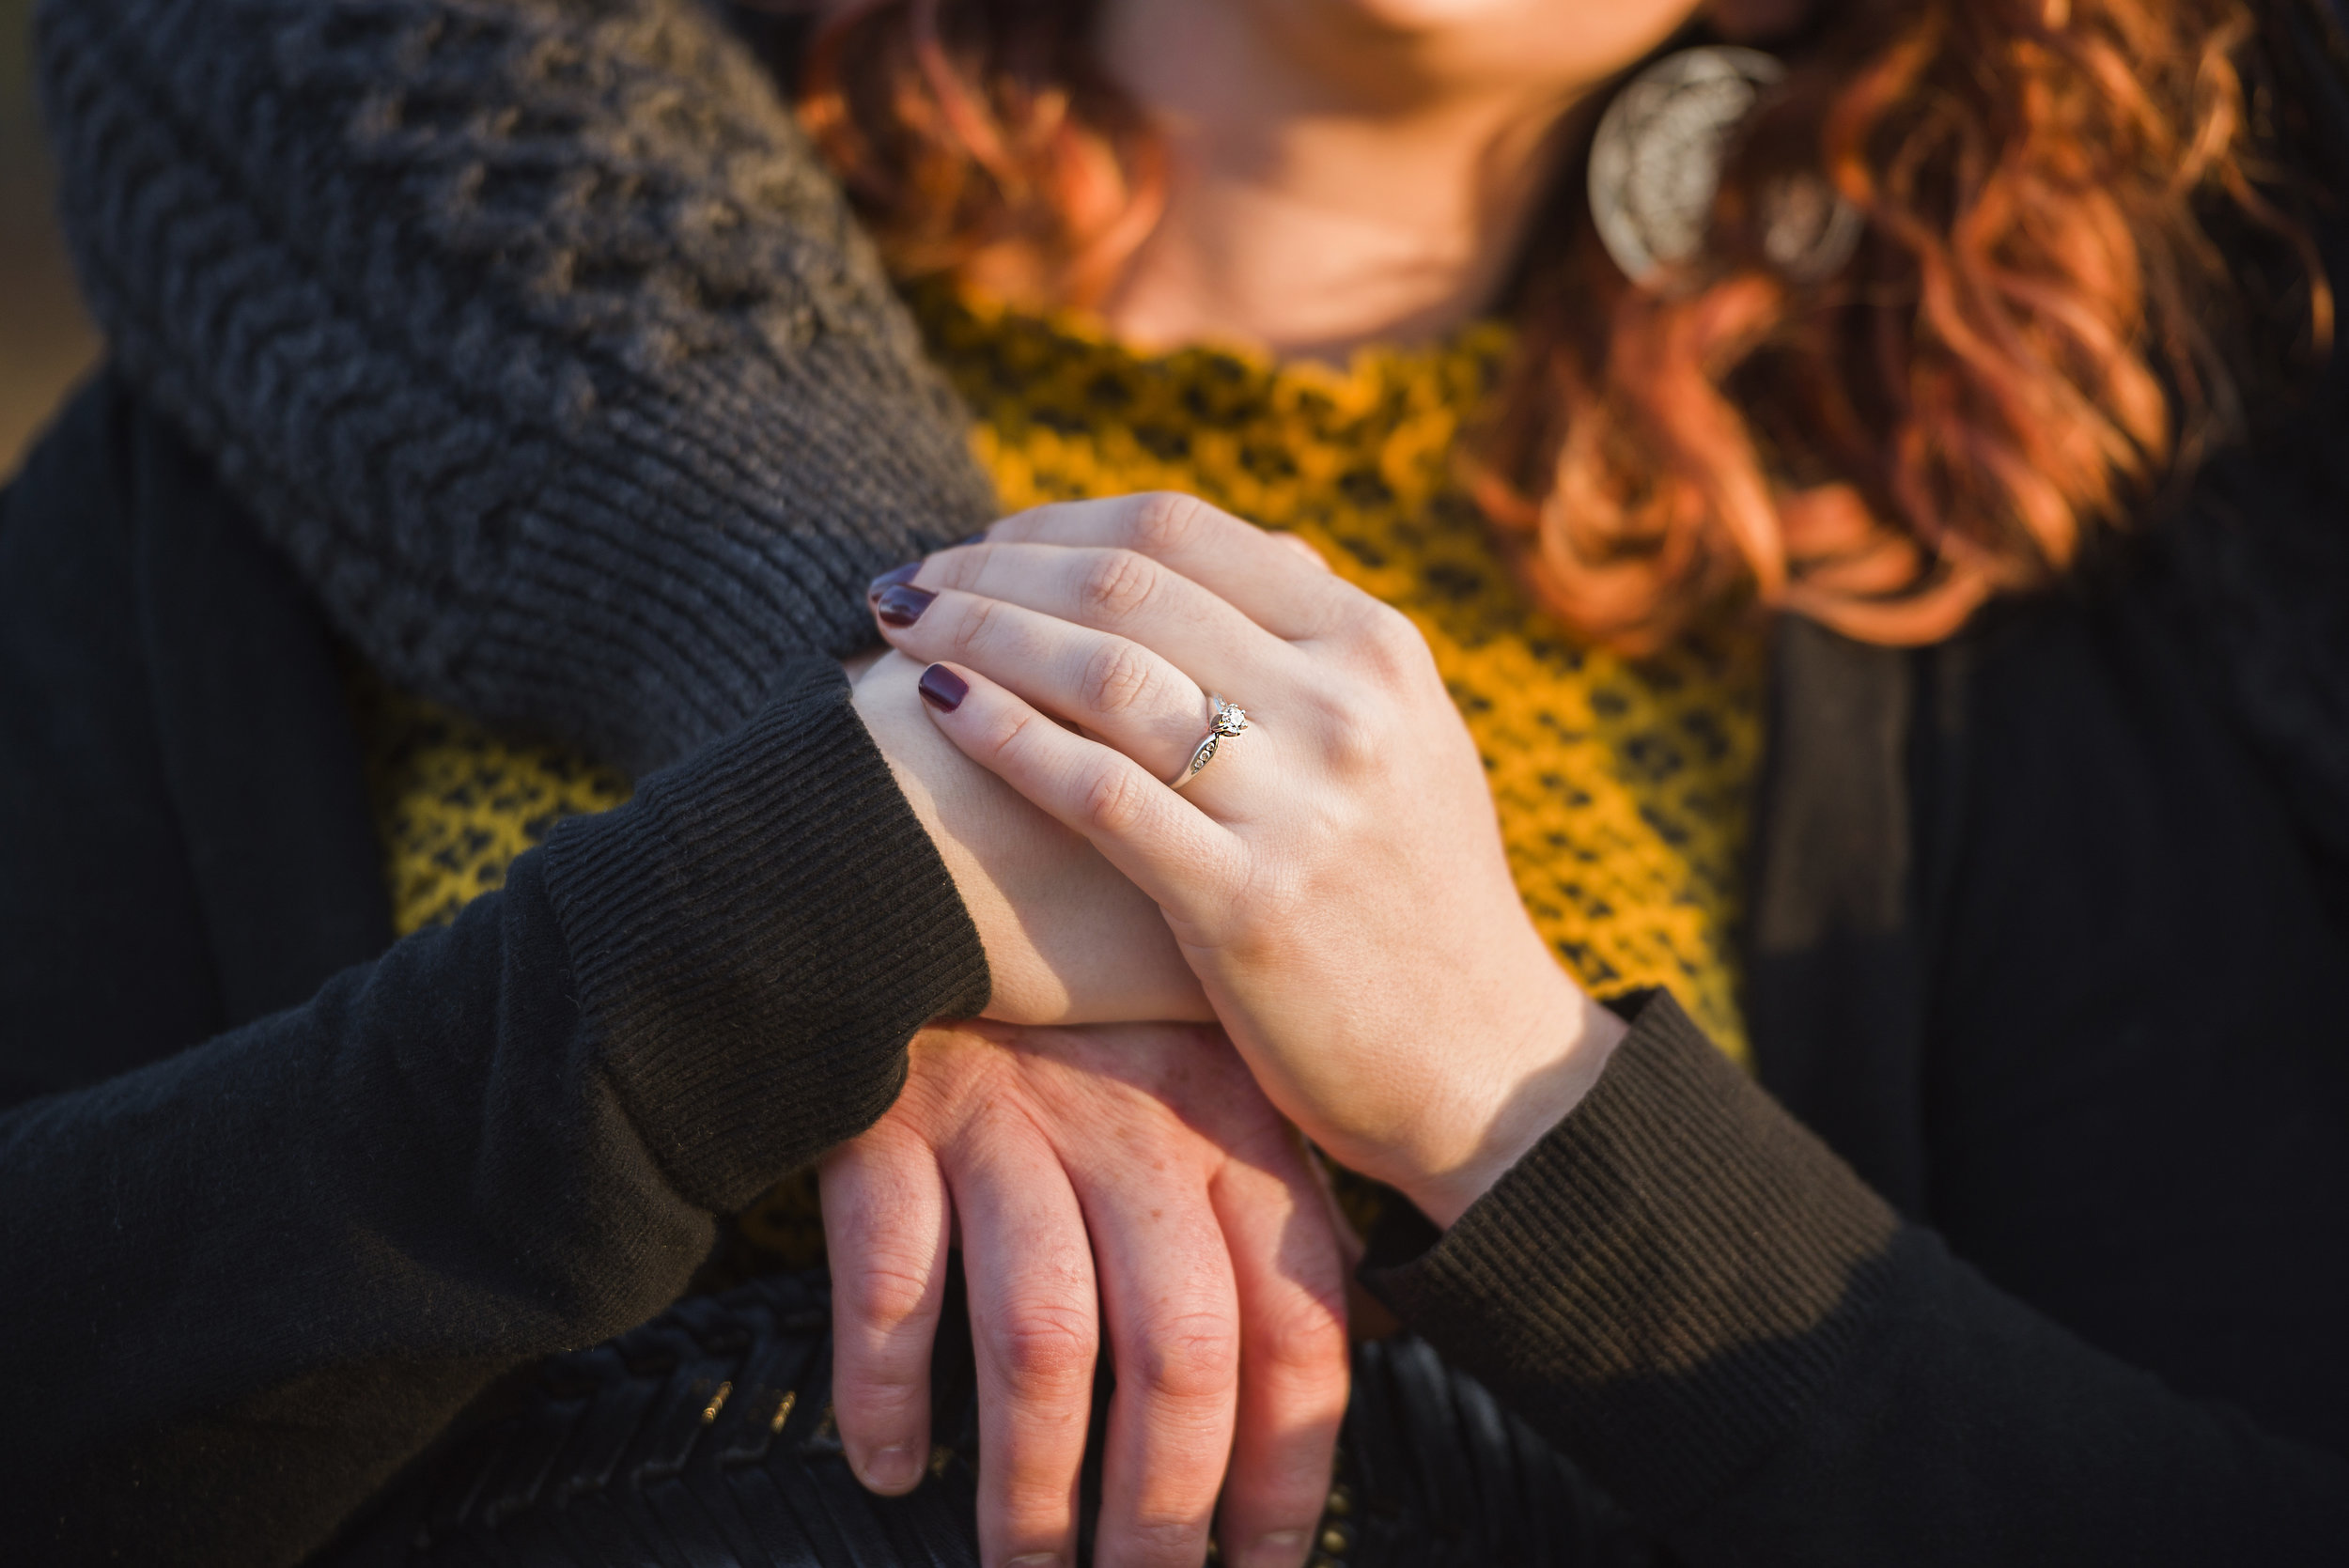
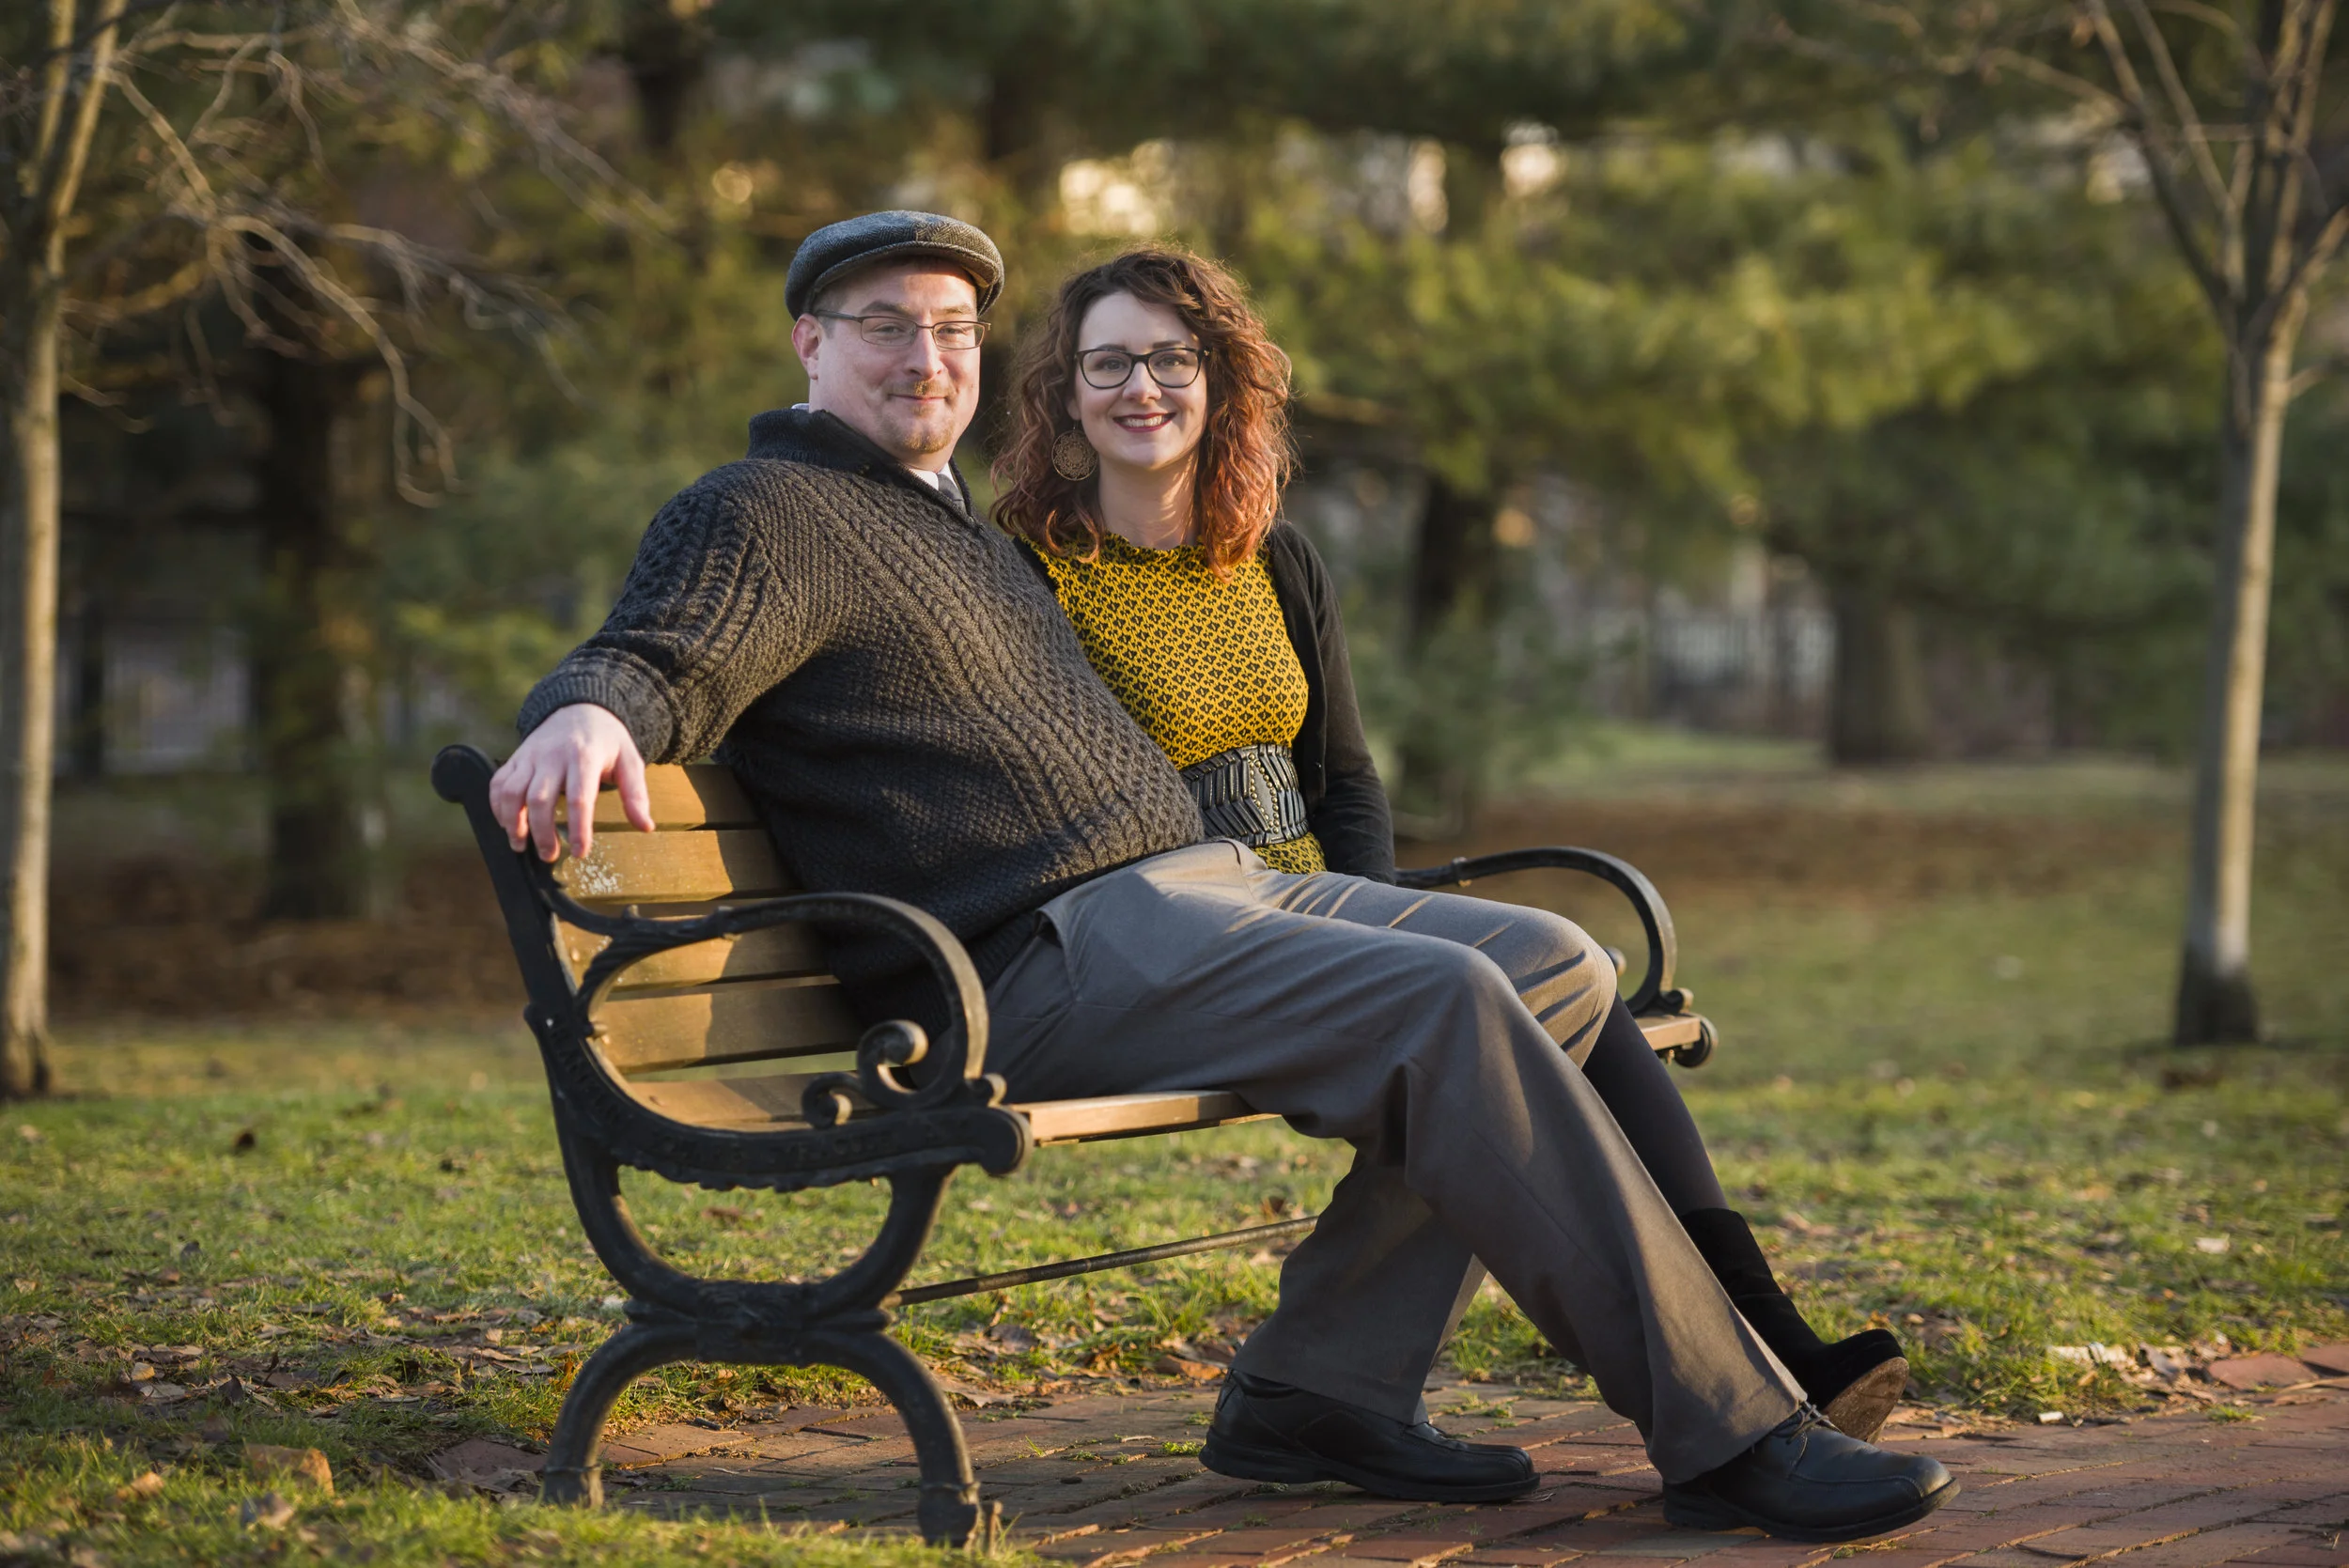
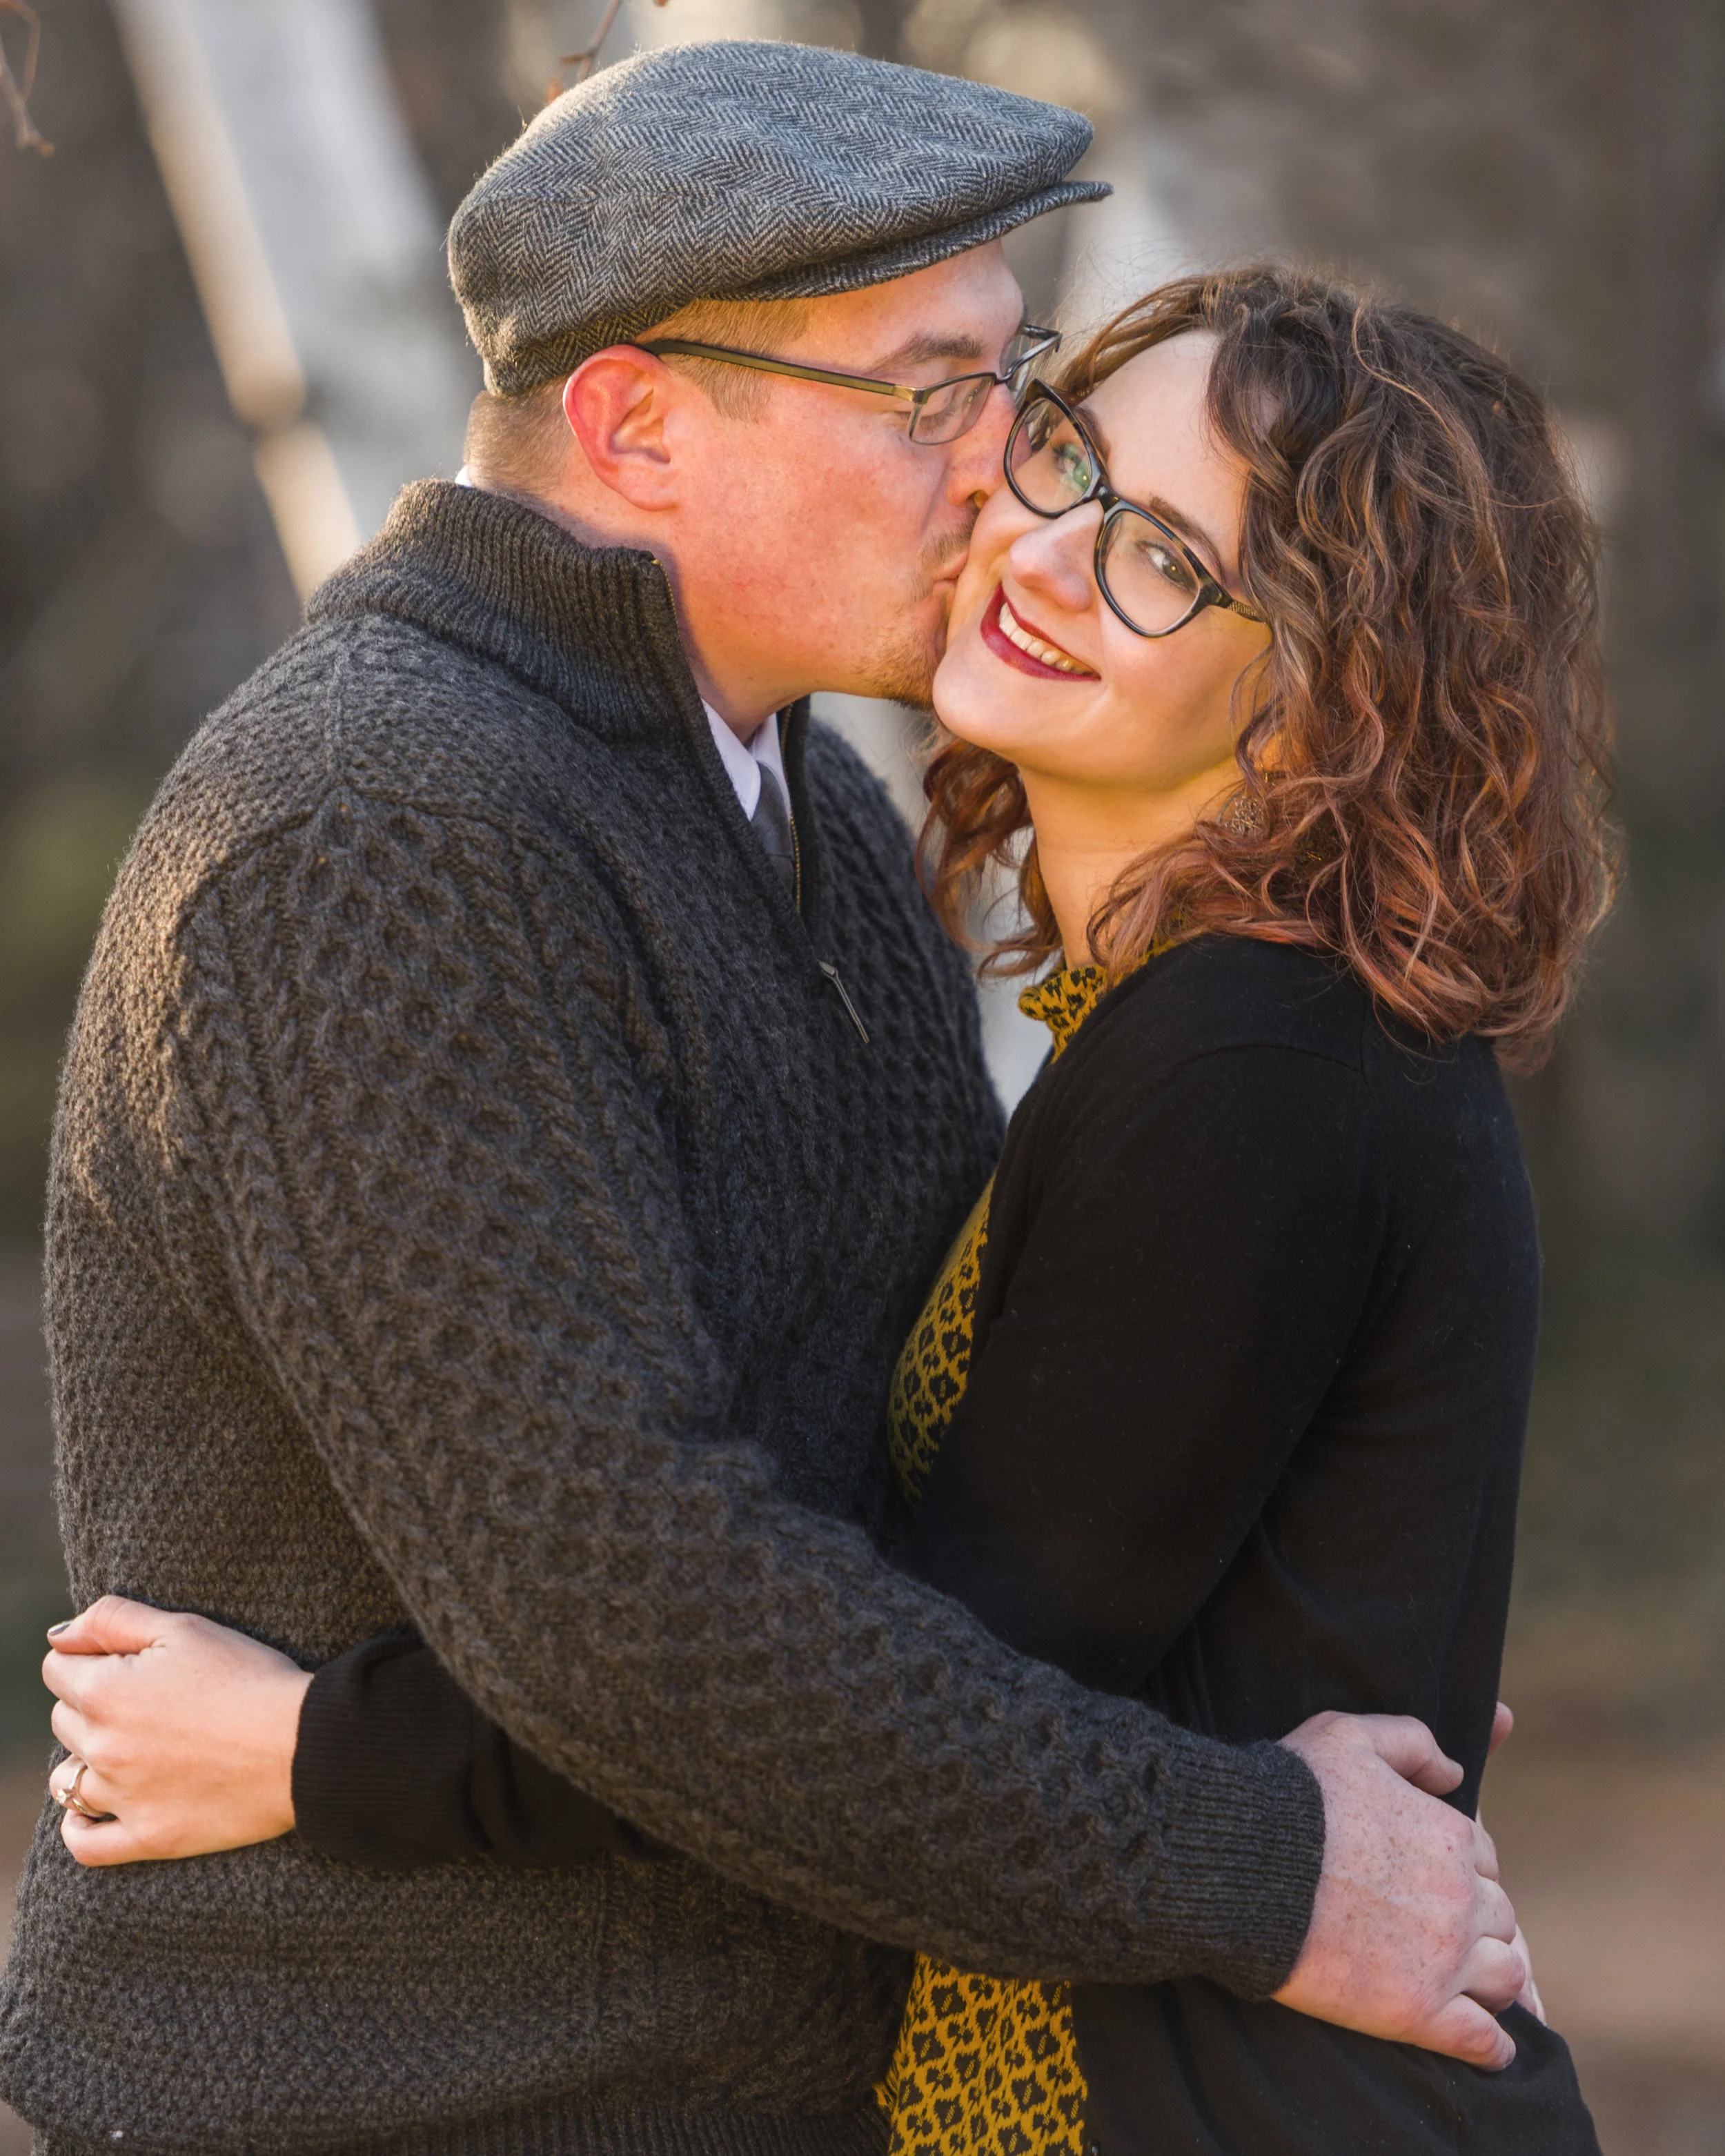
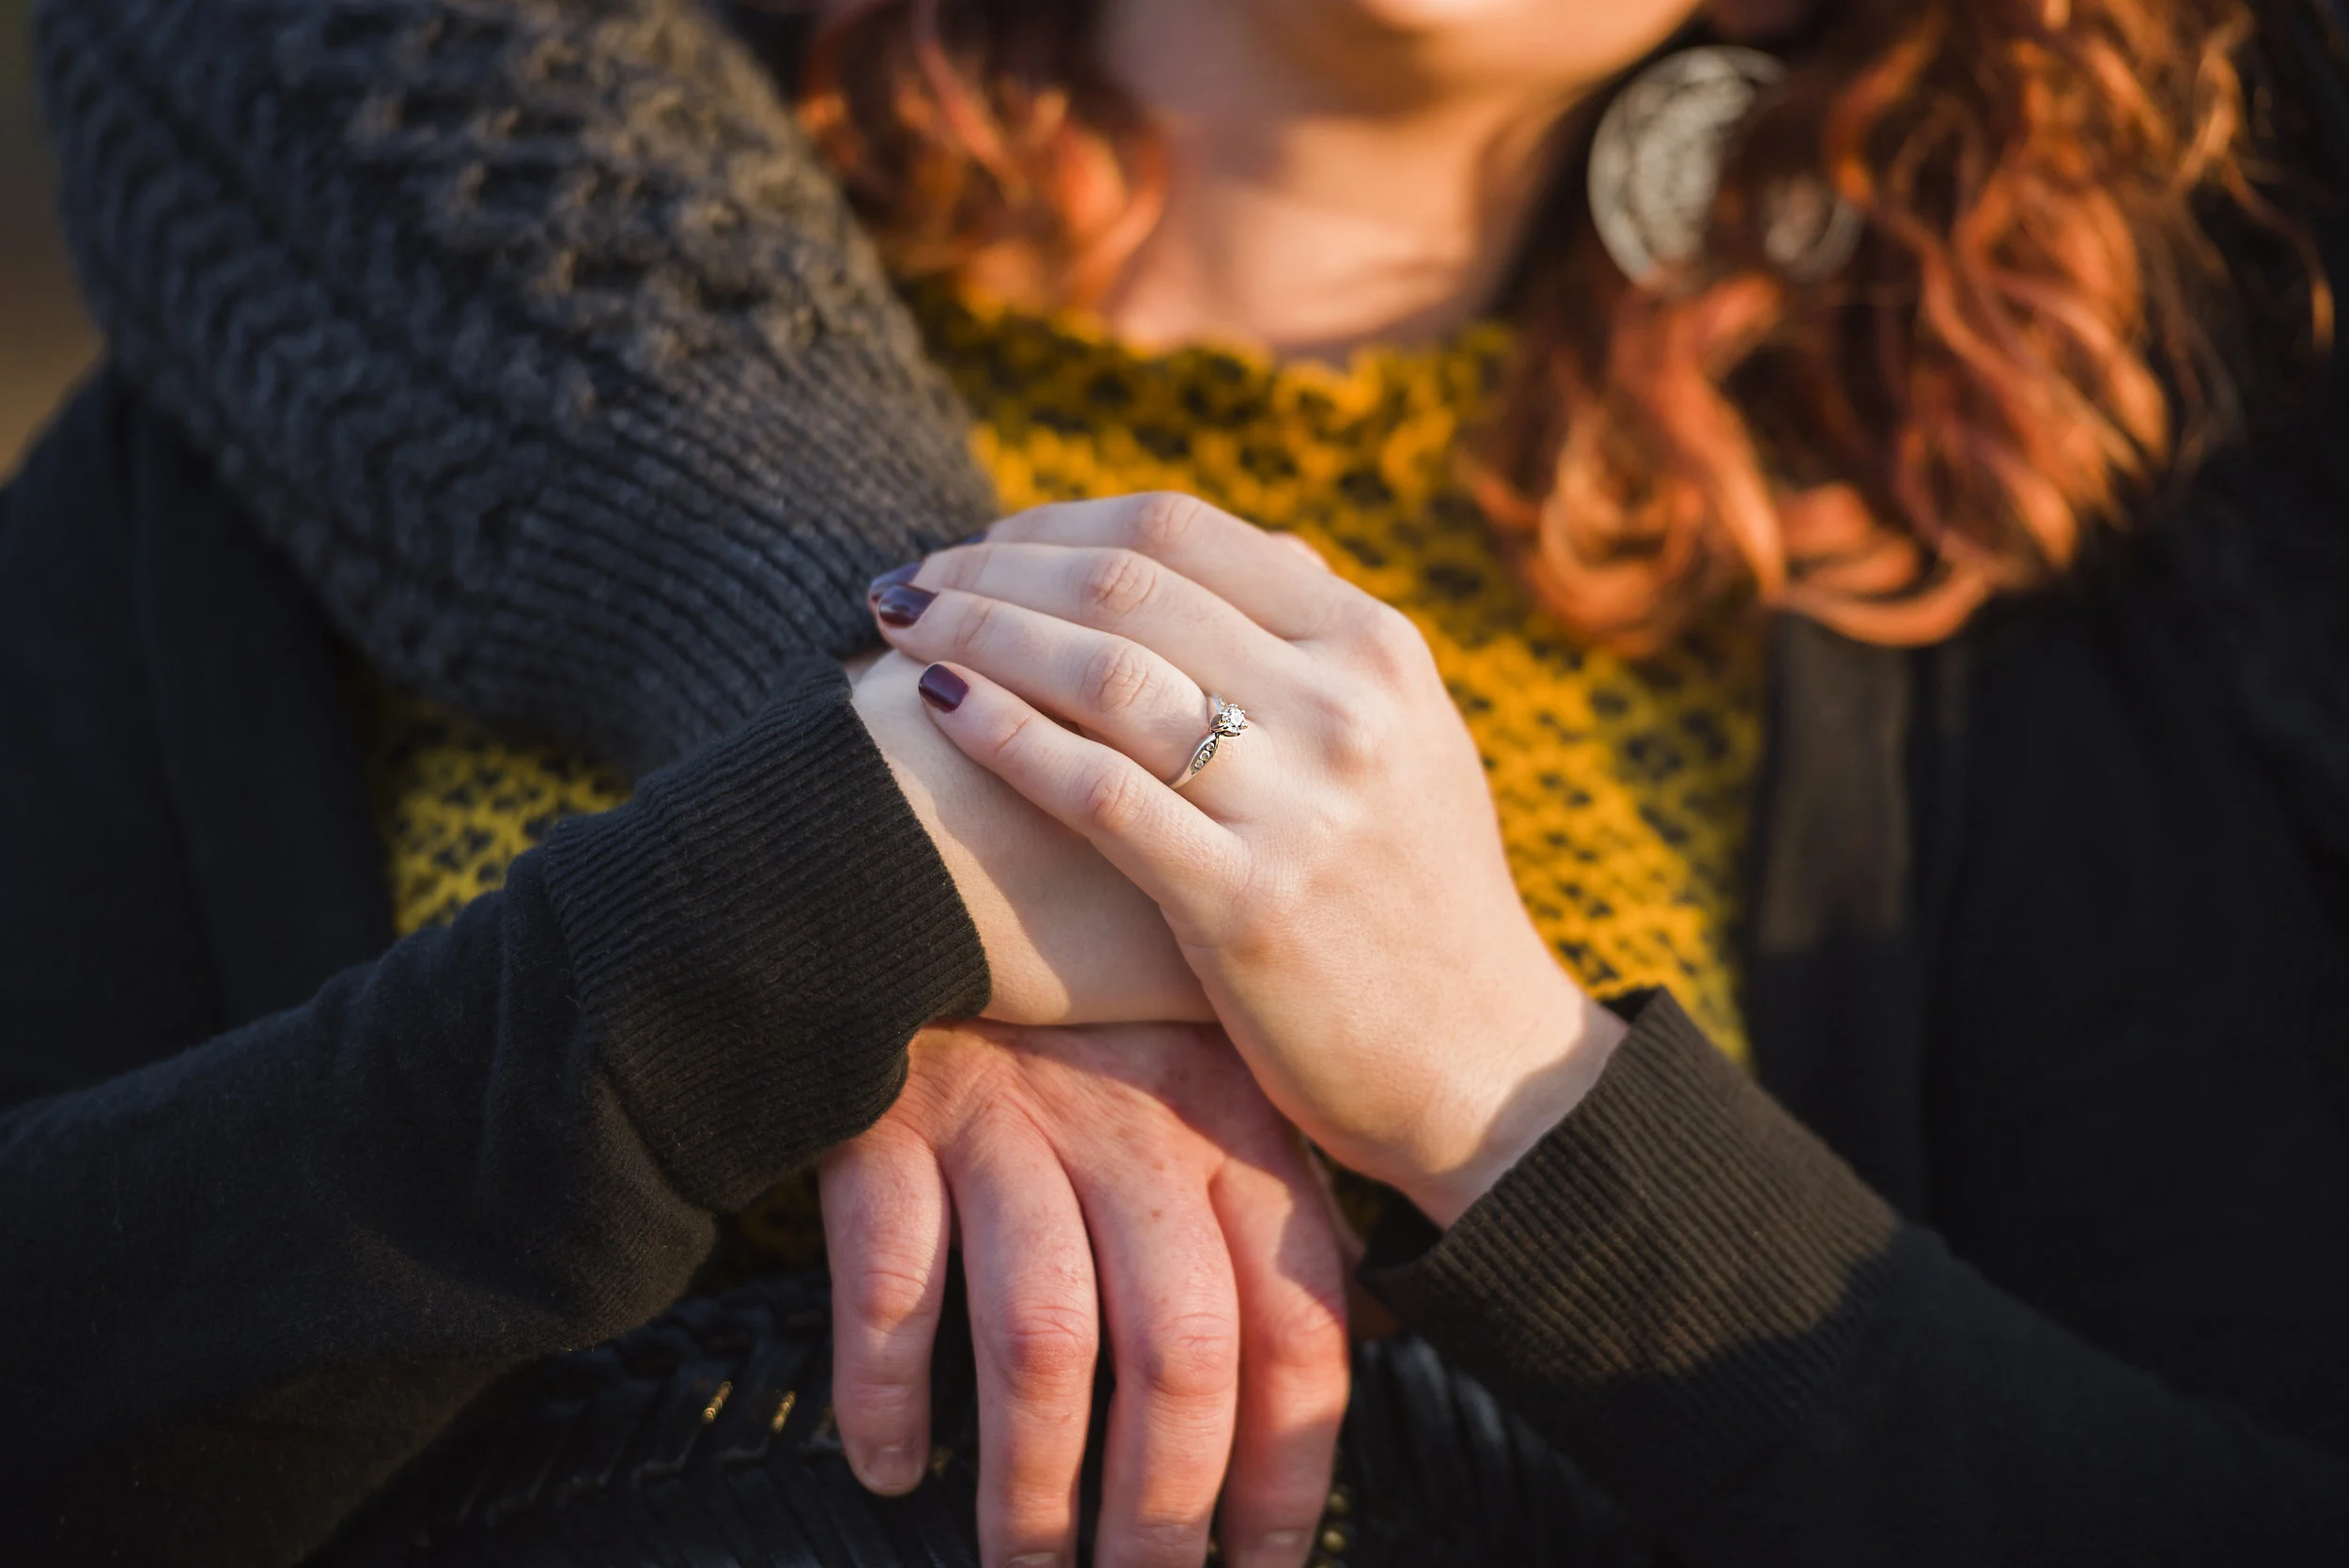
Some select shots from the engagement session with Jess and Joe, a beautiful and happy couple.
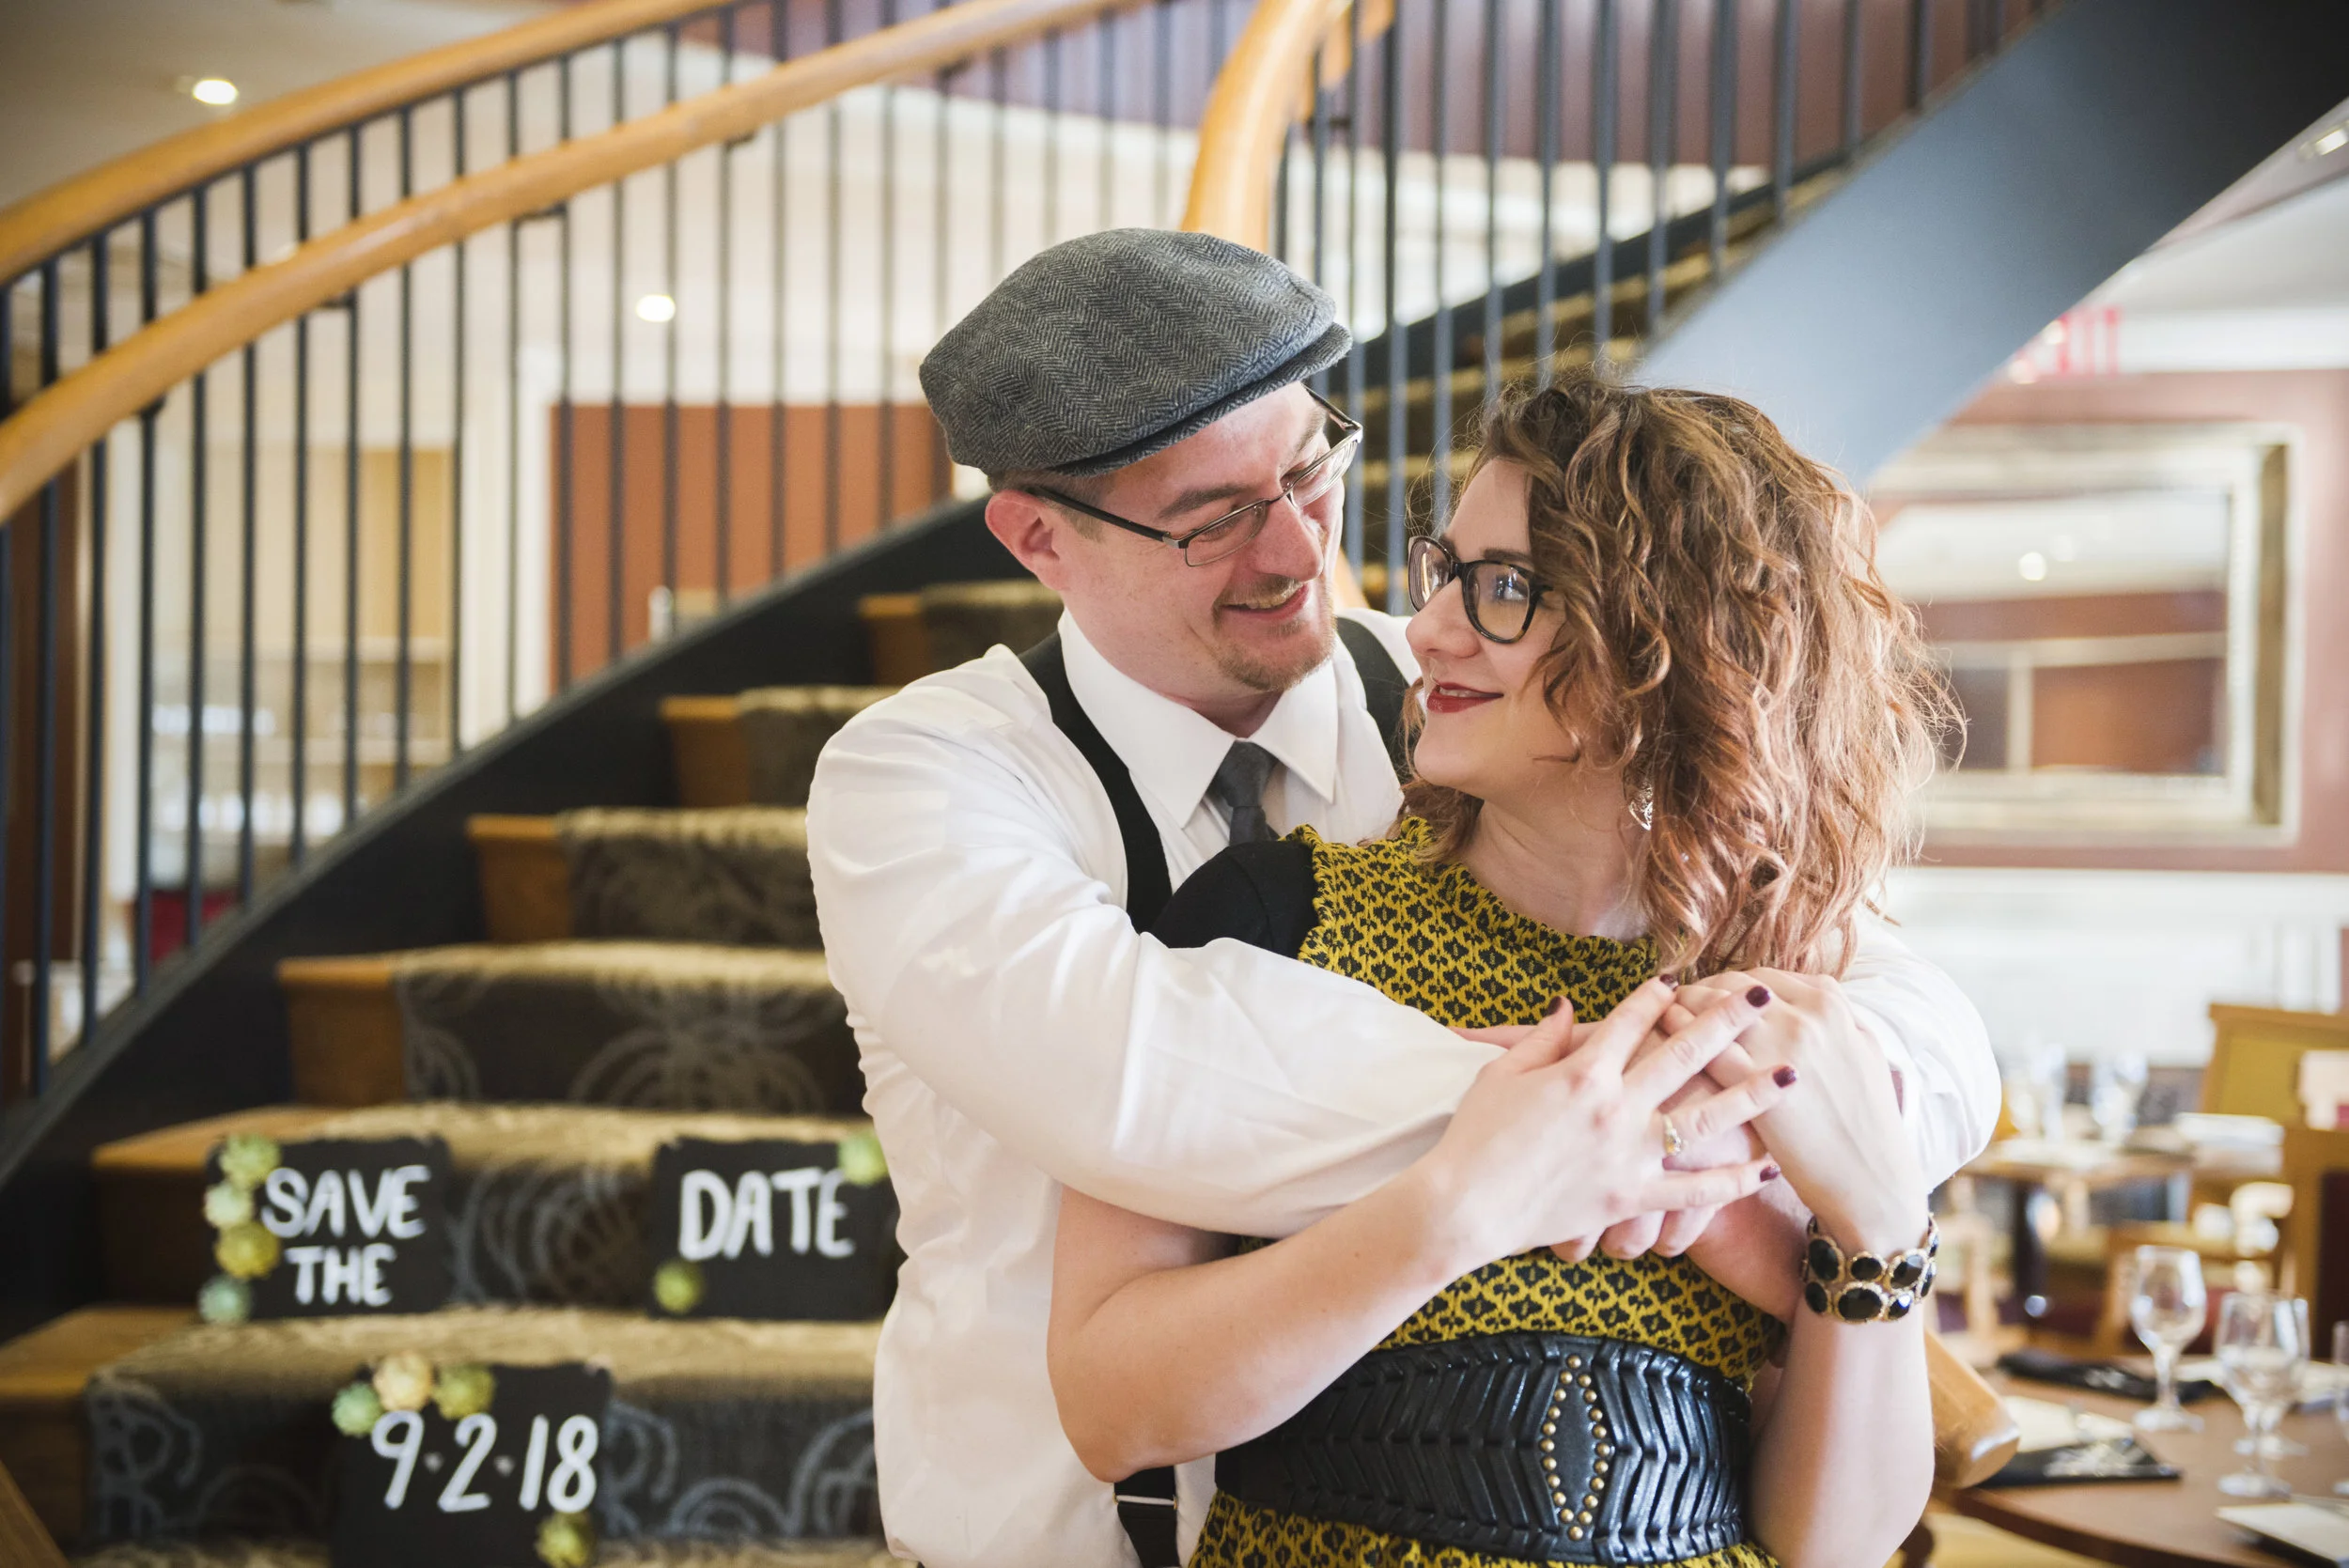
Can you imagine a sunny day with 50 degree weather in Syracuse, New York in late January? For those of you who rock the orange and blue, this seems like a pot of gold at the end of the rainbow, because you know how rainy and cloudy and gray Syracuse often is. I guess someone on the top floor really wants Joe and Jess to get married because this is exactly what happened the day we went to photograph their engagement! We started off the session on top of the Crowne Plaza hotel in downtown Syracuse. From the roof you could see all parts of the city. Onondaga lake, Downtown, S.U. hill, the Dome, Destiny, East Syracuse, Onondaga Hill, Solvay, Camillus... we could see it all. Visibility was high and the southern winter light was beautiful. After the photo op on the roof, we went inside to showcase the adorable
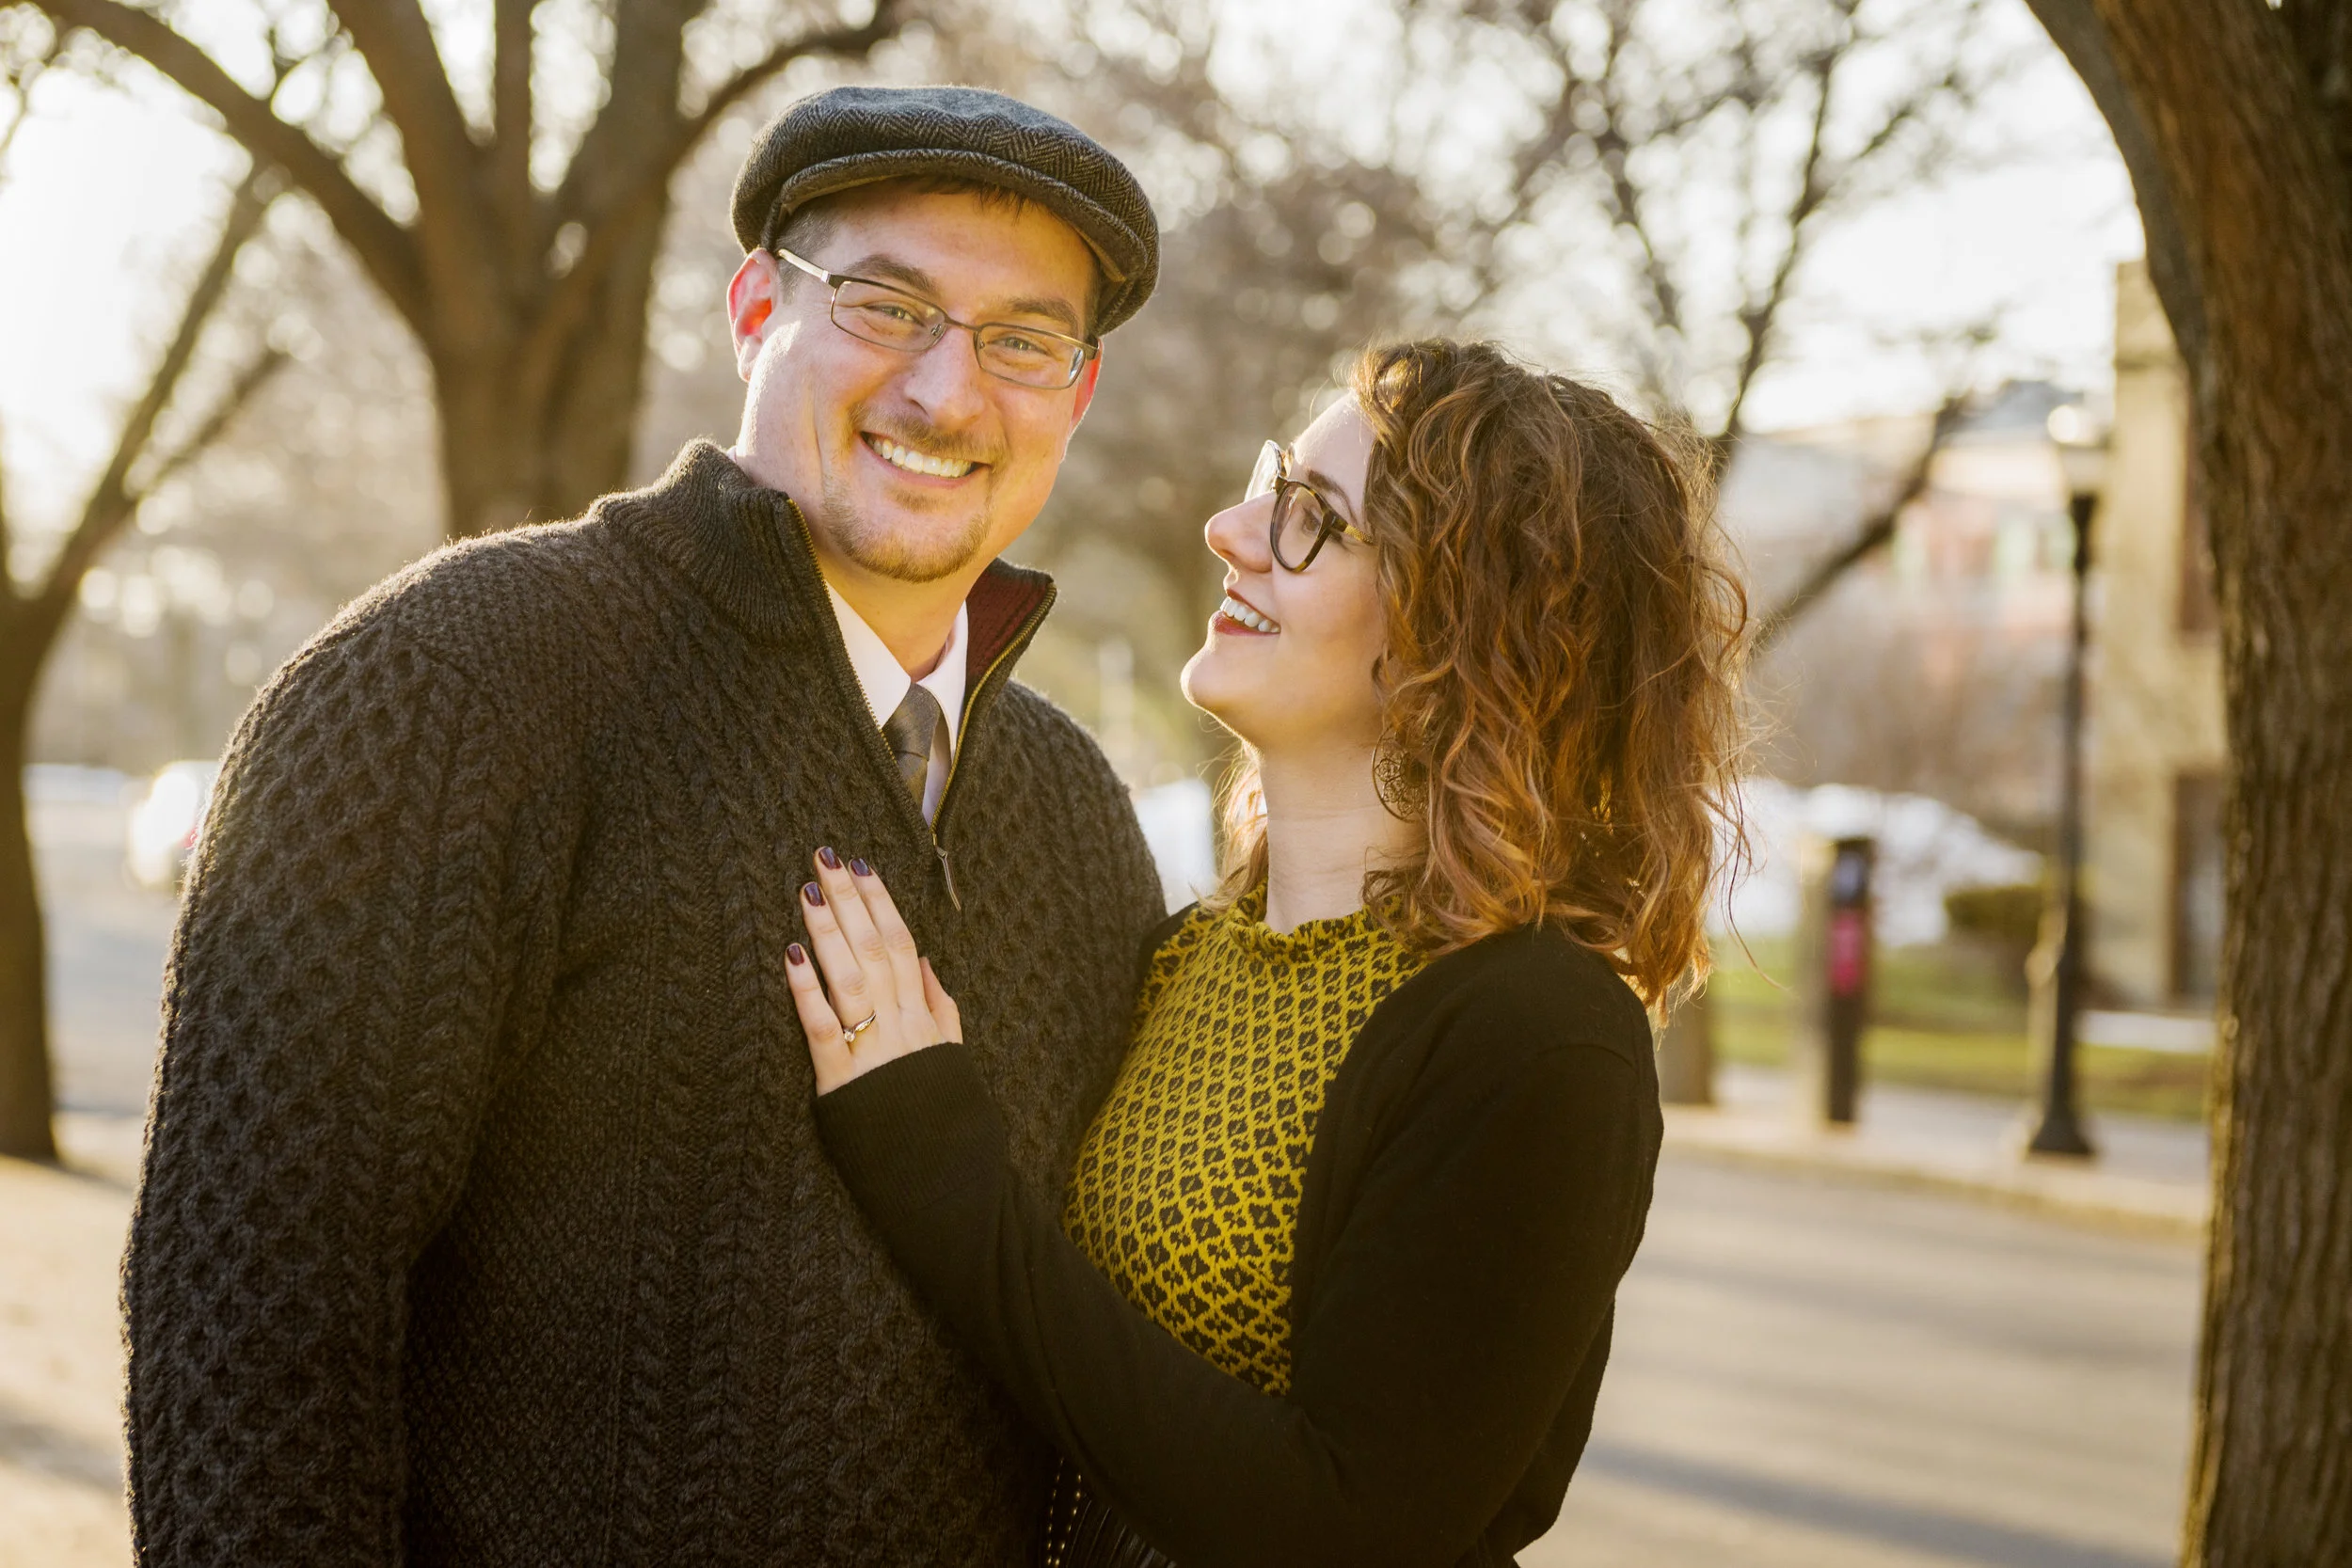
"Save the Date" signs Jess made. Later, we went for a walk around Franklin Square. The sun was just hitting the perfect position and Jess's golden yellow outfit gave the photos the perfect amount of pop. We finished off the day underneath some birch trees which is the inspiration for the wedding cake!